
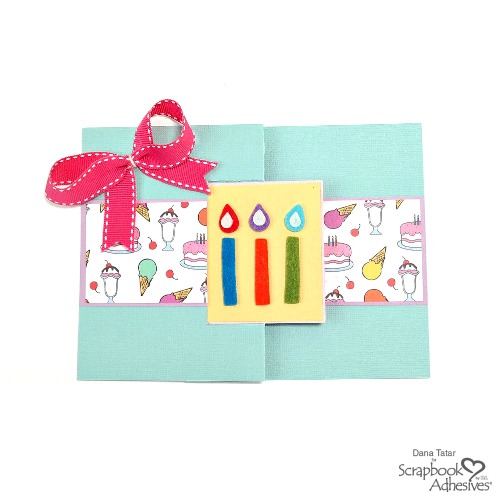
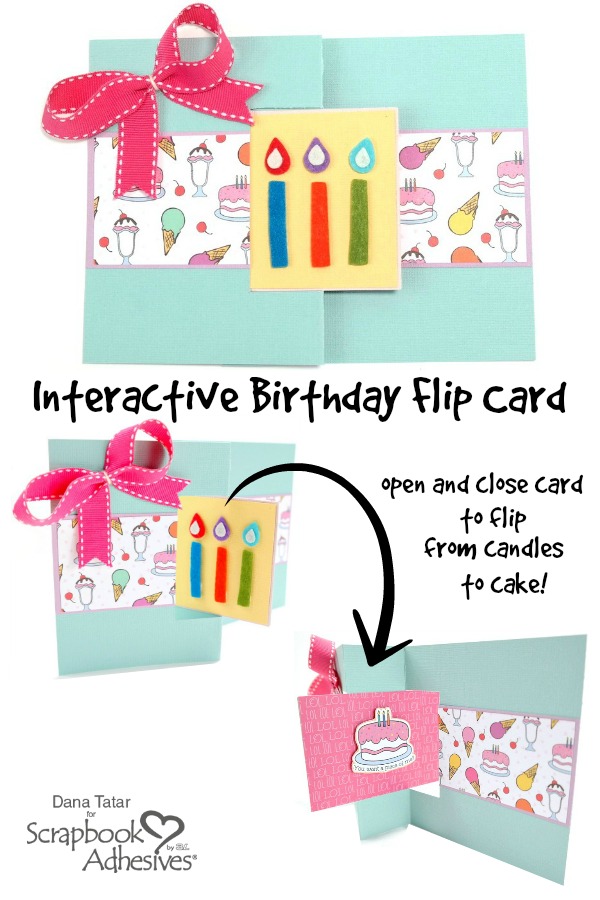
Hi friends! Dana Tatar here today sharing a super fun and punny birthday flip card. Almost all of my nieces and nephews, both of my parents, and one of my daughters celebrate birthdays during the Summer months. I can never have too many birthday cards on hand. I used an interactive flip design and the fantastic No Pun Intended collection from Photo Play Paper to create this card.
When creating papercrafts that need to hold up to lots of handling, I prefer the Ultra Strong varieties of adhesive.
Building a Flip Card Base
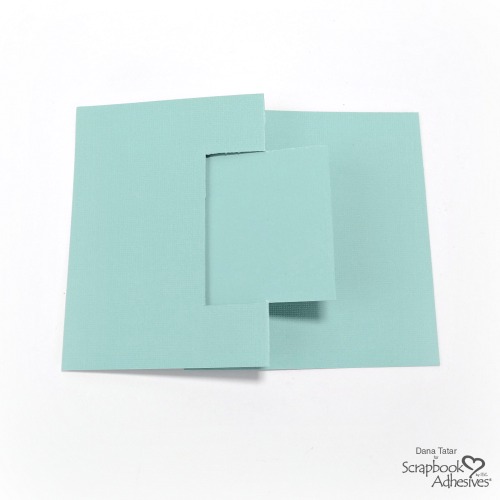
To begin, cut a cardstock card base that measures 10 x 5 inches. Then, score the cardstock 3 3/4 inches from the left and 4 3/4 inches from the right side of the cardstock. Next use a pencil to draw a rectangle onto the card base, 1 inch down from the top edge of the card and 1 1/2 inches from both sides of the score line. Draw edges that measure 2 7/8 inches down from the top edge of the rectangle and then back in to both score lines. Then carefully use scissors to cut along the edges of the rectangle shape. Stop the cutting at the score lines. Fold the cardstock forward over the right score line. Finally, fold the cardstock back over the left score line.
Adding Color and Pattern to the Card
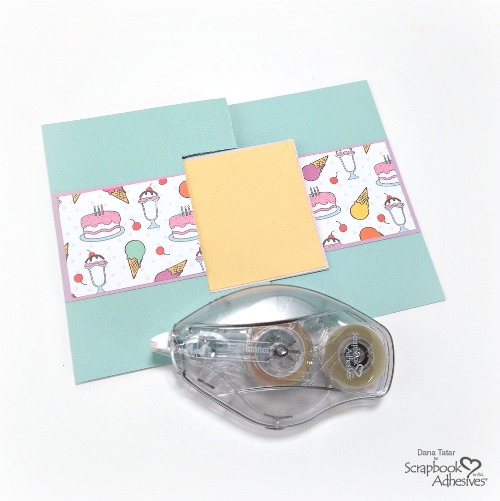
Start by cutting a cardstock mat for patterned paper to fit in a strip along the center of the card. Cut a 2 x 6 inch piece of cardstock at 2 1/2 inches. This cut creates a 2 x 2 1/2 inch and 2 x 3 1/2 inch piece of cardstock to center on either side of the card base.
Next, cut patterned paper to fit inside the cardstock strip along the center of the card. Cut a 2 x 6 inch piece of patterned paper at 2 1/2 inches. This cut creates a 2 x 2 1/2 inch and 2 x 3 1/2 inch piece of patterned paper. Trim about 1/8 inch from each side of the patterned paper pieces and center onto the cardstock strip.
Finally, cut a cardstock squares that measures 2 1/2 x 2 3/4 inches. Secure this square to the center of the flip portion of the card. Next, cut a piece of patterned paper to measure 2 3/4 x 3 7/8 inches and secure it to the inner rectangle space of the card.
Adding Punny Embellishments
The Photo Play Paper No Pun Intended collection is bursting with silly puns and goofy sayings that are sure to tickle anyone’s funny bone. This hilarious collection is super fun to work with!
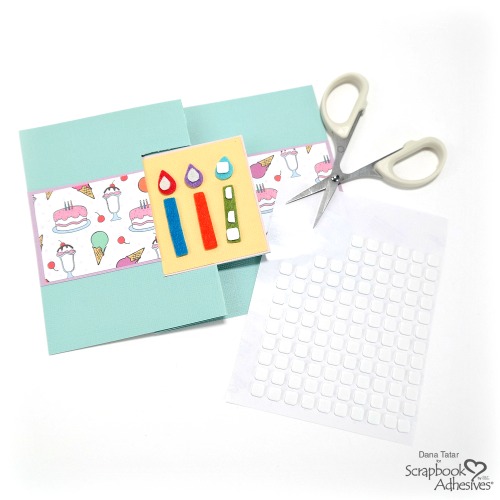
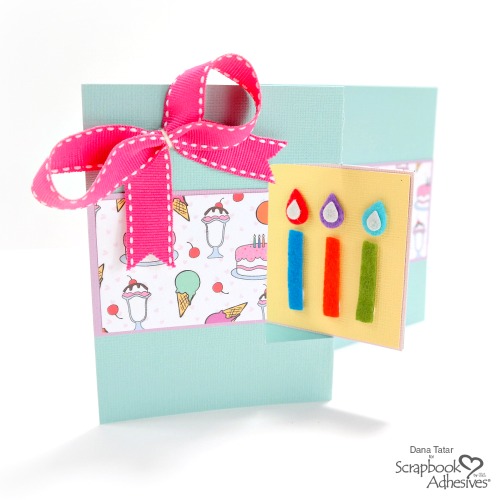
To play up the birthday theme, attach felt candles to the front of the card using Thin 3D Foam Squares.
TIP: You can cut the 3D Foam Squares (or any of our 3D Foam) in half to fit inside the edges of narrow embellishments.
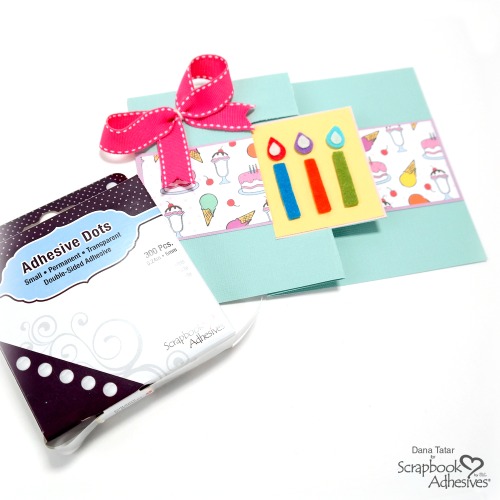
Use a Small Adhesive Dot to attach a vibrant ribbon to the front of the card.
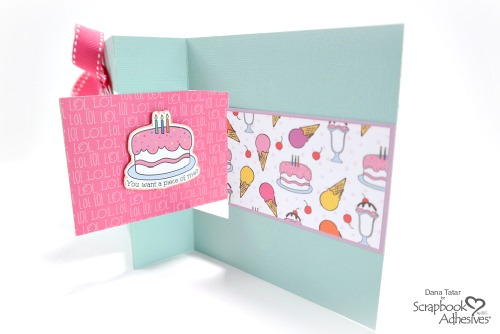
Secure a cake die-cut to the inside of the card. 3D Foam Circles are great for embellishments with curved edges. The sentiment under the cake reads, “You want a piece of me?”
This card is so fun to flip! Creating a stack of punny cards is easy with this design and the great images and sentiments from the No Pun Intended paper collection. Thanks for stopping by today!
~Dana
Creative Time: 60 minutes
Skill Level: Intermediate
Materials Needed
Scrapbook Adhesives by 3L®
E-Z Runner® Ultra Strong Refillable Dispenser
Thin 3D Foam Squares White Mix
3D Foam Circles White Mix
Adhesive Dots Small
Other
Cardstock (Core’dinations); Patterned Paper (Photo Play Paper); Die-Cut Sticker (Photo Play Paper); Felt Candles (Sassafras Lass); Ribbon (Offray)
Pin It!
Visit our Website and Blog!
Sign up for our Newsletter so you never miss a contest or giveaway!


