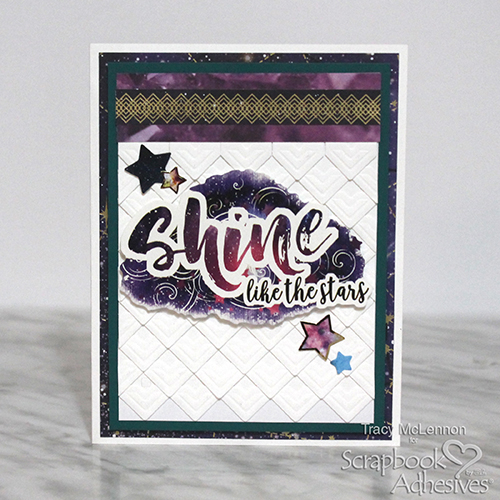
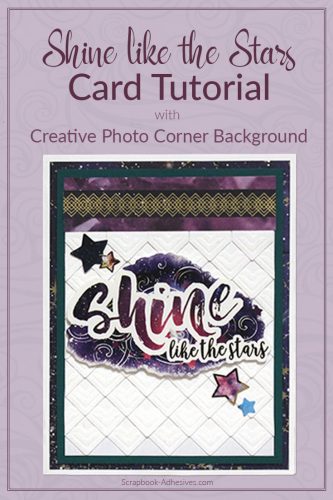
Hello crafty friends! Tracy here, and today I have a fun little texture filled background featuring White Creative Photo Corners on my Shine Like the Stars card.
I love creating with Creative Photo Corners in different ways than JUST holding your photo. Using the same colour of corner and creating a pattern makes a gorgeous textured background for any project.
Textured Background Step Outs
Start by cutting a piece of white cardstock to 3.5 x 4.75-inches. Beginning at the bottom, create rows of Creative Photo Corners White. The first row should have five complete Photo Corners. For the second row, start with half of a photo corner and continue up the card repeating this pattern.
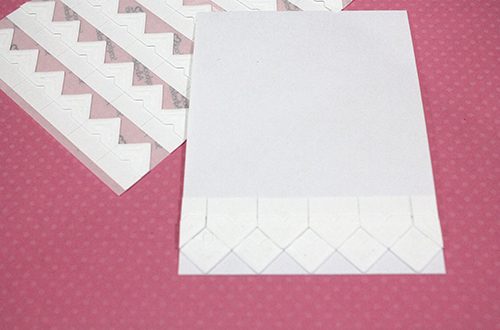
Continue this pattern until you have about 1-inch at the top. Cut a piece of patterned paper that is 3.5 x 1-inch, and a border strip to go on top. Adhere these to the top of the background piece using the E-Z Runner® Petite Permanent Dots Refillable Dispenser.
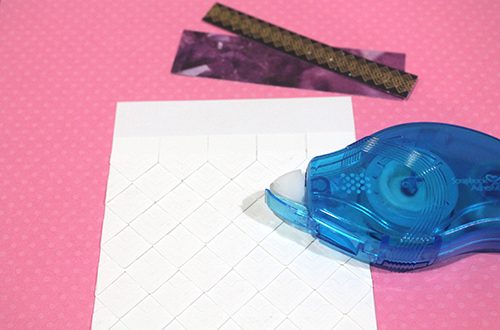
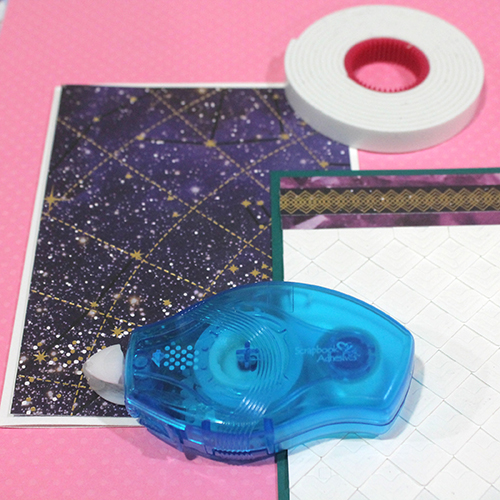
Cut green cardstock to 3.75 x 5-inches and patterned paper to 4 x 5.25-inches. Adhere the patterned piece to the white cardstock base, and the textured background piece to the green cardstock using the E-Z Runner® Petite Permanent Dots Refillable Dispenser.
Adhere the green matted textured piece to the card base using Crafty Foam Tape White.
Complete the card by adding the sentiment sticker using Crafty Foam Tape White, and then a few star embellishments.
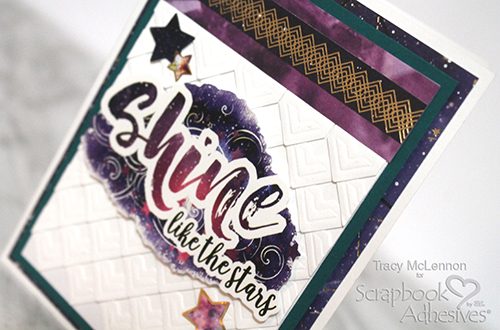
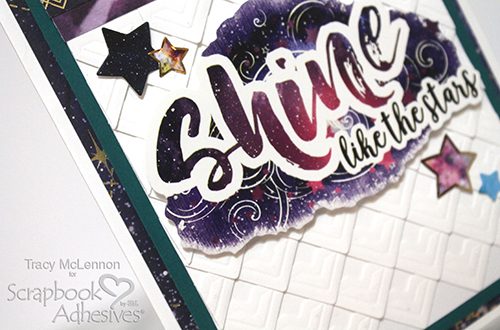
Thanks so much for stopping by to check out my textured background card created using Creative Photo Corners.
Tracy
Creative Time: 30 Minutes
Skill Level: Beginner
Material Needed:
Scrapbook Adhesives by 3L®
Crafty Foam Tape White
Creative Photo Corners White
E-Z Runner® Petite Permanent Dots Refillable Dispenser
Other Products Used:
Paper House Productions- Stargazer Collection (patterned paper, cardstock stickers, faux enamel stickers), Cardstock (White, Emerald Green)
Save it on Pinterest
Visit our Website and Blog!
Sign up for our Newsletter so you never miss a contest or giveaway!


