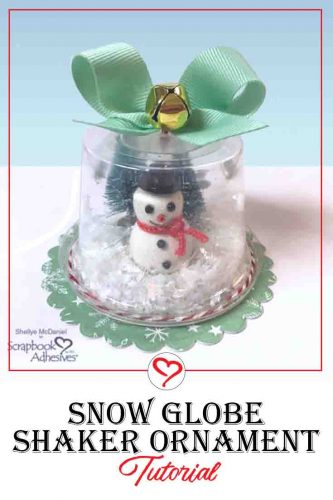
Welcome! Shellye McDaniel here today with a DIY Snow Globe Shaker Ornament. This project tutorial is great for kids and adults!
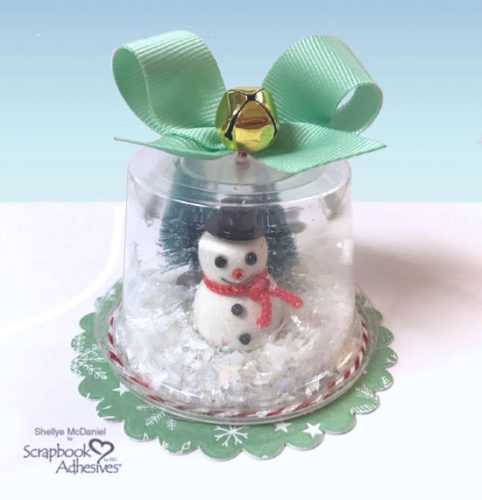
Snow Globe Shaker Instruction
I started with a clear, disposable cup with lid. I found a package of these at my local dollar store. The cup measures approximately 2 x 2 inches.
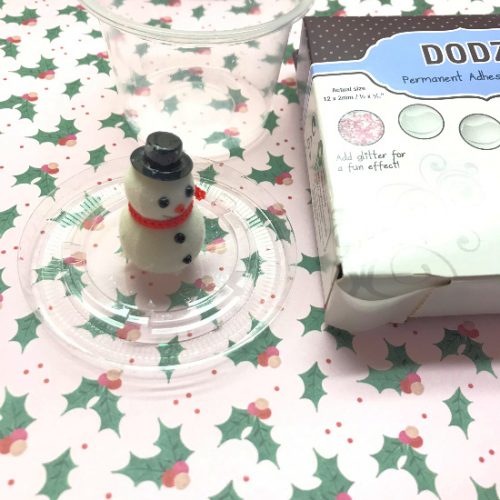
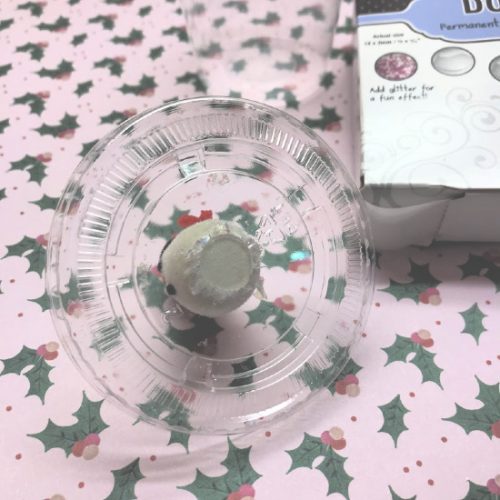
First, I attached a mini snowman figurine and two tiny bottle brush trees to the inside of the lid with Adhesive Dots 3D.
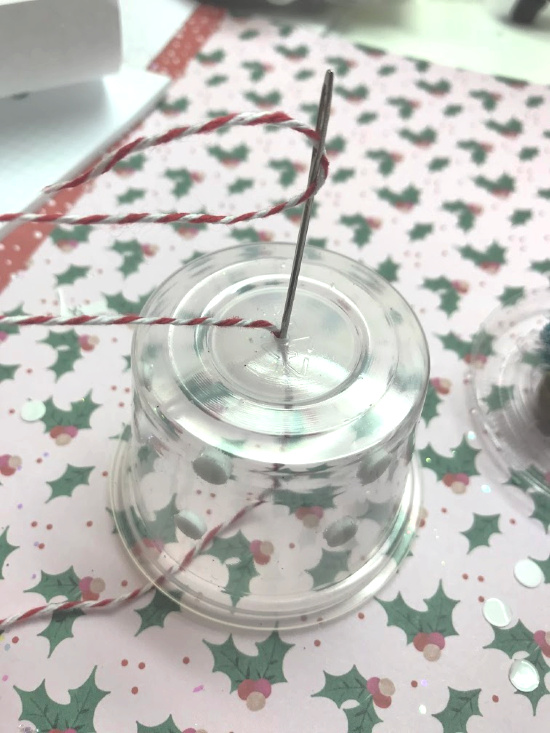
For the hanger, I used a piercing tool to create a hole in the top. With an embroidery needle, thread the Baker’s Twine through the opening and back to make a loop. Cut the end and double knot to secure.
To create a snowy background to the inside of the cup, I used 3D Foam Circles White Mix in the small size. I randomly placed them behind the snowman (using it as a guide). Sprinkle glitter and tap off excess. Done!
Make the Shaker
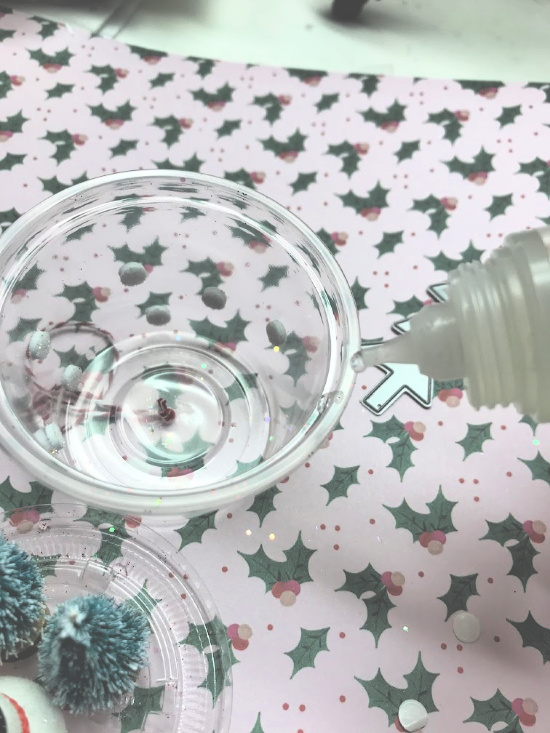
Finally, I added a small handful of glittery snow into the cup. To attach the cup to the lid, I ran a bead of the Dual Tip Glue Pen around the edge. Place the lid onto the cup to seal. To dress up where the cup and lid conjoin, I used the Dual Tip Glue Pen to attach the Baker’s Twine. Perfect!
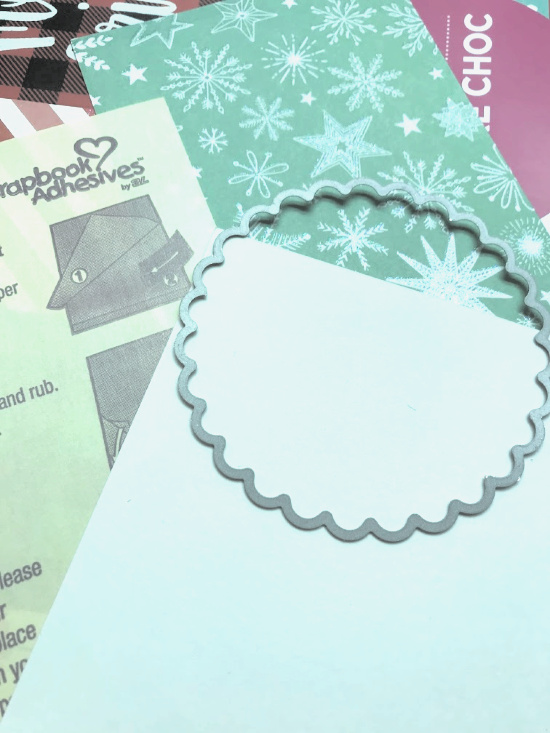
For the base, I wanted to be sturdy so I used a combination of a 3-inch scalloped circle die, lightweight chipboard, paper, and a sheet of Adhesive Sheet 4x6in.
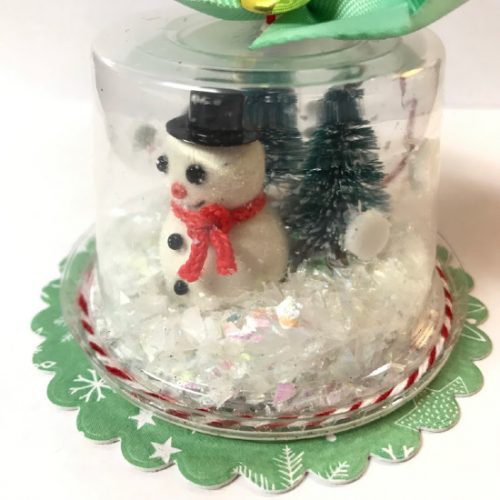
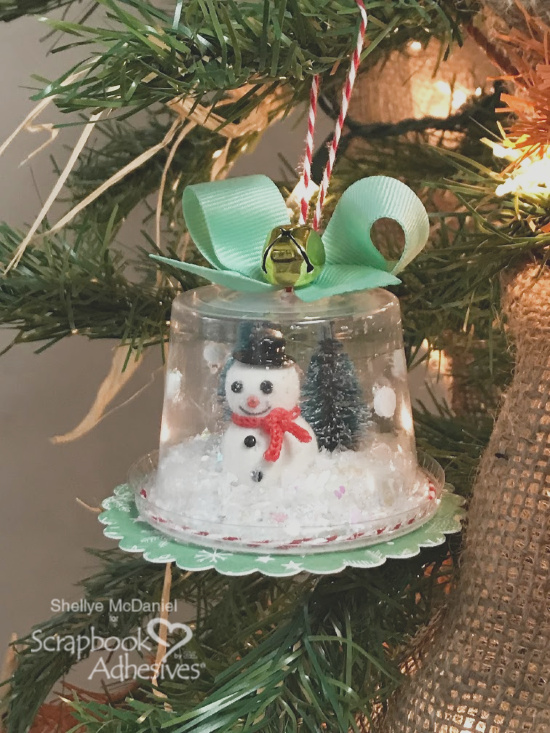
Now isn’t that the cutest ornament? It would look great as part of a tablescape too! With some help, these make a great craft for older children, tweens, and teens too! Here is a second look at the Snow Globe Shaker Ornament.
Creative Time: 30 minutes
Skill Level: Beginner
Materials Needed:
Scrapbook Adhesives by 3L®
HomeHobby by 3L®
Other: Ribbon, Baker’s Twine: Paper Mart; Clear container and Jingle Bells: Dollar Tree; Trees; Snowman; Patterned Paper
Save it to Pinterest!
Visit our Website and Blog!
Sign up for our Newsletter so you never miss a contest or giveaway!


