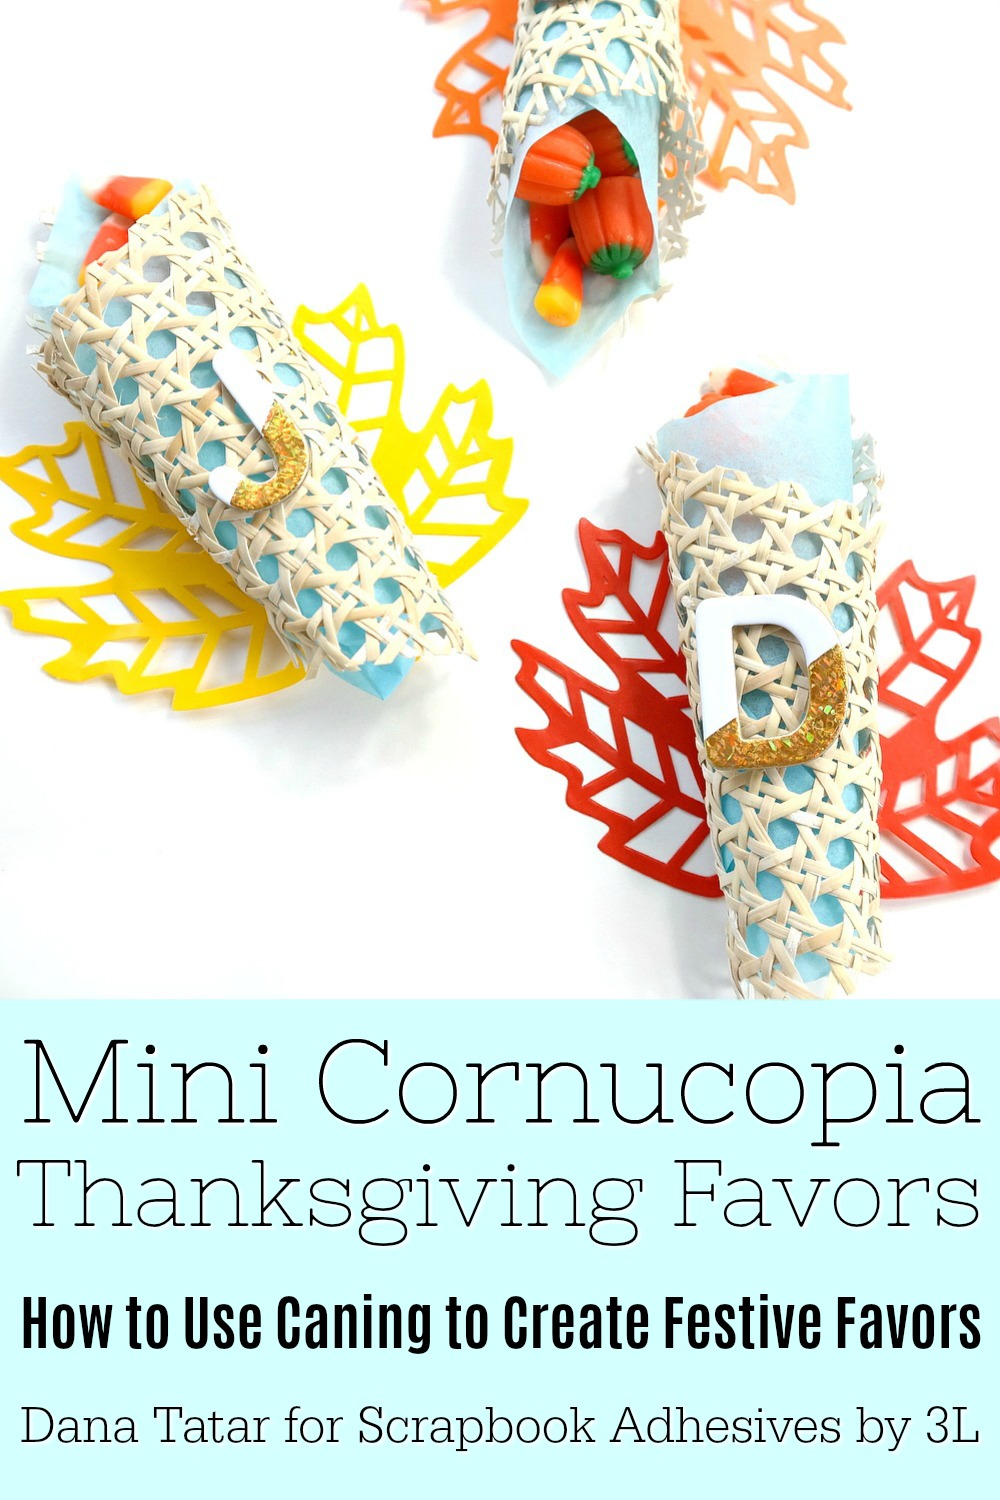
Hi friends! Dana Tatar here today sharing how to create cornucopia favors for Thanksgiving. I’ve hosted Thanksgiving many times, and there always seems to be some unforeseen delays no matter how well I plan. These colorful favors add a festive element to your tablescape and guests can enjoy a sweet treat to help tide them over until the main meal is served.
I love to create projects that are fun to touch! Caning isn’t just for furniture! Its flexibility when softened makes it really fun to craft with. I added color to this cornucopia project with die-cut leaves, tissue paper, and Metallic Transfer Foil, Holographic colors.
Creating Cornucopias from Caning
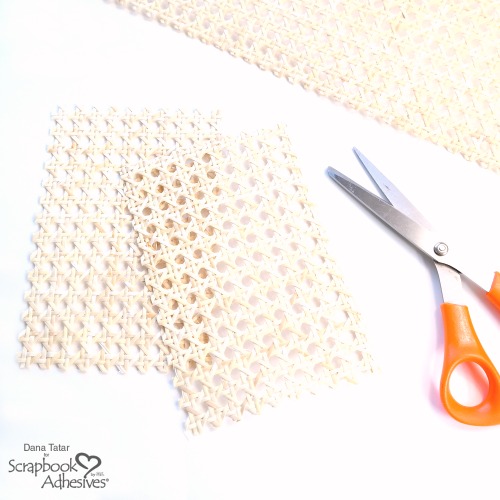
Use scissors to cut rectangles of caning to measure about 7 inches by 4.5 inches.
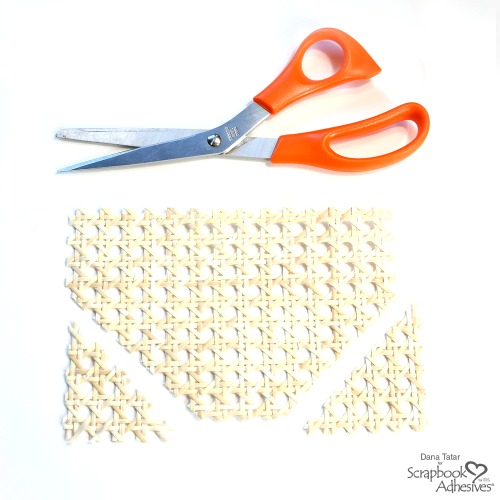
Use scissors to cut away the bottom left and right corners as shown.
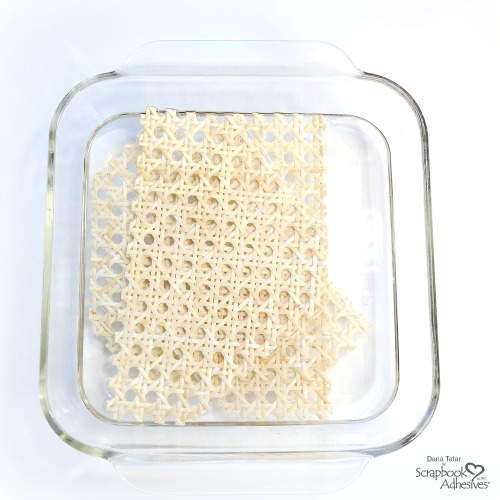
Soak the caning pieces in water for 3 to 5 minutes until pliable.
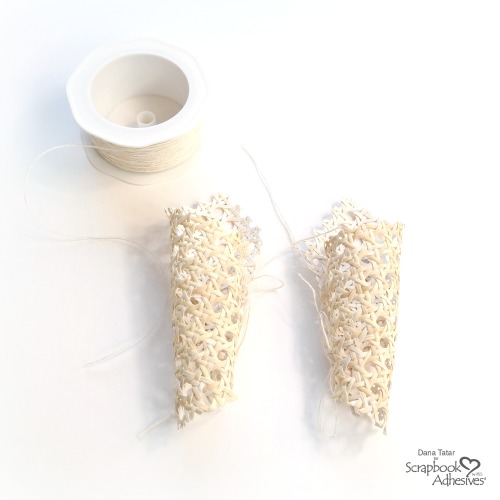
Roll the caning pieces into a cornucopia shape and secure with string. Let the caning dry overnight. When the string is cut away the caning holds its shape.
Festive Accents
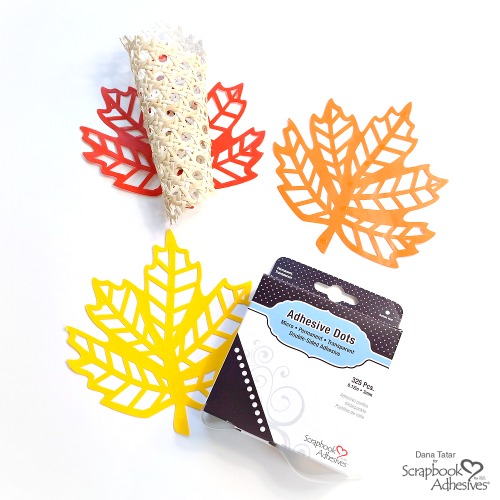
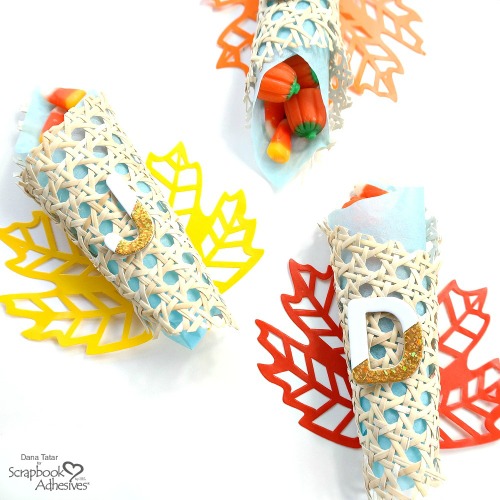
Adhere colorful die-cut paper leaves to the underside of each cornucopia using Micro Adhesive Dots.

Cut small squares from an Adhesive Sheet. Remove the yellow liner and press the adhesive onto the bottom of chipboard letters. Peel away the back liner and cover the adhesive with Holographic Metallic Transfer Foil. Lift off the foil to reveal the foiled letters.
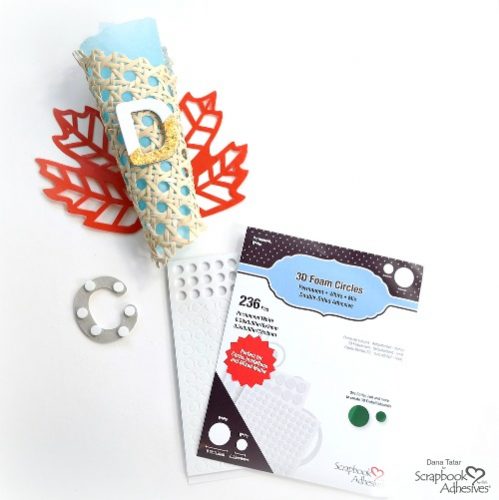
Secure a foiled letter to each cornucopia using Small 3D Foam Circles.
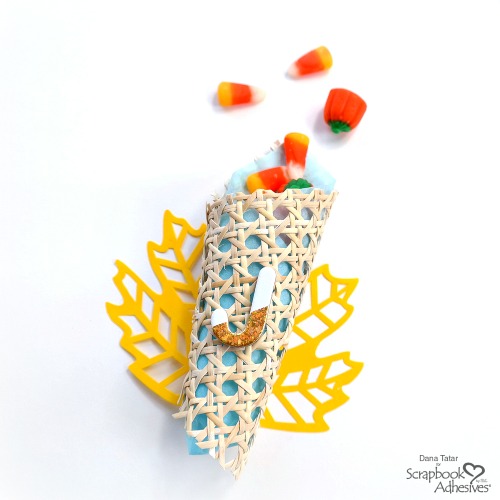
Insert a contrasting color of tissue paper into each cornucopia and fill with a treat.
Until next time!
~Dana
Creative Time: 30 minutes (Plus 24 Hours Drying Time)
Skill Level: Beginner
Materials Needed:
Scrapbook Adhesives by 3L®
Adhesive Sheets 4×6 Inch
Adhesive Dots Micro
3D Foam Circles White Mix
Metallic Transfer Foil Sheets Holographic Colors
Other: Die-Cut Leaves (American Crafts); Chipboard Letters (Studio Calico); Tissue Paper; String; Caning
Save it on Pinterest!