
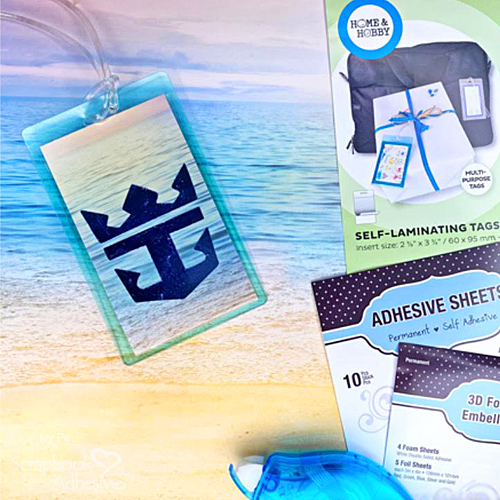
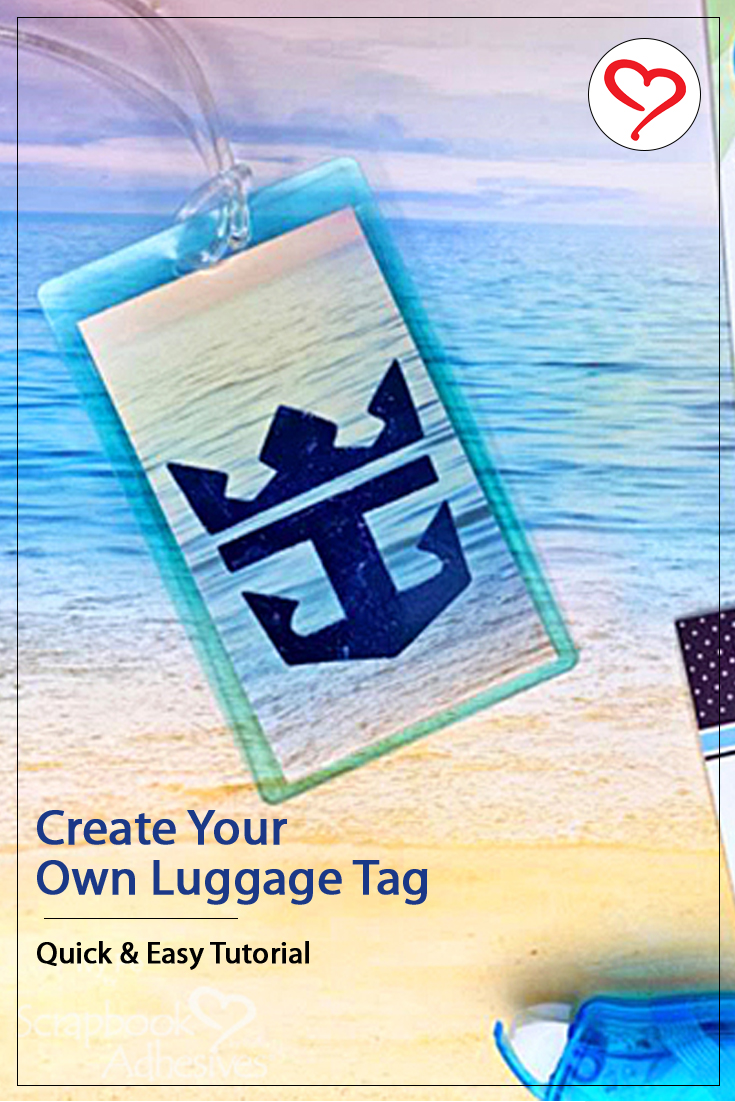
Hi, Ivy Pe here! Are you planning on a vacation soon? How about making custom luggage tags to accent your bags! I am so excited because we are going on a cruise – my husband’s first time! Using these Self-Laminating Tags with Loops will make it so easy. Let me show you!
Custom Luggage Tags Instructions
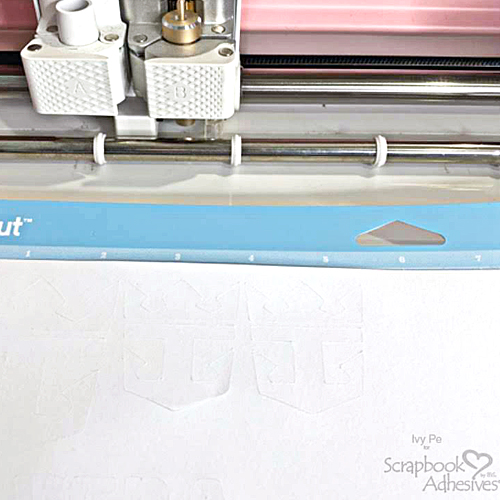
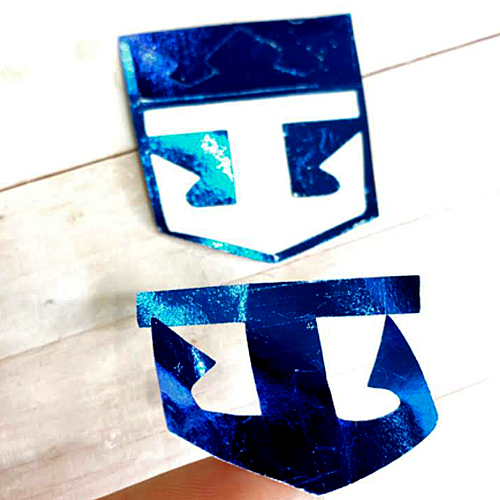
These tags need to stick out so why not make my design BOLD with the Metallic Transfer Foil Sheets. First I had to cut out my design with label paper to give it support and to make it a foiled sticker. Using the washi tape setting of my electronic file cutting machine, I cut my shape.
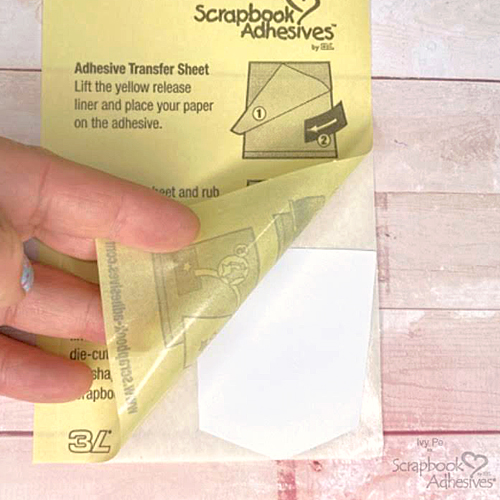
Once cut and peeled off the mat, I placed it cut side down on the Adhesive Sheet 4 x 6-in. Simply peel off the liner, place the paper down and replace the liner and rub the paper to transfer the adhesive.
Designer’s Tip: Burnish well with your fingertips, rounded side of a bone folder or plastic card for a good transfer.
Foiling My Design
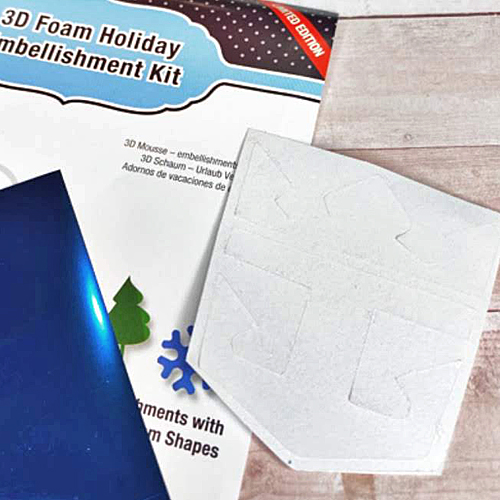
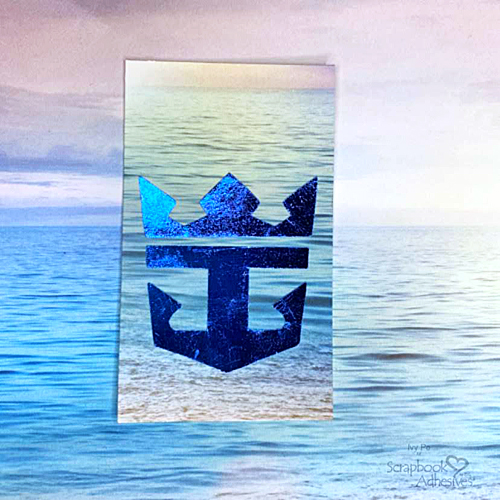
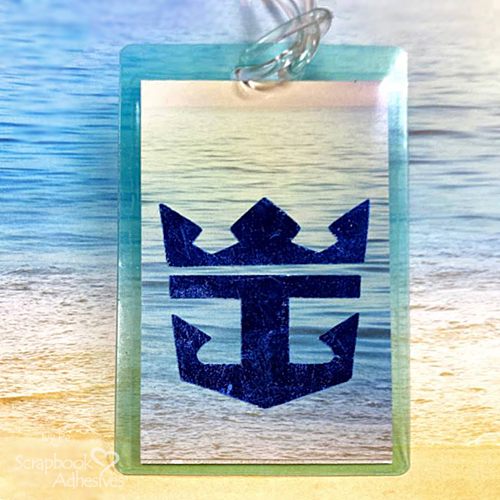
Once you have your edge-to-edge adhesive coverage, you are ready to foil! There are five colors of the Metallic Transfer Foil in the 3D Foam Holiday Embellishment Kit. I chose the blue color. Place the color side up, over the design and gently rub the foil to transfer the color.
If you missed a spot or two, reapply the foil. I love that you don’t need a machine for this step. Instant gratification! LOL!
Creating the Tag Base
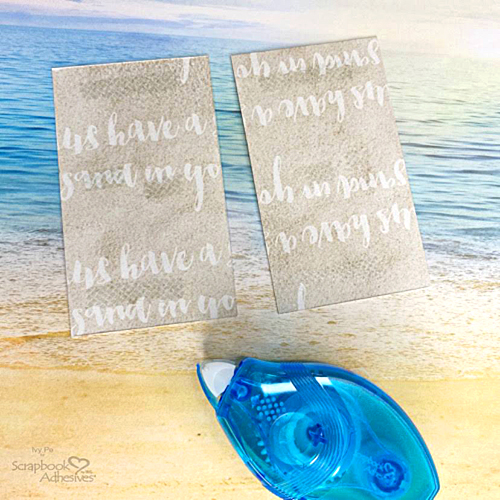
Cut two pieces of 2.25 x 3.34-inch patterned paper. one for the front and one for the back. Place the foiled design in the center of the front piece and our contact information on the back piece. Attach them together using the E-Z Runner Petite Permanent Dots.
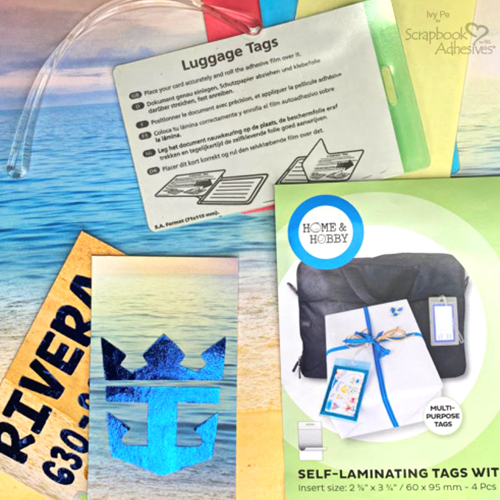
Now it’s the fun part! Center the cardstock onto the inside of the Self-Laminating Tag, making sure the color side is covering the contact information for a little privacy and the clear side is covering the design side. Pull the liner off and assemble the tag. Thread the loop through the opening and you’re done!
Make these Custom Luggage Tags for all your bags for your vacation. Thanks for stopping in! Bon Voyage!
Ivy
Creative Time: 40 minutes
Skill Level: Advanced
Materials Needed:
Scrapbook Adhesives by 3L®
Adhesive Sheets 4 x 6 in.
3D Foam Holiday Embellishment Kit
E-Z Runner® Petite Permanent Dots Refillable Dispenser
HomeHobby™ by 3L
Self-Laminating Tags with Loops
Love It and Save It to Pinterest!
Visit our Website and Blog!
Sign up for our Newsletter so you never miss a contest or giveaway!


