
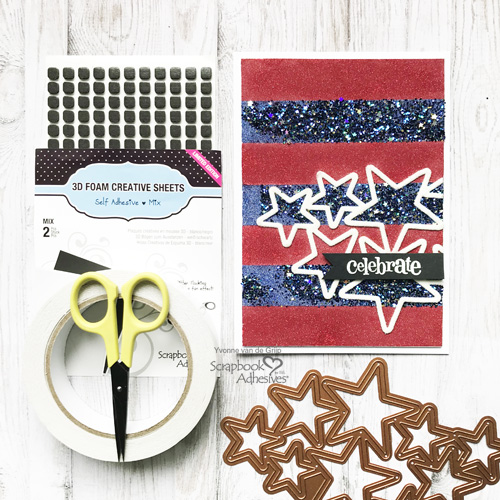
Hi everyone, Yvonne here to celebrate and sparkle with a 4th of July card! Let’s shine for the upcoming 4th of July celebration using sparkly items to Wear Your Adhesive on the Outside with glitter. Shall we get this party getting started? Let me show you how I made my card.
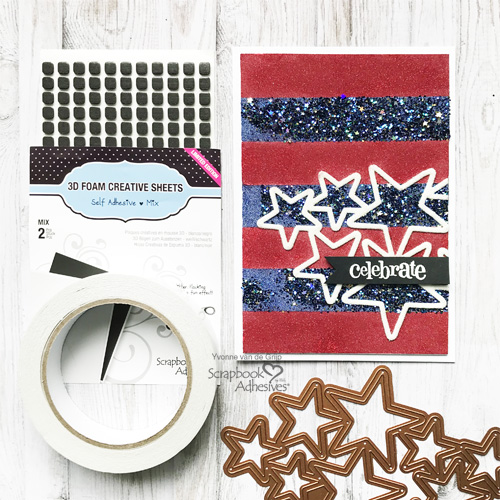
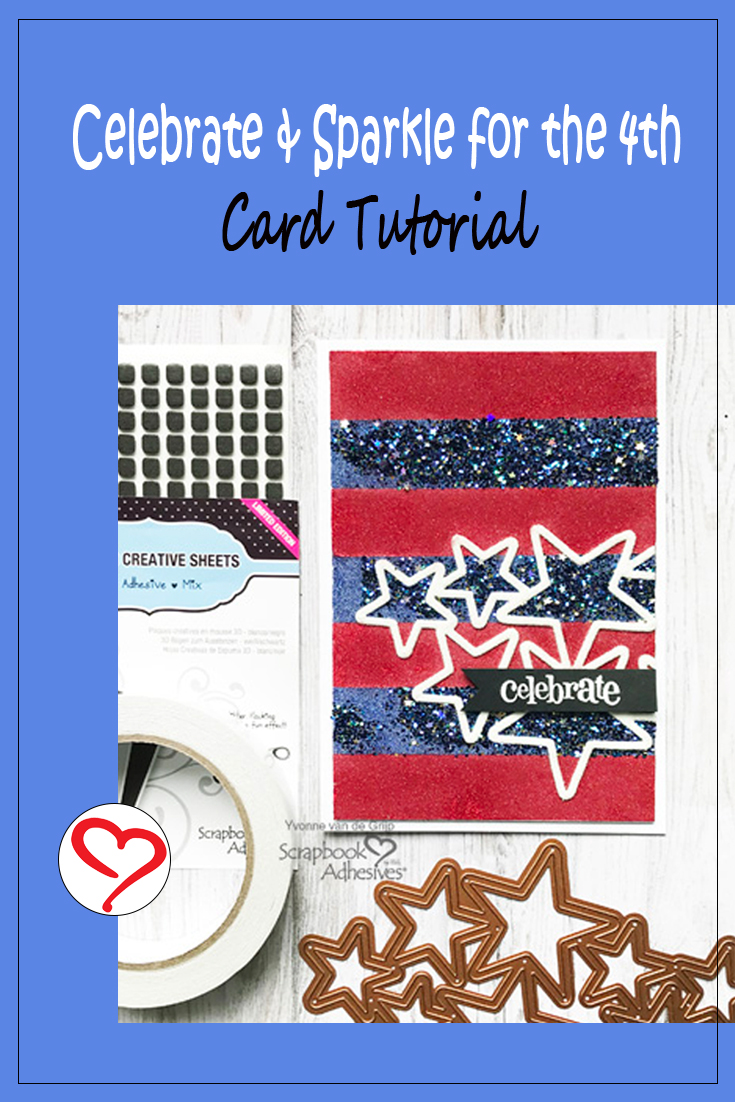
Celebrate & Sparkle
We’re adding sparkle to this card, using the Wear Your Adhesive on the Outside technique. Instead of hiding your adhesives between layers of cardstock or materials, they become the embellishment or accent on your project. On this 4th of July card, this technique will be used to make an all-over glitter card!
Prepping the Card Panel
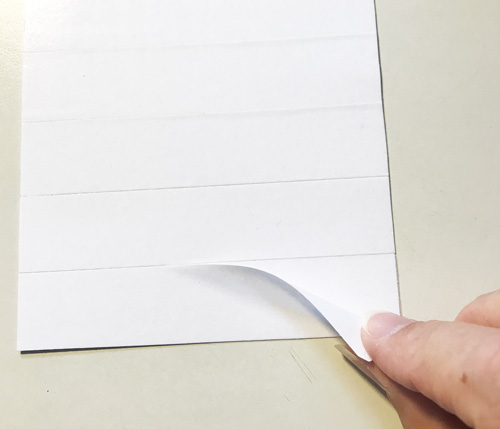
Trim a piece of white cardstock to a rectangular shape for the card panel. Next, place a strip of Premium Double-Sided Tape 1-inch horizontally. Continue to cover the entire panel in this fashion, making sure are no gaps between the tape.
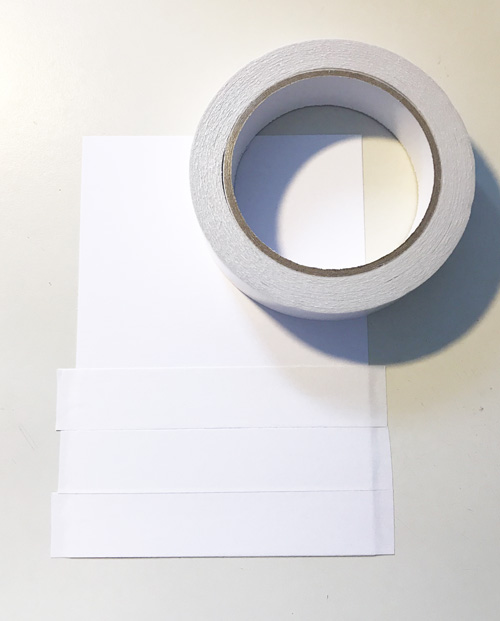
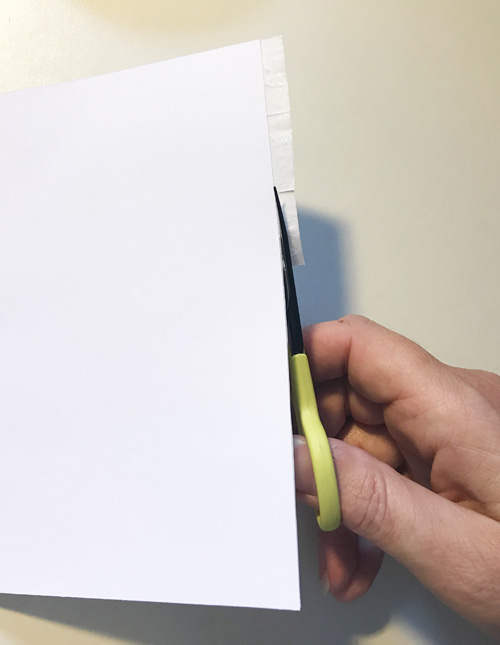
I used seven rows of the Premium Double-Sided Tape 1-inch. Cut off any excess with a pair of scissors.
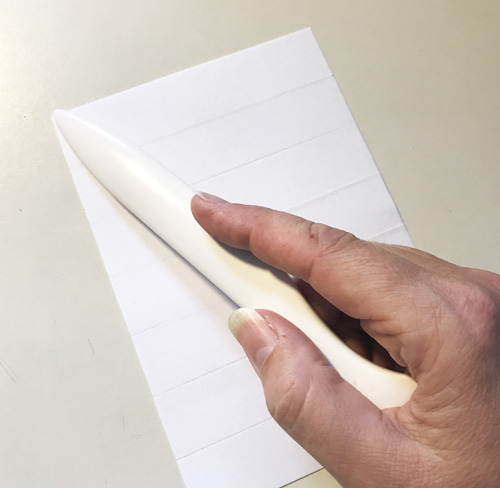
Make sure that everything has securely adhered, and even by using a bone folder.
Sparkle On
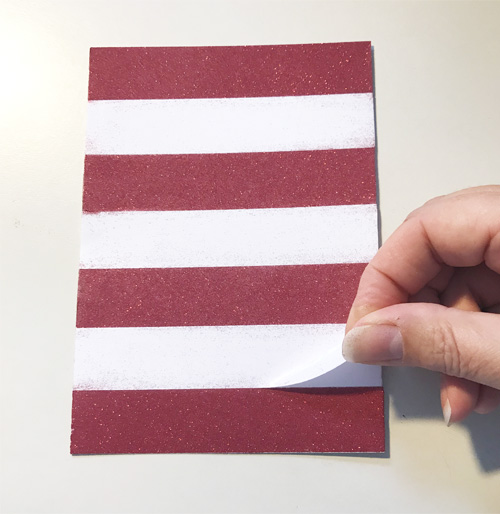
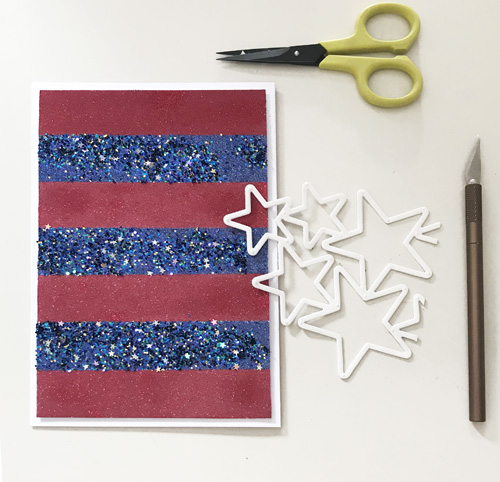
Now for the fun part! Remove the liners of the first, third, and seventh stripe (tape). Then cover the exposed adhesive with red glitter. Push and burnish the glitter into the adhesive to secure. Tap off the excess.
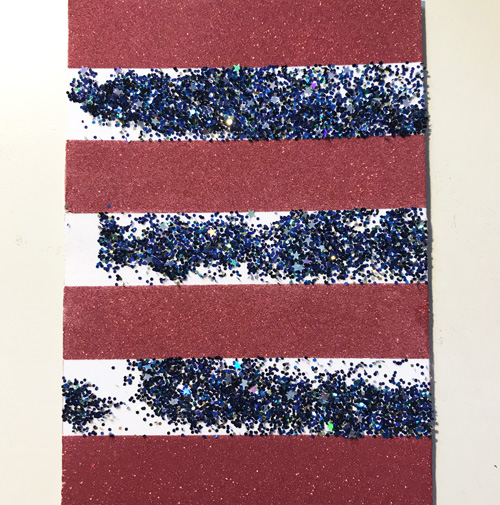
Remove the liner from the remaining stripes (the second, fourth, and sixth tape). These stripes will be in blue. I used two types of glitter. First, sprinkle the glitter with little stars and tap off. Then use fine blue glitter to fill in. A fun way to create with glitter! But wait, there’s more! LOL!
Outstanding Stars
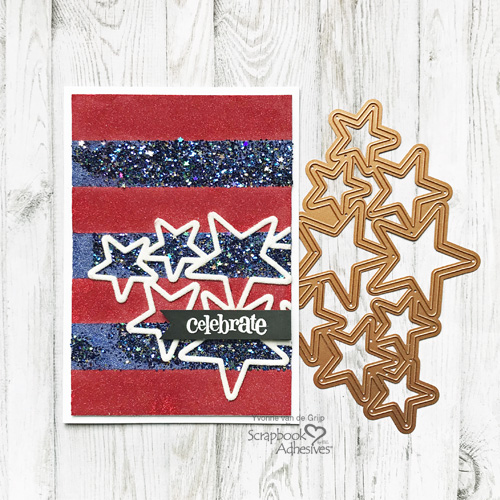
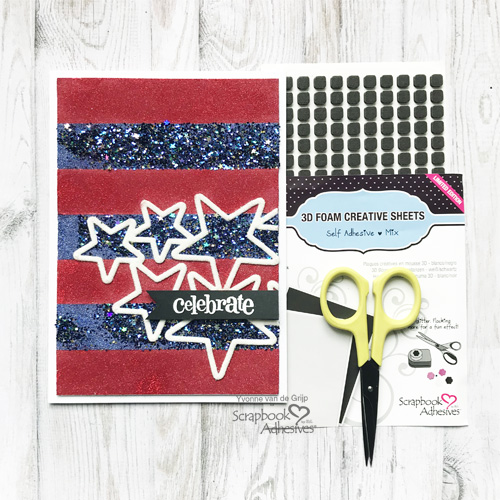
Die-cut the stars from a white sheet of 3D Foam Creative Sheets Mix. This gives you beautiful star shapes with dimensions. It cuts like butter without dulling or have build-up on your blades. Carefully remove the liner and adhere the stars to the glittered top card panel.
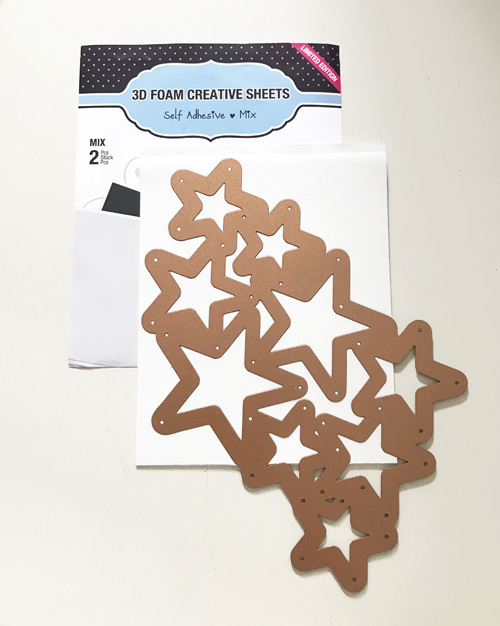
Use your fingers to rub the star shapes onto the card to affix it firmly. Cut off any excess with scissors or a craft knife. Next, remove the top liner of the stars and sprinkle white glitter on top. Don’t forget to push the glitter in to secure and then tap off any excess. That’s how you Wear Your Adhesive on the Outside!
Finish the Card
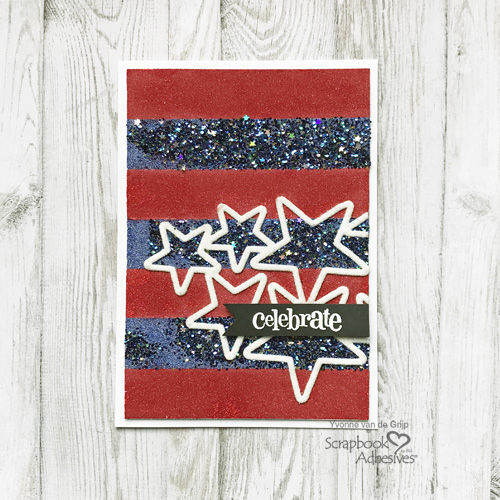
Create a white card base slightly larger than the glittered card panel. Adhere the card panel to the card base with Crafty Foam Tape 108ft.
For the sentiment, stamp with embossing ink onto a piece of black cardstock and sprinkle white embossing powder. Melt the with a heating tool. Cut to a banner shape and adhere it to the card using 3D Foam Squares Black Mix.
Voila! Your Celebrate & Sparkle 4th of July Card is ready to shine!
I hope you enjoyed the tutorial and wish you happy crafting!
Yvonne van de Grijp
Creative Time: 40 minutes
Skill Level: Intermediate
Materials Needed
Scrapbook Adhesives by 3L®
3D Foam Creative Sheets Mix
3D Foam Squares Black Mix
Crafty Foam Tape 108ft
HomeHobby™ by 3L
Premium Double-Sided Tape 1-inch
Other
Etched Dies and Die Cutting Machine: Spellbinders® Paper Arts (Cascading Stars (ret.) & Platinum 6 Machine); White Cardstock; White, Red, Blue, Blue with Stars & Mini Sequins Glitter; Stamp: Penny Black (Sweet Wishes); Emboss Ink Pad; Embossing Powder: WOW! Embossing Powder (Opaque Bright White); Bone Folder; Paper Trimmer; Scissors; Craft Knife
Save It to Pinterest!
Visit our Website and Blog!
Sign up for our Newsletter so you never miss a contest or giveaway!


