
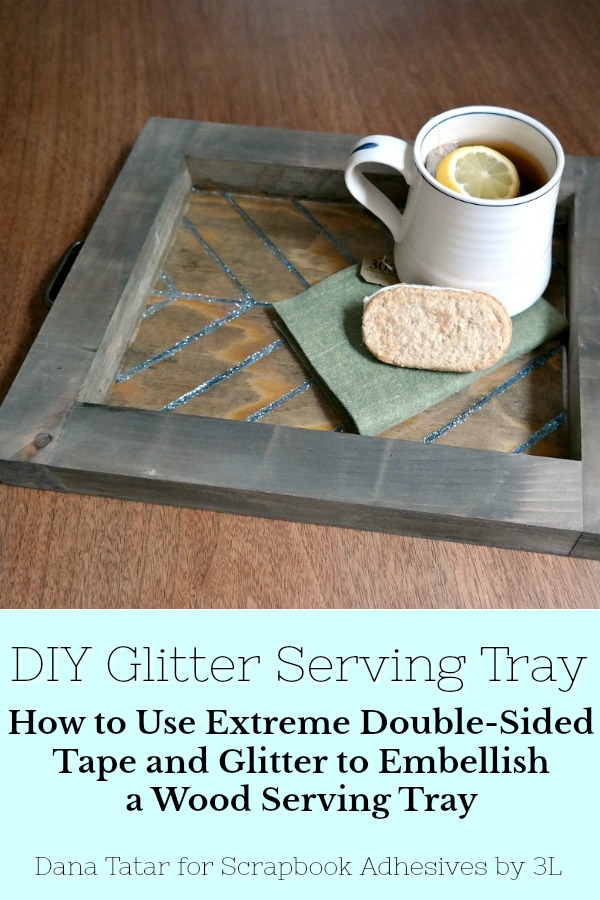
Hi friends! Dana here today sharing how to add a touch of glamor to a rustic wood serving tray using Extreme Double-Sided Tape and glitter. With the holiday season fast approaching, I wanted to be sure to have an extra tray on hand.
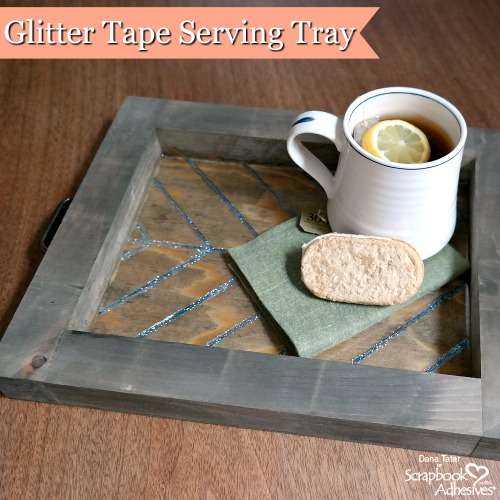
I had a lot of fun embellishing this serving tray. I kept the wood natural, but some stenciling or a coat of paint would also look fantastic in addition to the glitter stripes.
How to Add Glitter to a Wood Serving Tray
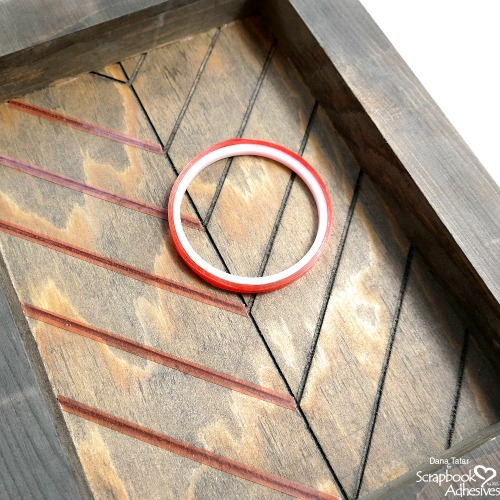
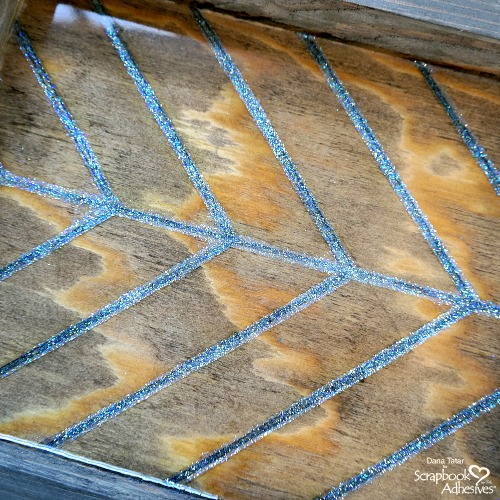
Apply 1/4-inch Extreme Double-Sided Tape across the bottom of a wood serving tray. The tray I used was made of wood pieces placed in a chevron pattern. I simply applied the tape over the seams on the bottom of the tray.
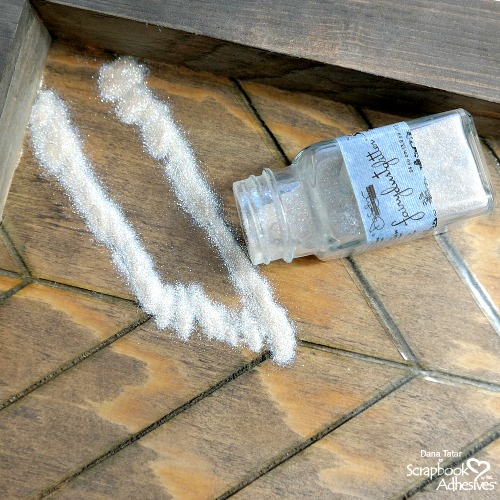
Next, remove the top red liner from the tape and sprinkle glitter onto the adhesive.
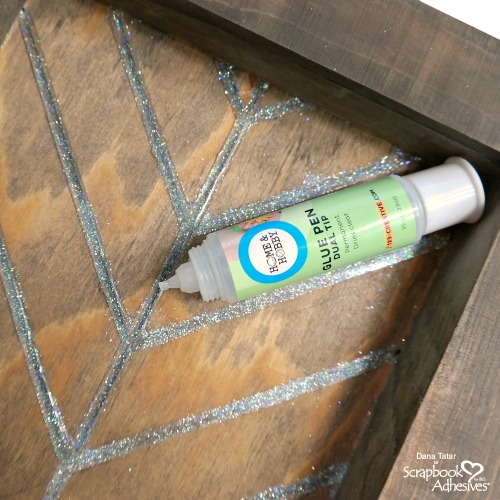
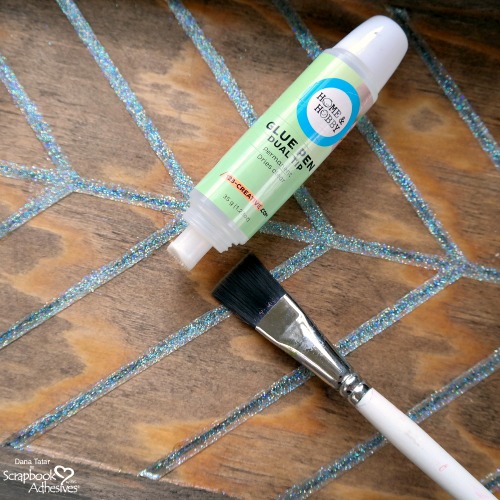
Once the tape is covered in glitter, seal the sparkly stripes using the fine tip of a Dual Tip Glue Pen. Let dry.
Finishing Steps
After the glitter stripes have dried, use the wide brush on a Dual Tip Glue Pen to add a layer of glue to the bottom of the serving tray in preparation for a layer of resin. Spread the layer of glue smooth with a paintbrush. Let dry.
Mix up a batch of resin according to the manufacturer instructions and pour over the bottom of the tray. Let dry.
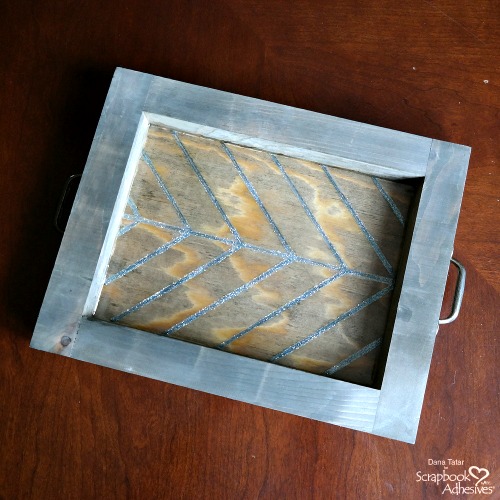
The glitter and resin finish on this serving tray really catches the light in a fantastic way!
Thanks for stopping by today! I hope I have inspired you to try using adhesives in home décor projects.
~Dana Tatar
Creative Time: Active Crafting Time: 30 minutes; Drying Time: 3 Days
Skill Level: Beginner
Materials needed:
HomeHobby™ by 3L
Extreme Double-Sided Tape 1/4in
Dual Tip Glue Pen
Other
Rustic Wood Serving Tray: Jillibean Soup; Glitter: Clearsnap; Resin
Pin It!
Visit our Website and Blog!
Sign up for our Newsletter so you never miss a contest or giveaway!


