
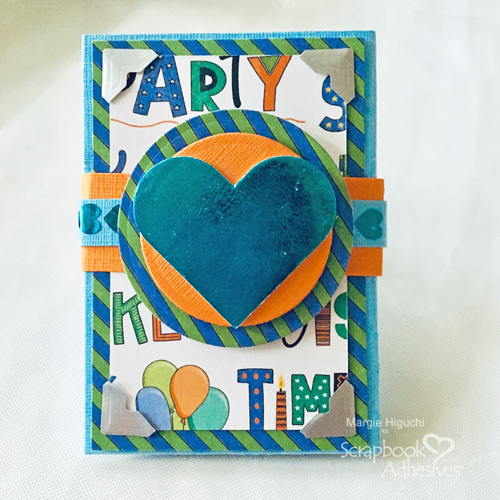
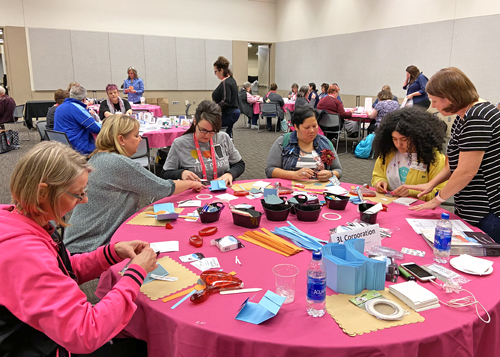
Hello, everyone! Margie Higuchi here today with a fun project. Scrapbook Adhesives by 3L participated in a retailer’s symposium at the Creativation trade show back in January. This birthday origami wallet project was the make ‘n take that we shared there. Many inquired about this project so why not share here on the blog for all to enjoy!
Origami Wallet Base
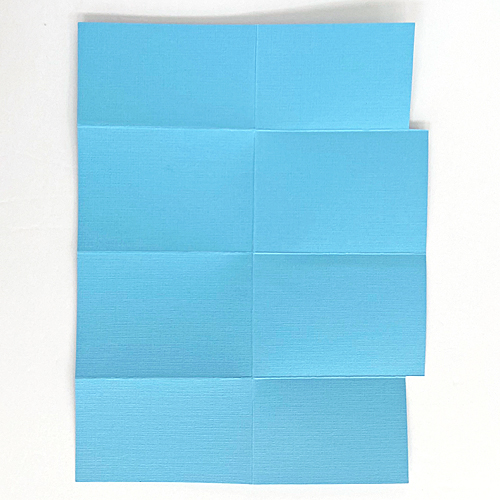
Using an 8.50 x 11-inch blue cardstock, score 2.50, 5.50, and 8.50-inch on the long side. Turn the cardstock on its short side and score at 4.25-inch. Burnish all the score lines.
Keeping the cardstock on the short side, cut 0.50-inch inward on the top and bottom right side up to the intersecting scoreline.
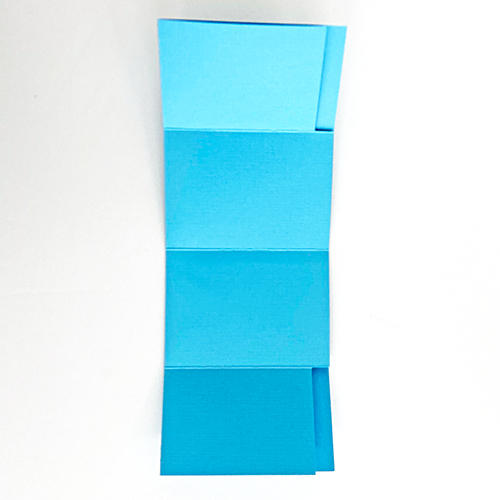
Staying on the short side, fold the cardstock in half. This will be your wallet base.
Folding Details
On the long side of the folded cardstock, bring the left end panel in towards the center.
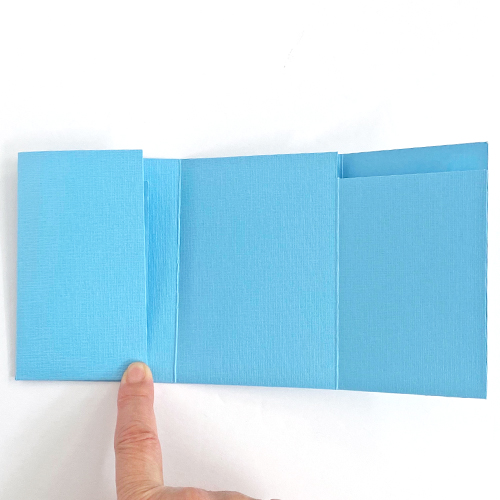
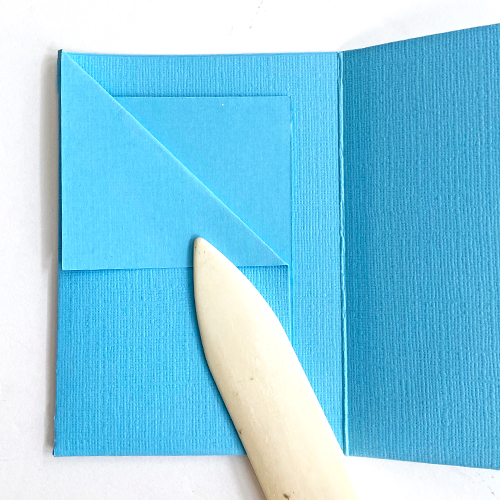
Take the upper right corner and pull it towards the outer edge. It will form a triangle. With a bone folder, crease the line to make a triangle flap.
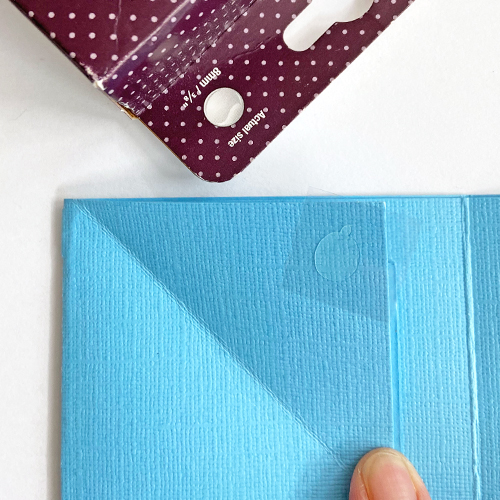
Secure the back corner with Adhesive Dots Medium. Repeat on the other side.
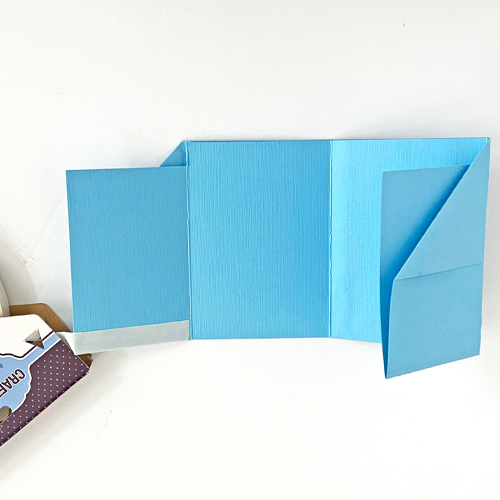
To finish, apply Crafty Power Tape 81-ft. to the bottom of the back pocket and adhere to make a back pocket. Repeat on the other side.
Embellishing the Wallet
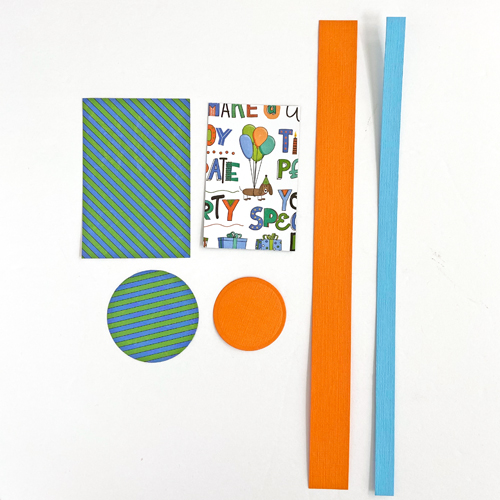
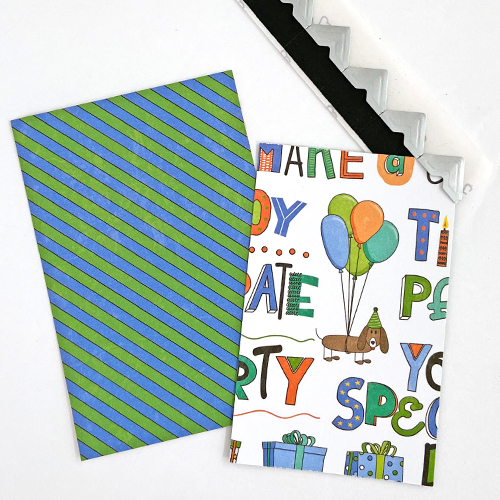
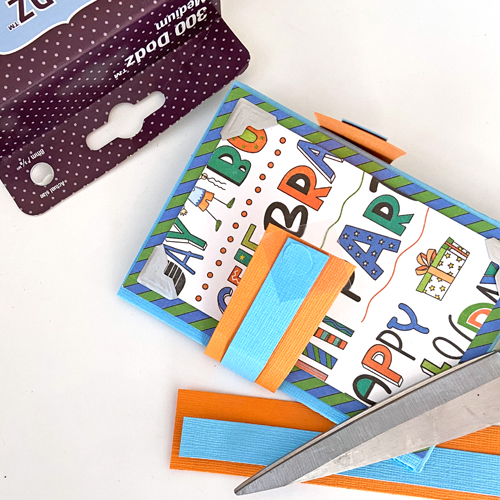
Now for the fun part! Cut the following to create the wallet front and belly band.
- Two rectangles: 2.75 x 3.75-inch stripe patterned paper and 2.25 x 3.25-inch birthday patterned paper.
- Two circles: 2-inch diameter striped patterned paper and 1.5-inch orange cardstock.
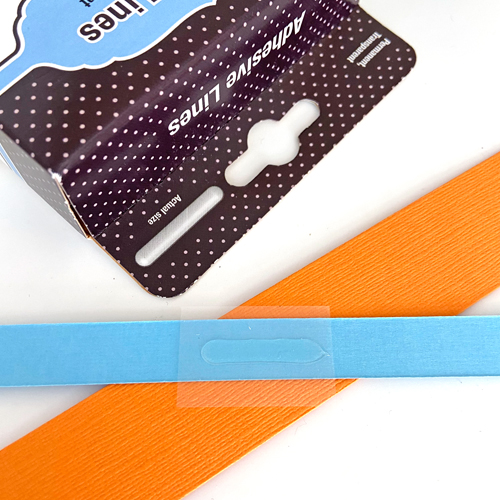
- Two strips: 7 x 1.50-inch orange cardstock and 7 x 0.50-inch blue cardstock.
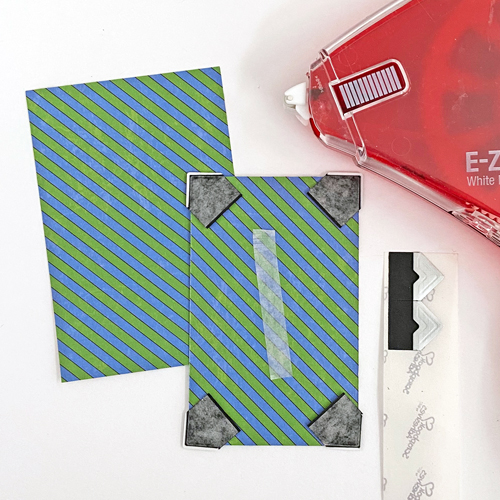
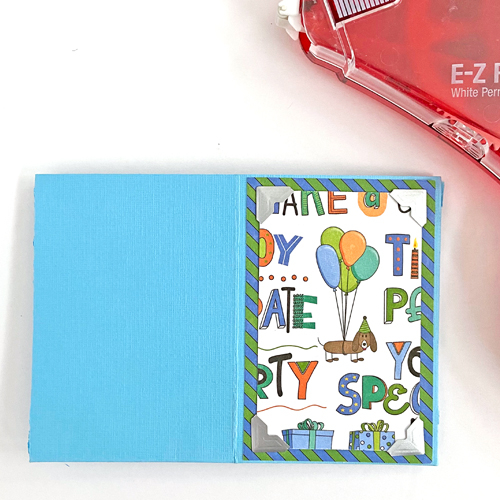
Layer the smaller rectangle on top of the larger piece by placing a Creative Photo Corner Silver on each corner and then add a strip of the E-Z Runner Grand Refillable Dispenser. Center the layered panel on the wallet front.
Making the Belly Band
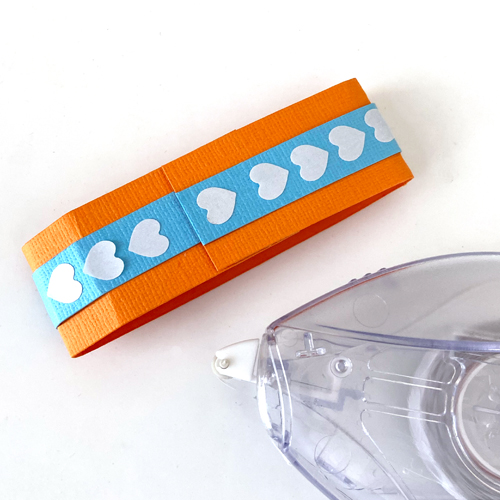
Adhere the two strips together (the blue over the orange) by adding an Adhesive Lines in the middle. Wrap the layered strip around the wallet to figure out how long you need the band to be. Place the end facing up and on top of your wallet front. Trim excess and secure the end with an Adhesive Dots Medium.
Embellishing the Band
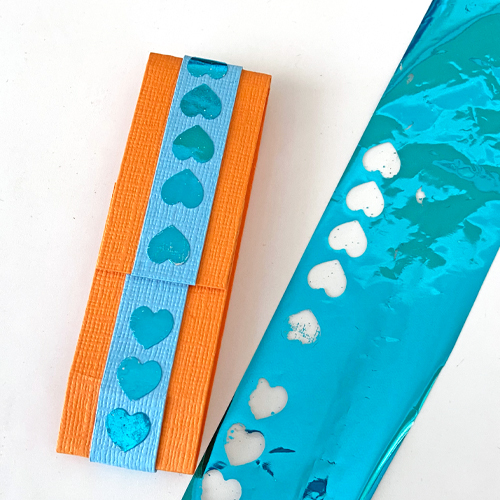
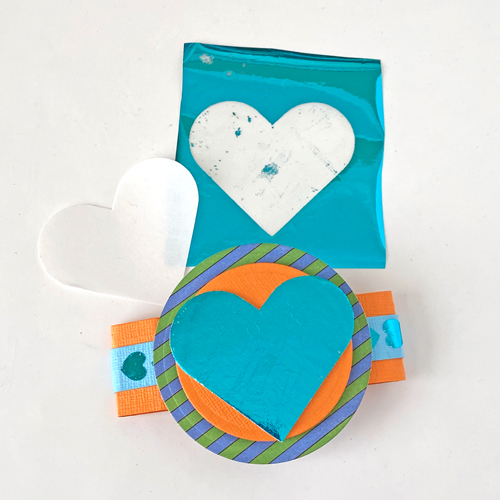
With the belly band end facing up, slowly roll the E-Z Heart Runner (a 15-year anniversary adhesive distributed at the trade show) on top of the blue cardstock strip, place Metallic Transfer Foils Variety Colors in teal color-side up and rub with your fingertip to transfer the color to the hearts. Re-foil in missed areas. Set aside.
Let’s work on the circle pieces. Layer the smaller circle on top of the larger striped one by adding 3D Foam Strips on the back. Trim the 3D Foam Strips to size to fit the back of the circle. Using the Adhesive Lines, apply a couple on the back of the layered circle and adhere on top of the belly band.

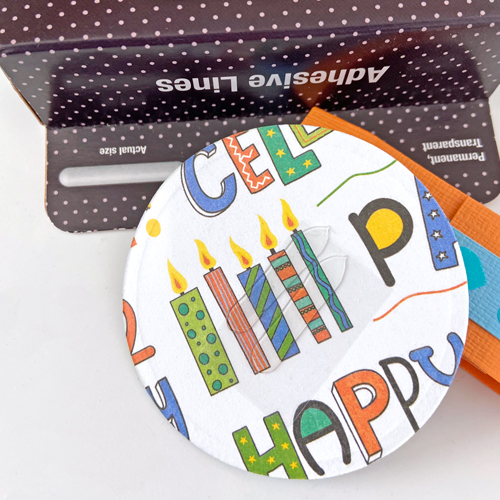
Add a 3D Foam Hearts in the largest size on top of the orange circle. Remove its top liner, place Metallic Transfer Foils Variety Colors in teal color-side up and rub with your fingertip to transfer the color to the heart. You’re Done!
I hope you enjoyed this Birthday Origami Wallet. It was a lot of fun to create! Below I am sharing some pictures from the event.

Thanks for stopping by!
Margie Higuchi
Creative Time: 35 minutes
Skill Level: Intermediate
Materials Needed:
Scrapbook Adhesives by 3L®
E-Z Runner Grand Refillable Dispenser
Creative Photo Corners Silver
3D Foam Strips
3D Foam Hearts
Adhesive Dots Medium
Adhesive Lines
Metallic Transfer Foils Variety Colors
Crafty Power Tape 81-ft.
Other
Patterned Papers: Photo Play Paper Co. (Time to Party Patterned Paper fm: Birthday Boy Wishes Collection); Cardstock: My Color Cardstock/My Mind’s Eye (Marine Blue and Sweet Potato); Craft Dies: Spellbinders® Paper Arts (Standard Circles Large); Score Board and Bone Folder; Paper Trimmer
Save to Pinterest!

Visit our Website and Blog!
Sign up for our Newsletter so you never miss a contest or giveaway!


