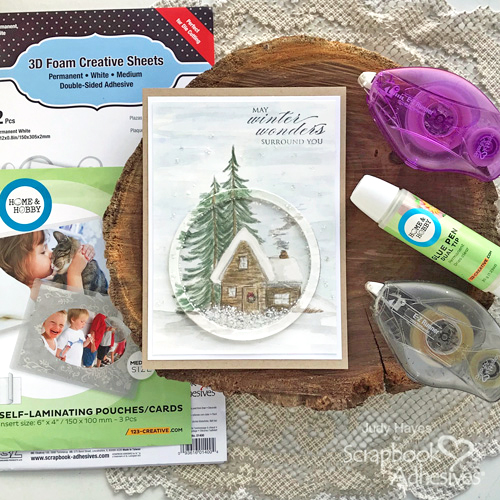
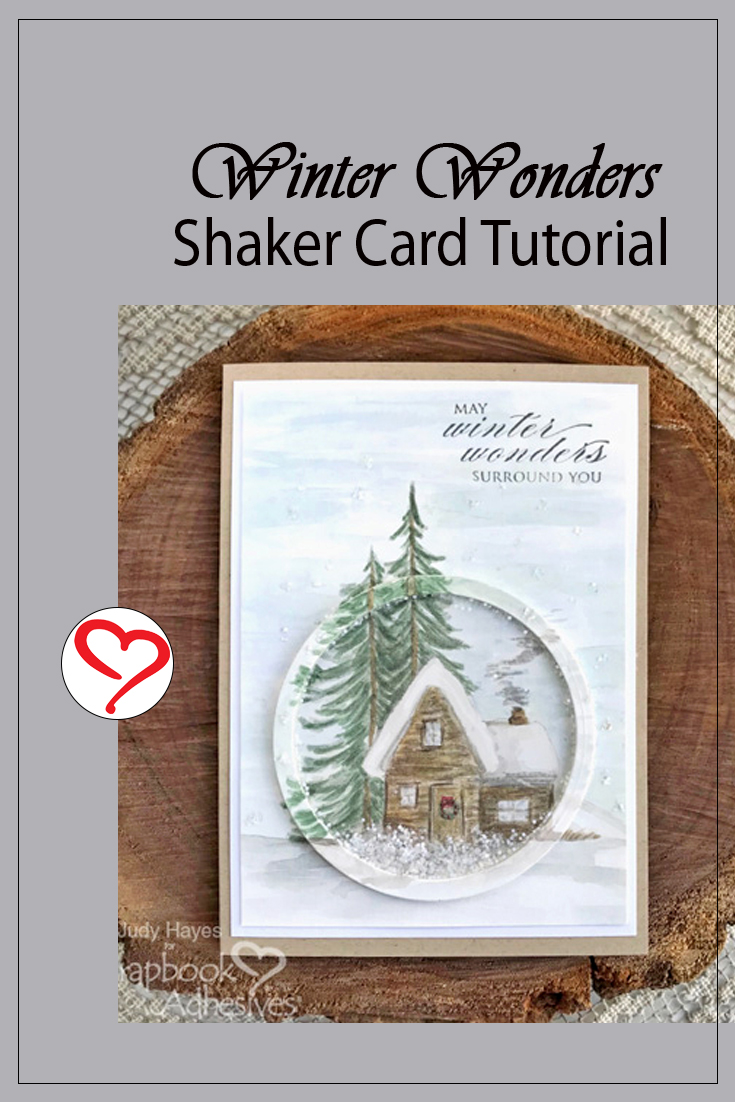
Hello crafty friends! Last week winter officially arrived. Where I live that usually means snow and cold. That inspired me to make this Winter Wonders Shaker card.
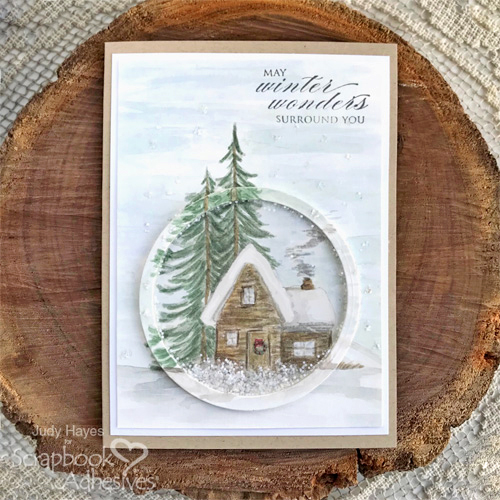
Lately, I’ve been using watercolors with my stamping. I really like that I can mix colors to my liking! Plus I like the softness of watercolors.
Winter Wonders Watercolor Panel
To make this card, stamp the image with pale gray ink on 5 x 7-inch watercolor paper.
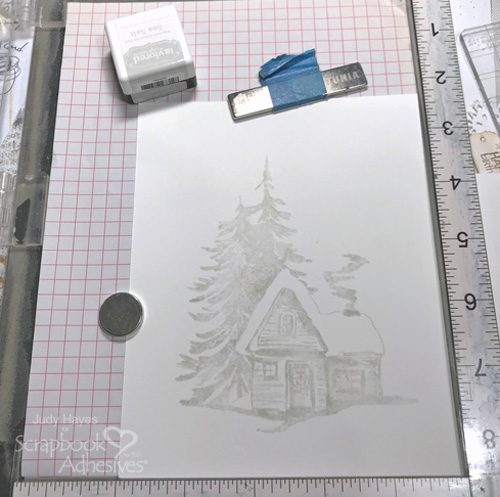
I used a stamp positioning tool to get a good image. Sometimes the texture of watercolor paper requires stamping 2 or 3 times to get a clear image. Watercolor over the stamped image using it as a guide.
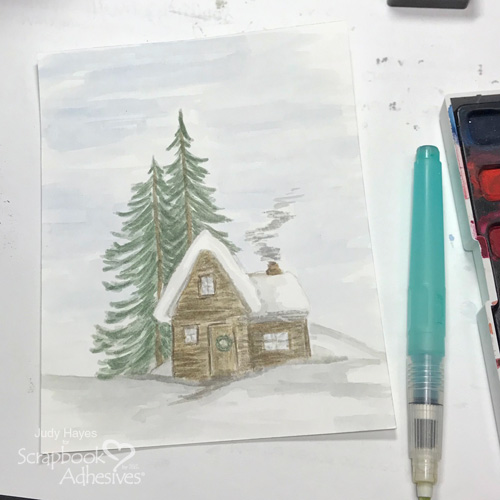
Layering the Panel
Trim the stamped image panel to 4.5 x 6.25 inches. Then layer behind it with a 4.75 x 6.5-inch white cardstock mat. Next, form a 5 x 7-inch card base from a Kraft cardstock.
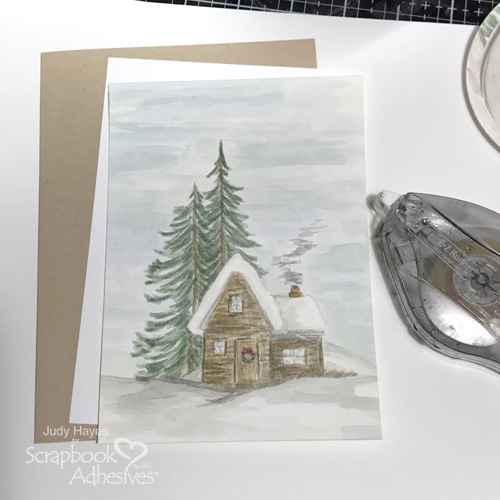
Secure the layered panel to the card base using E-Z Runner® Ultra Strong Refillable Dispenser. I like this adhesive for watercolor paper because of its strong hold. Watercolor paper is heavy and often curls a little bit so the E-Z Runner® Ultra Strong Refillable Dispenser is the perfect solution.
Building the Shaker Feature
To make the shaker part, use a die-cutting machine and circle dies to cut the ring from watercolor paper. The outer edge is 3.75-inch in diameter.
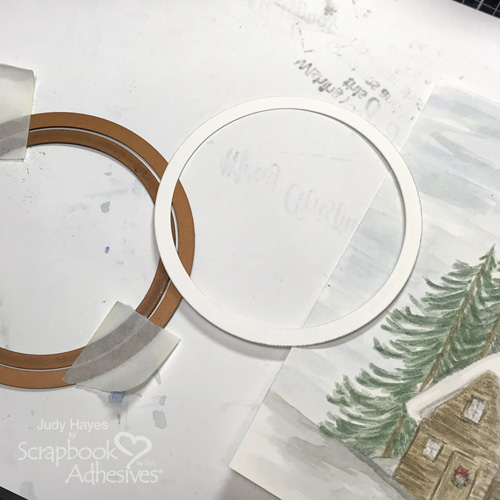
Use same circle dies and die-cutting machine to cut the circle from 3D Foam Creative Sheets Medium White. Carefully remove dies. Try to keep the liner in place to prevent stretching the foam circle shape.
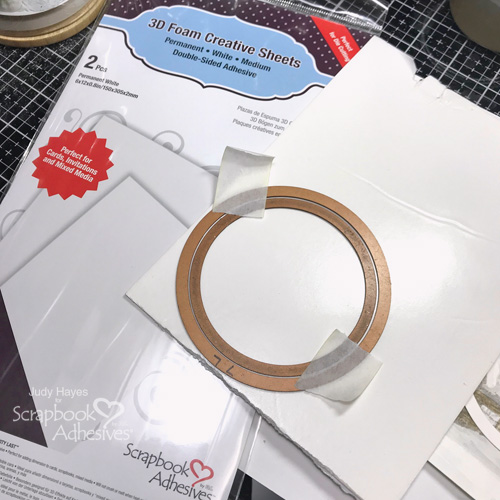
Remove acetate layer from one Self-Laminating Pouches – Cards Medium. Use a die-cutting machine and the largest circle die to cut acetate. Pass it through the die cutting machine 2-3 times to completely cut through Self-Laminating Pouches – Cards Medium cover.
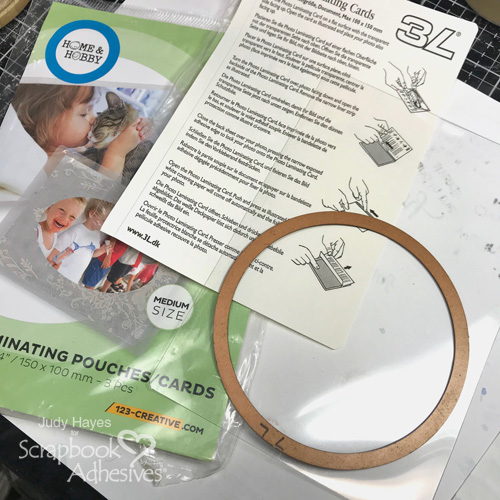
Remove liner from one side of the 3D Foam circle. Place the acetate circle to the foam circle. Make sure the foam circle fits the acetate. If it has stretched and extended beyond the acetate, trim to be flush with it.
Place the watercolor circle over the image on the card front as desired. Using the watercolor image as a guide, fill in the design onto the circle.
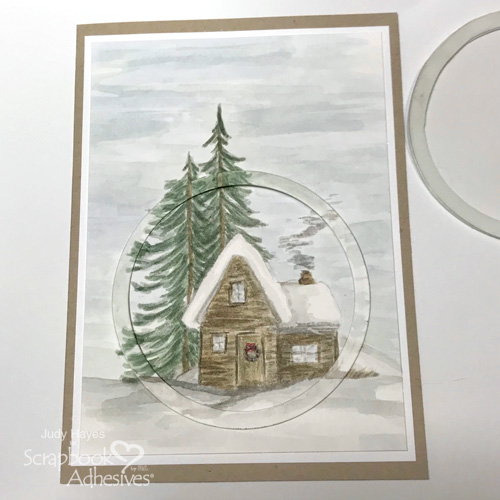
Apply the E-Z Runner® Micro Refillable Dispenser to the back of the watercolored circle. Adhere on top of the acetate.
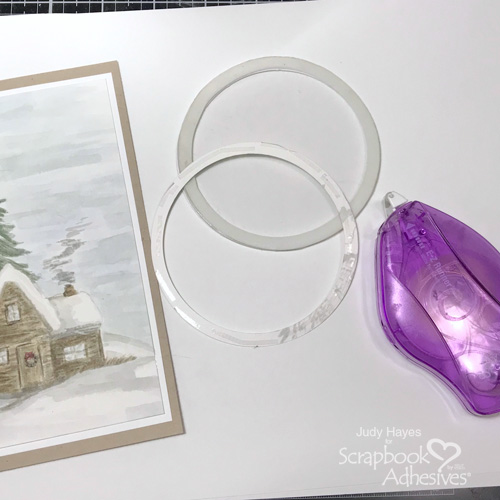
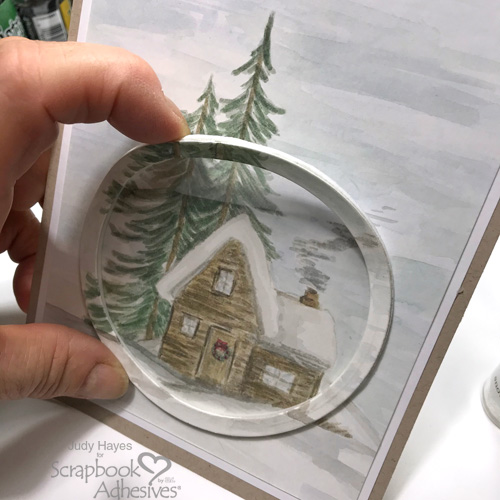
Partially remove liner bottom half of 3D Foam circle. Leave liner on top edge. Position on card front matching painted image and press in place.
Slightly pull the top edge of the shaker away from the card. Pour a small amount of snow glitter into the shaker. Adjust amount as desired. Remove the remaining liner and press the shaker circle to the card front.
More Cardmaking Details
Stamp the sentiment with gray ink at the top right corner of the card. Then use Dual Tip Glue Pen to add small dots around the shaker. Cover with glitter. Remove excess. Repeat as needed.
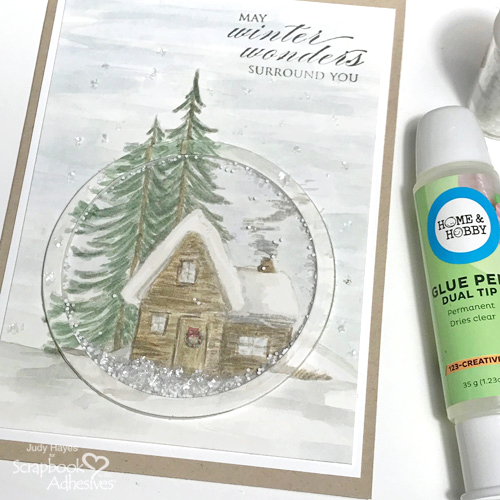
Now it’s ready to be sent! I hope you try my Winter Wonders Shaker Card idea.
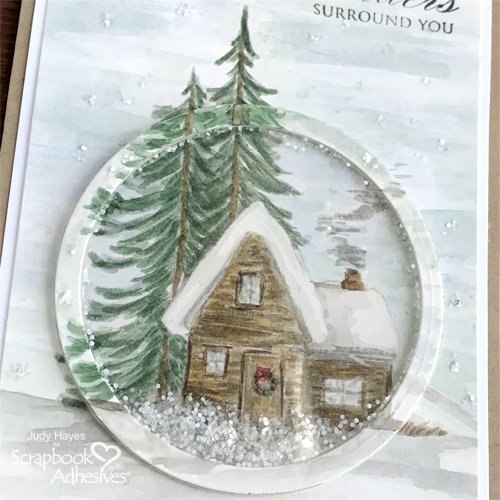
Thanks for Visiting!
Judy Hayes
Creative Time: 45 Minutes
Skill Level: Advanced
Materials Needed
Scrapbook Adhesives by 3L®
- 3D Foam Creative Sheets Medium White
- E-Z Runner® Ultra Strong Refillable Dispenser
- E-Z Runner® Micro Refillable Dispenser
HomeHobby™ by 3L
Other:
Stamps: Penny Black; Glitter: Martha Stewart (Snow Glitter); Inks: Ranger Ink (Cool Graphite) and Taylored Expressions (Sea Salt Ink); Craft Dies: Spellbinders Paper Arts (Standard Circle Dies); Other: Watercolor Paper, Watercolors, and Kraft and White Cardstock
Pin It!
Visit our Website and Blog!
Sign up for our Newsletter so you never miss a contest or giveaway!


