
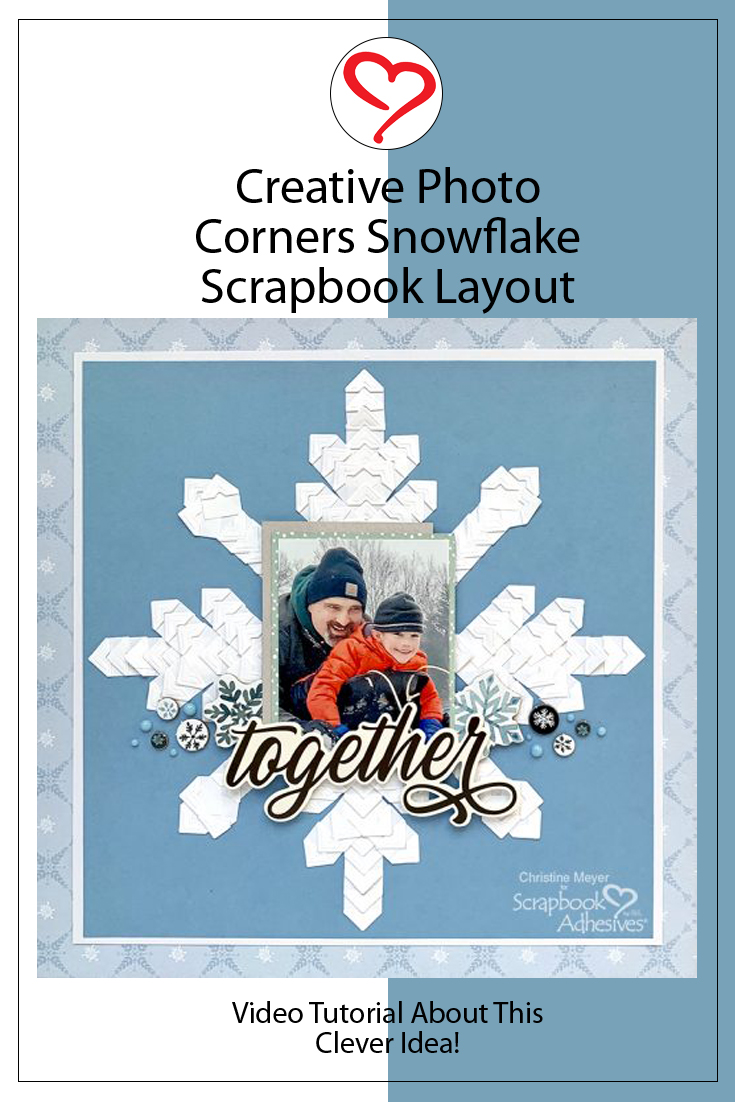
Have you ever had a product that seems to just keep jumping onto your projects, you use it again and again? For the last year, I have been taking the “Creative Photo Corners” at their name: CREATIVE. I keep having little ideas come to mind with them that are a total twist on their originally intended use. Christine joining you today with a winter layout showcasing Creative Photo Corner Snowflake built into it.
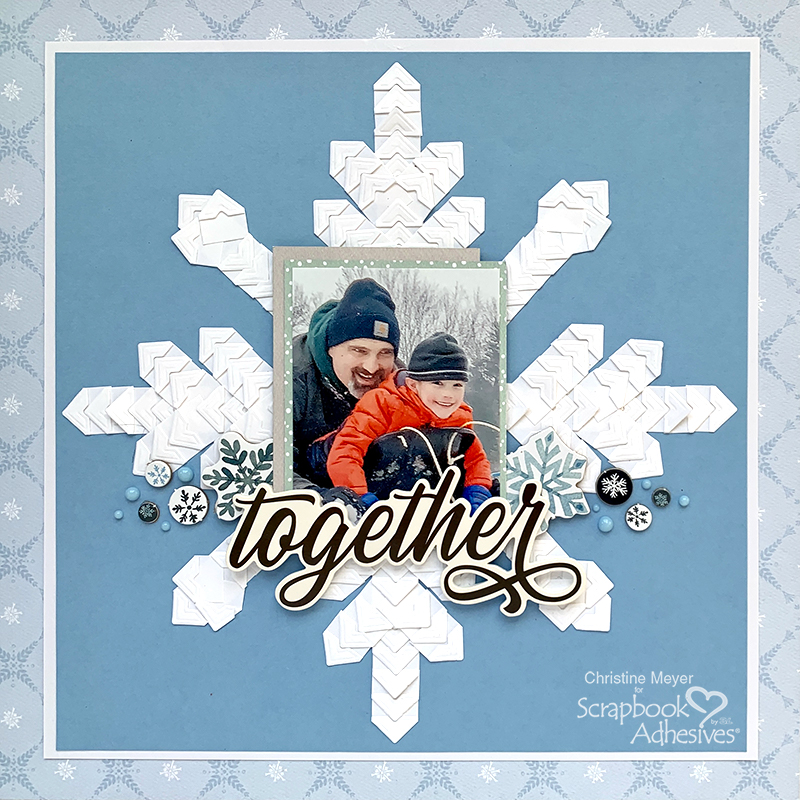
I think, of all the things I have done with Creative Photo Corners, this might be my favorite. Other times I have used it more as a simple background addition. But today I actually designed with them and figured out just how to make a snowflake!
You will definitely want to check out the process video on this layout, I lay out the snowflake and you can see it come together. It will be at the bottom of the post. My inspiration came from sitting at my desk and seeing a snowflake, leading me to wonder if I couldn’t recreate it.
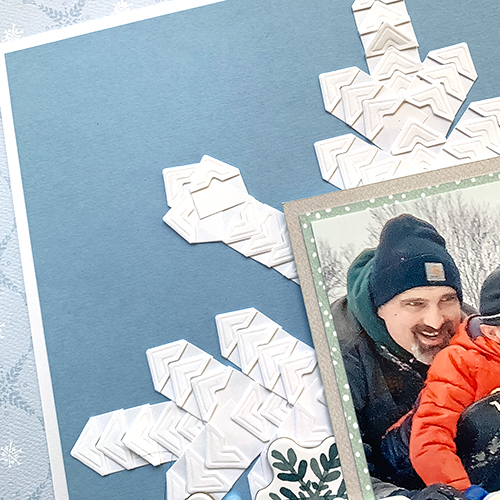
As you can see in this picture – I have the Creative Photo Corners going in both directions depending on where I was using them. Thinking even further outside of the box, made it even easier to create this!
Other Adhesives on this Layout
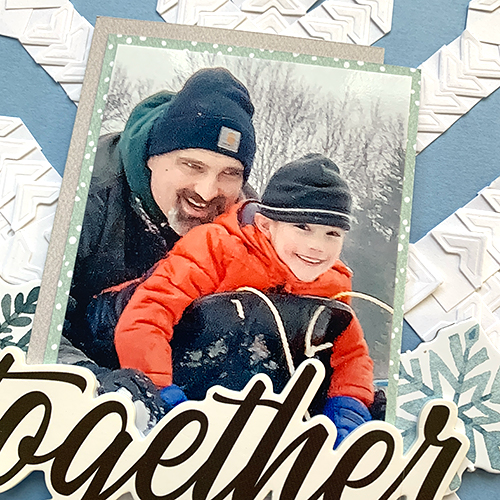
I used the E-Z Runner Grand to adhere my photo layers and paper layers together. Then I used Crafty Foam Tape to pop the photo up in the middle.
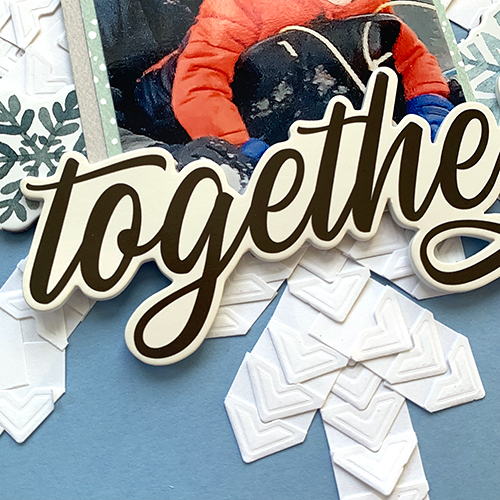
My title was already a sticker but I did use 3D Foam Strips to pop up the bottom of it.
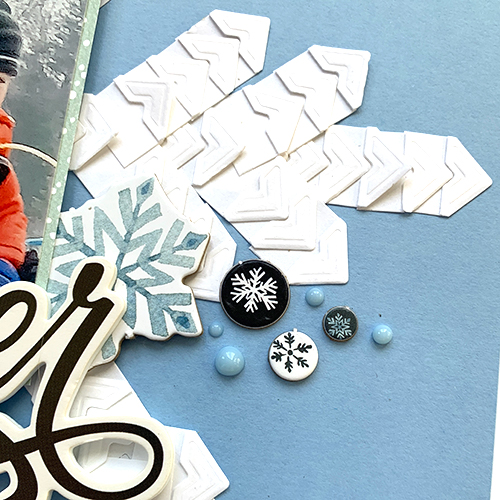
Finally, I used Adhesive Dots Medium to secure my little chipboard circles around the title.
Creative Photo Corners Snowflake Layout Process Video
Check out all the details on how this layout came together in the video below!
Thanks so much for joining me today!
Christine
Creative Time: 60 minutes
Skill Level: Intermediate
Materials Needed:
Scrapbook Adhesives by 3L®
Crafty Foam Tape 108ft
E-Z Runner Grand Refillable Dispenser
Creative Photo Corners – White
Adhesive Dots-Medium
3D Foam Strips
Other
Patterned Paper and Chipboard from Carta Bella, Nuvo Drops, Stickers from Simple Stories
Love It? Save It to Pinterest!
Visit our Website and Blog!
Sign up for our Newsletter so you never miss a contest or giveaway!


