
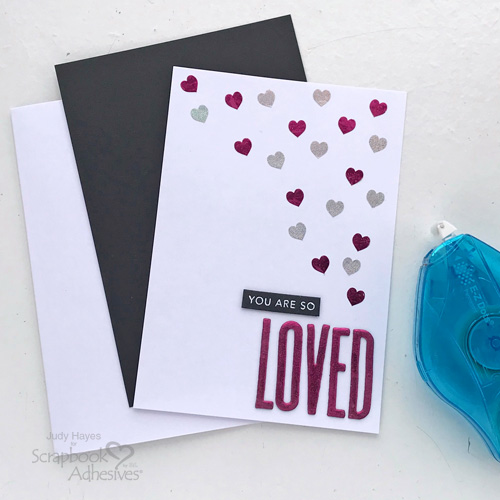
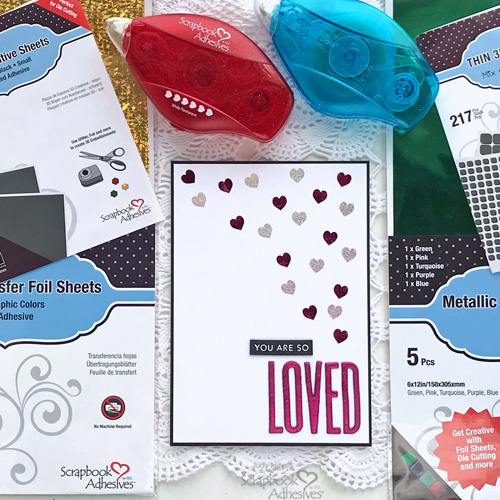
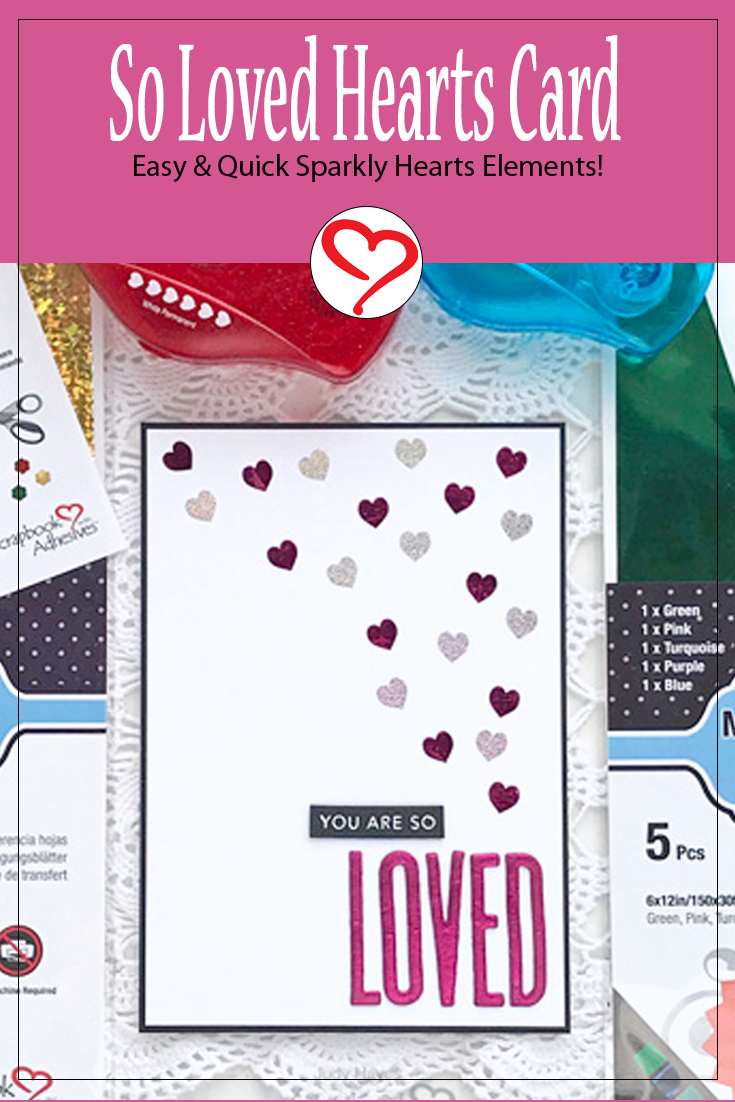
Hello crafty friends! Today, I’m sharing a So Loved Hearts Card with a combination of foil covered hearts and letters. This was fun to make with E-Z Runner® Hearts Refillable Dispenser along with Metallic Transfer Foil Sheets Variety Colors and Metallic Transfer Foil Sheets Holographic Colors.

Hearts Card Die Cut Sentiment
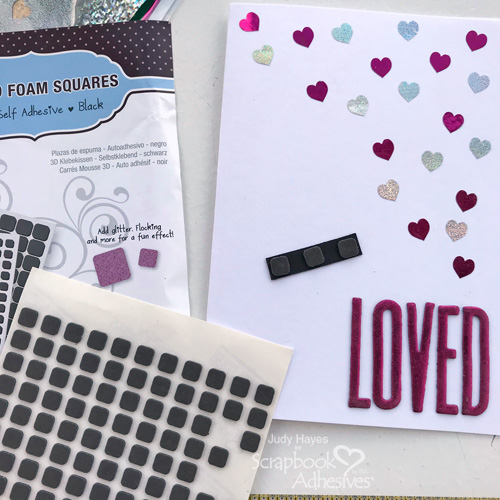
By cutting the letters for LOVED first, they can be used for placement of the hearts. Place letter dies on 3D Foam Creative Sheets Small, Black to determine the size needed for the word LOVED and cut the foam piece.
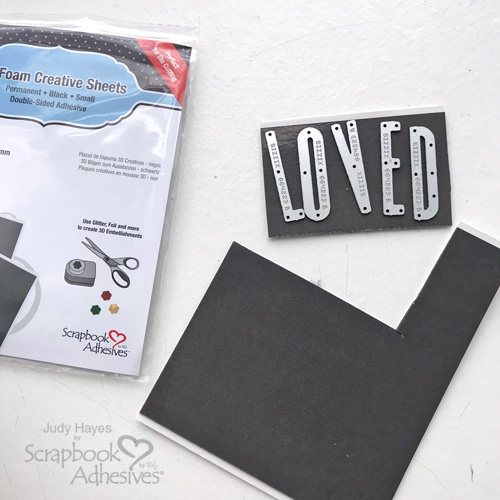
Remove the liner on one side. Cover with the magenta foil (Color Side UP) from the Metallic Transfer Foil Sheets Variety Colors. Rub with your fingertips to transfer color to the foam and then peel the foil off to reveal! Repeat pressing foil in place if there any missed foil spots.
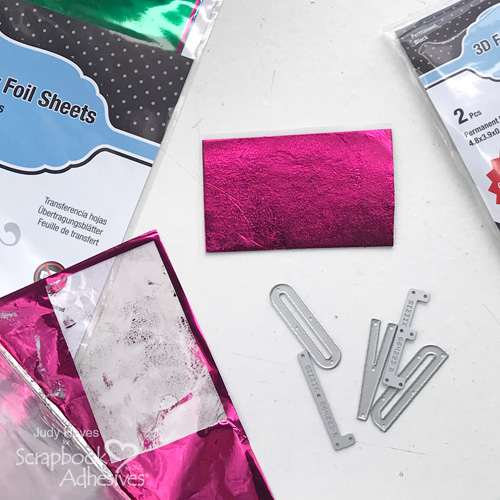
Dust with an anti-static pouch to help with the release when die-cutting. Align letter dies on the foam and die-cut the letters. Carefully remove letters from dies and set them aside. For the other part of the sentiment, stamp it using Versamark ink and heat emboss with white embossing powder. Use its coordinating die to cut into a strip.
Foiled Hearts for the Hearts Card
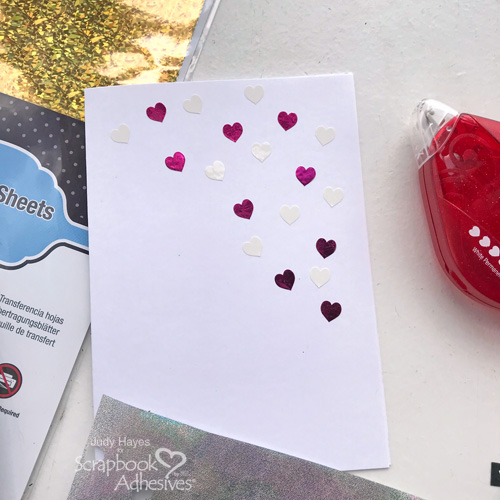
Using both sentiments as a guide, determine where to place hearts on a piece of 4.125 x 5.875-inch cardstock panel. Then apply the hearts with E-Z Runner® Hearts Refillable Dispenser leaving space between to add more hearts later.

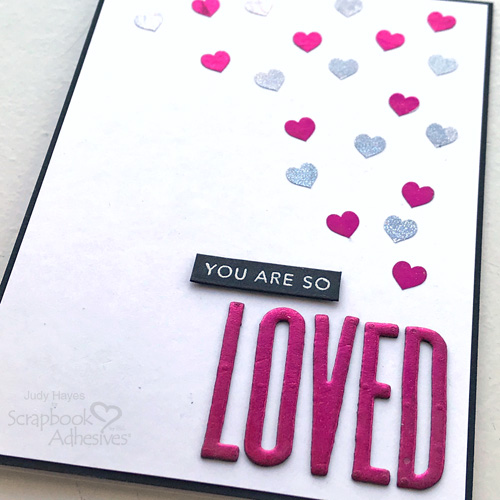
Foil the hearts with the magenta foil from the Metallic Transfer Foil Sheets Variety Colors. Repeat the foiling steps from the LOVE sentiment.
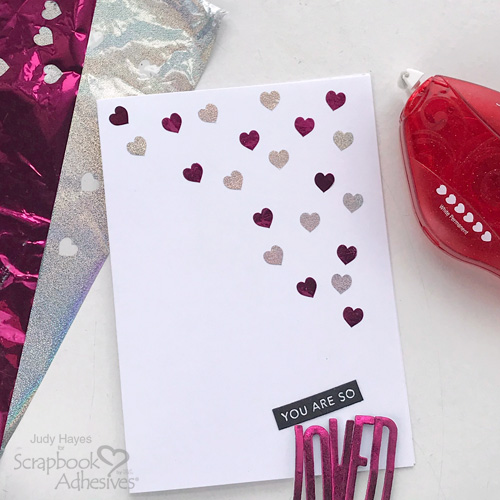
Then add more hearts in the open spots around the foiled hearts. Foil with the fine silver from the Metallic Transfer Foil Sheets Holographic Colors.
Sentiment Placement
With the use of a ruler, position the LOVED sentiment. Starting with D, peel the liner back halfway from the bottom and lightly place it down. Continue to remove but be careful not to stretch it.
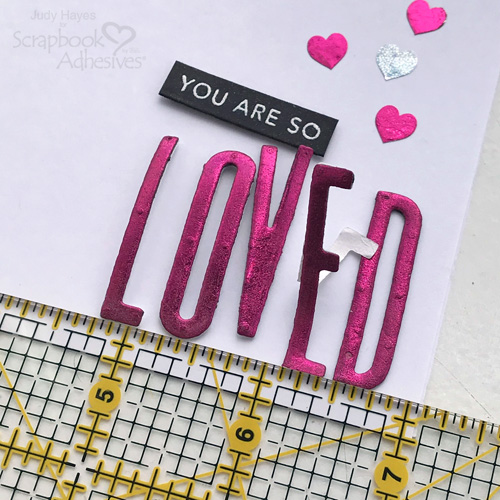
Then work on the other letters. A needle tool might help in guiding the letters in place. For the stamped and embossed sentiment, apply Thin 3D Foam Squares Black Mix on the back, peel liners and adhere above the LOVED letters.
Assemble the Hearts Card
Cut a piece of 8.50 x 6-inch white cardstock and fold into a 4.25 x 6-inch card base. Then cut a piece of 4.25 x 6-inch black cardstock. Adhere it to the white card base using E-Z Dots® Permanent Refillable Dispenser.
Lastly, use the E-Z Dots® Permanent Refillable Dispenser secure the hearts panel to the layered card front.
I hope my So Loved Hearts Card tutorial gave you some ideas for your next cardmaking project. Thanks for Visiting!
Judy Hayes
Creative Time: 30 Minutes
Skill Level: Intermediate
Materials Needed
Scrapbook Adhesives by 3L®
- E-Z Runner® Hearts Refillable Dispenser
- E-Z Dots® Permanent Refillable Dispenser
- Metallic Transfer Foil Sheets Variety Colors
- Metallic Transfer Foil Sheets Holographic Colors
- 3D Foam Creative Sheets Small, Black
- Thin 3D Foam Squares Black Mix
Other
Card Stock (White, Black); Ranger White Embossing Powder; Sizzix Tim Holtz Alphanumeric Classic Upper Dies; Taylored Expressions (Simple Strips Background Stamp, Simple Strips Die) Tsukineko Versamark Ink
Save it to Pinterest!
Visit our Website and Blog!
Sign up for our Newsletter so you never miss a contest or giveaway!


