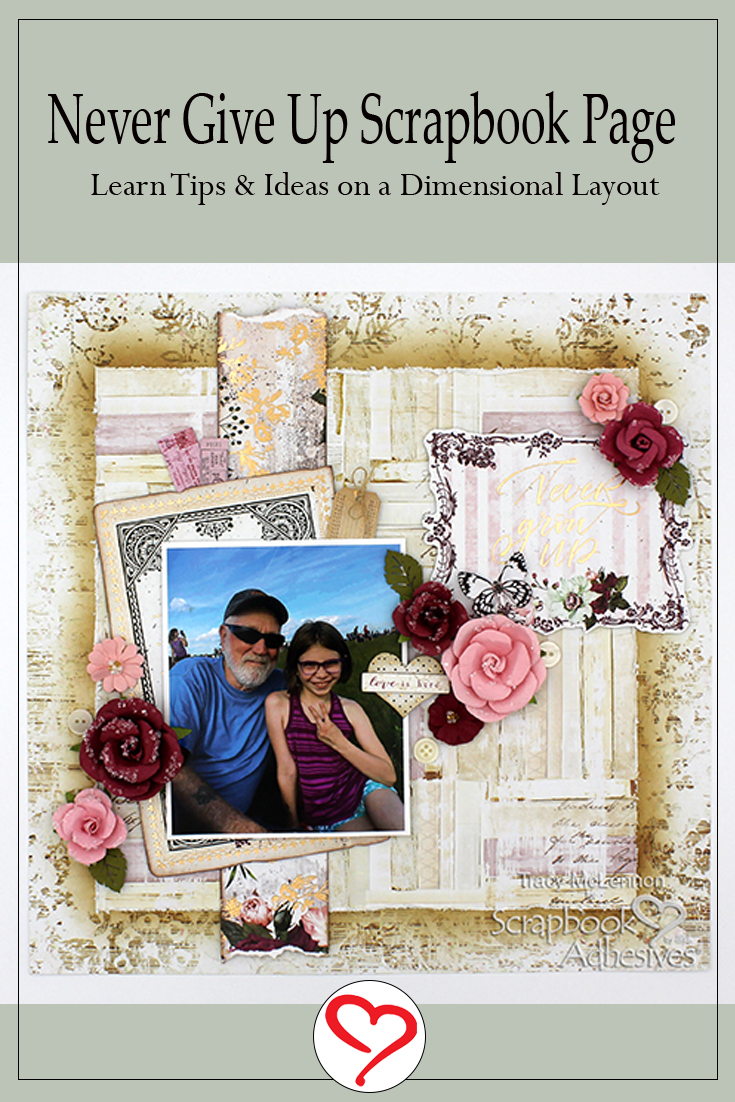
Hello scrappy friends! Tracy here, and today I have a pretty little dimensional layout to share and the easy steps I used to create it. Here are the details on how to easily add dimension to your next scrapbook layout.
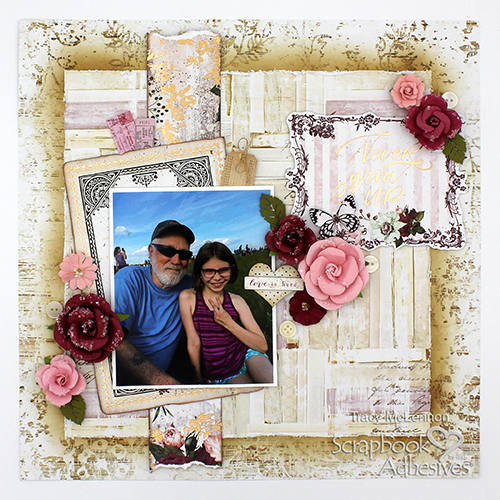
Dimension Made Easy
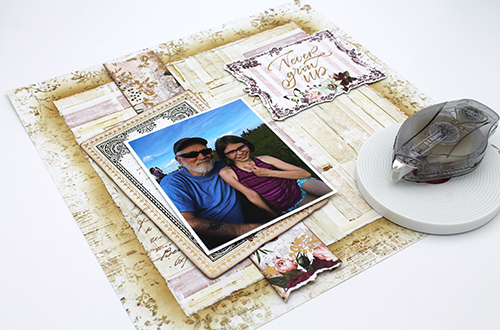
When creating a dimensional layout, this is how I always start. Create a simple layered background with some coordinating patterned papers, adhering them together using the E-Z Runner® Ultra Strong Refillable Dispenser. Then create simple layers behind the matted photo and add them using Crafty Foam Tape White. I also added the title piece using Crafty Foam Tape White.
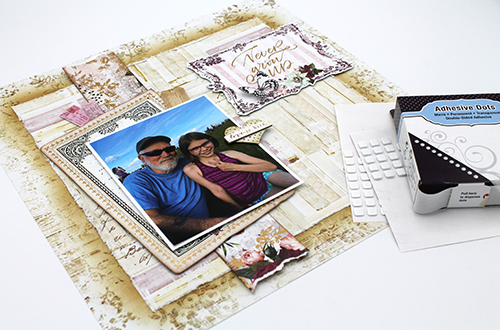
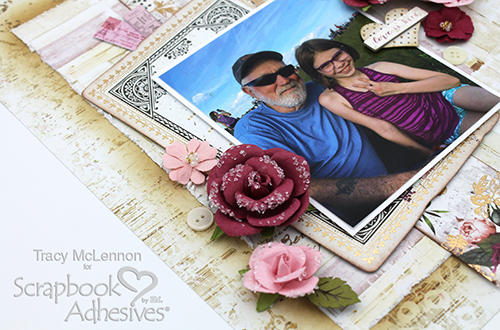
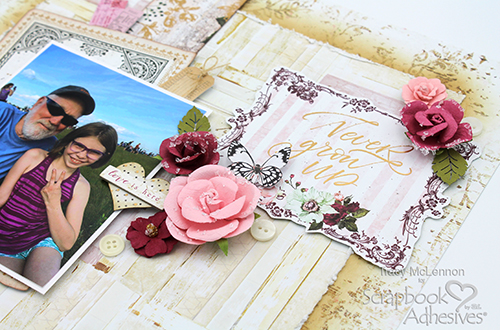
Next add the simple ephemera and chipboard embellishments around the matted photo using a combination of 3D Foam Squares White Mix, Thin 3D Foam Squares White Mix and Adhesive Dots Micro. These little differences in thickness make a big impact on a dimensional layout.
My favourite part is adding flowers to a dimensional layout. To do this I use Adhesive Dots Large. These will make sure your large dimensional layout pieces stay put.
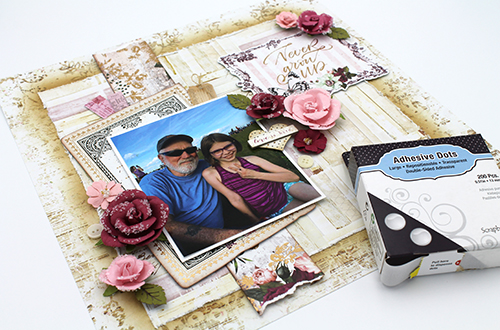
Once the flowers are in place, I start adding smaller items like buttons or sequins around the embellishments clusters. For this I use Adhesive Dots Micro.
Thanks so much for stopping by!
Tracy McLennon
Skill Level: Intermediate
Creative Time: 45 minutes
Materials Needed:
Scrapbook Adhesives by 3L®
Crafty Foam Tape White
Thin 3D Foam Squares White Mix
3D Foam Squares White Mix
Adhesive Dots Micro
Adhesive Dots Large
E-Z Runner® Ultra Strong Refillable Dispenser
Other:
Paper Distresser; Prima- Pretty Mosaic Collection (patterned paper, ephemera, chipboard stickers, flowers); Blending Brush; Cardstock- White; Burlap String; Buttons; Distress Ink- Vintage Photo
Save to Pinterest!
Visit our Website and Blog!
Sign up for our Newsletter so you never miss a contest or giveaway!


