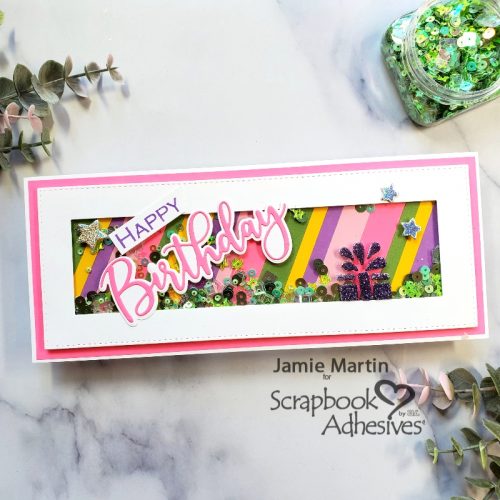
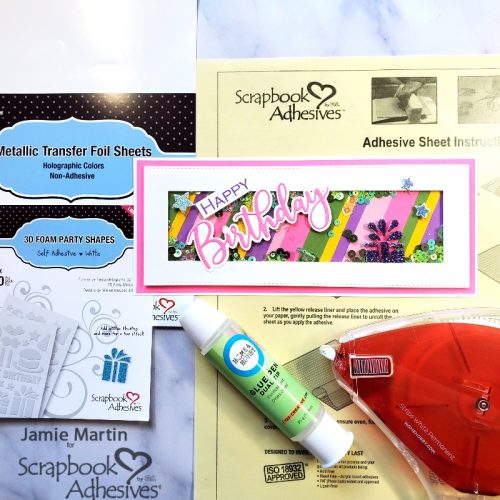
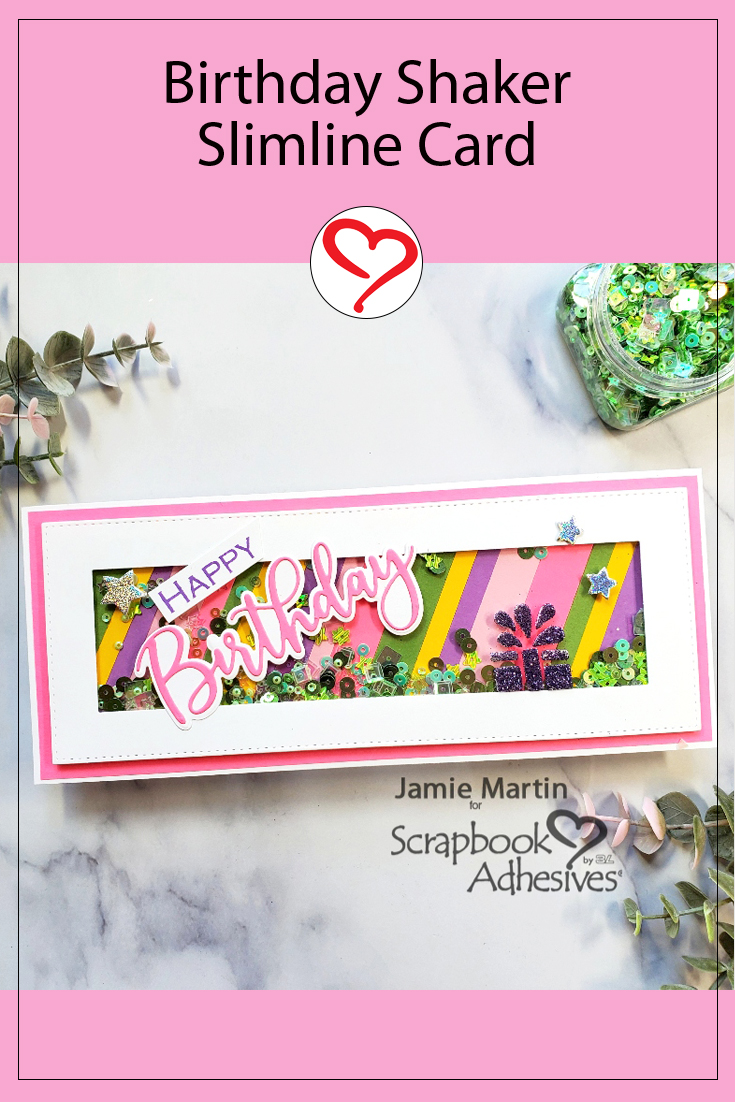
Hi my friends, Jamie here today on this first day of July. I always like to have birthday cards on hand and to have a lot to choose from so I thought I would go big and bold with a Birthday Shaker card.
Background for the Birthday Shaker Card
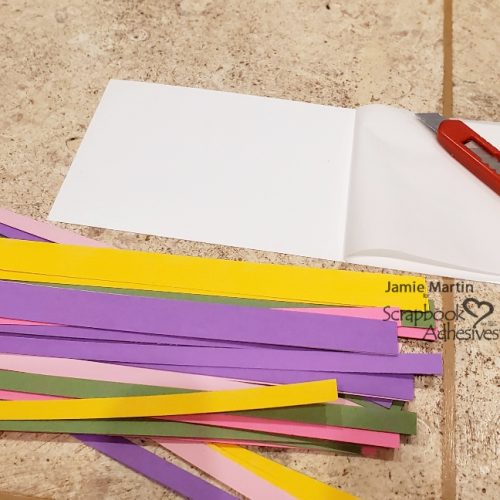
Start off by making the striped background using strips of cardstock, I cut mine to 1/4″ and 1/2″ but you can use any size you like.
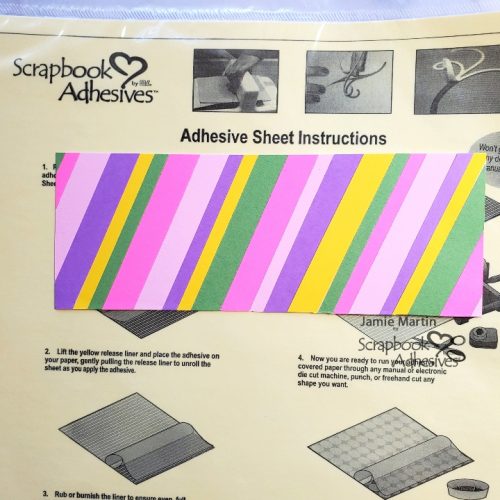
Cut a piece of an adhesive sheet to 3 1/4″ x 8 1/4″ and attach it to the same size piece of white cardstock. Cut it to 3″ x 8″. Pull back half of the adhesive liner and lay your strips of cardstock along the entire panel diagonally. Trim off the overhang strips of paper.
Create the Shaker Feature
Using a slimline die, die-cut a frame from white cardstock. Cut a piece of acetate slightly smaller than the frame and attach it to the frame using the E-Z Runner.
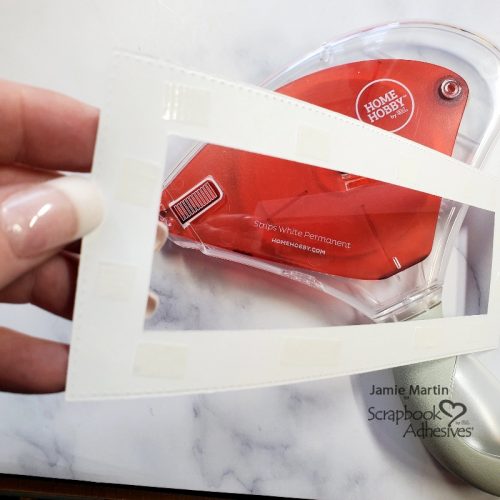
Now use Crafty Foam Tape around the frame making sure there aren’t any spaces in the foam or the shaker bits might fall out.
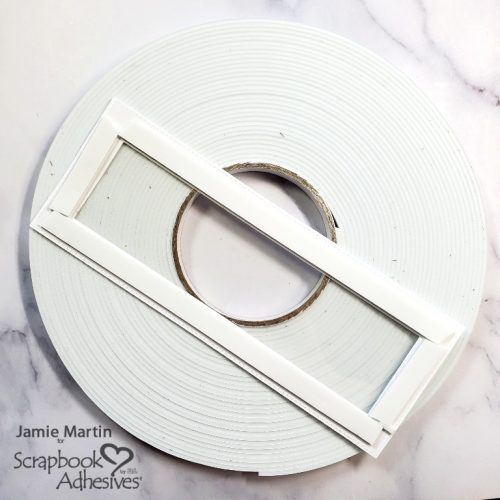
Embellish the Birthday Shaker Card
Apply a present from the 3D Foam Party Shapes to the left side of the acetate and sprinkle with purple glitter.
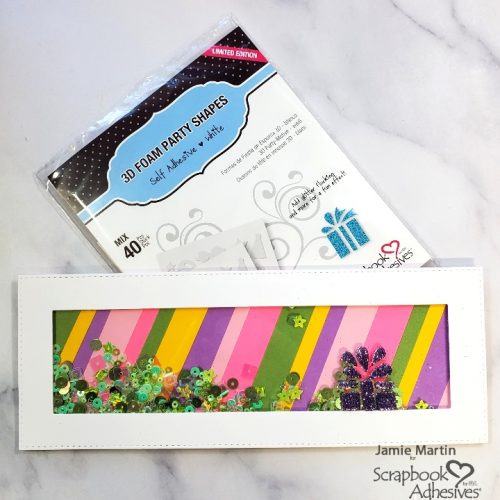
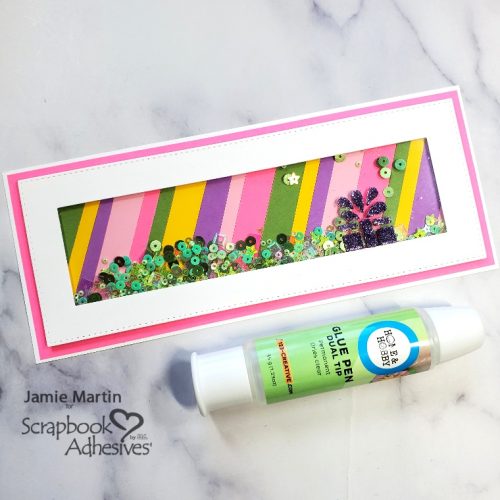
Use the Dual Tip Glue Pen to layer this onto a slightly larger pink panel, then onto a white slimline card.
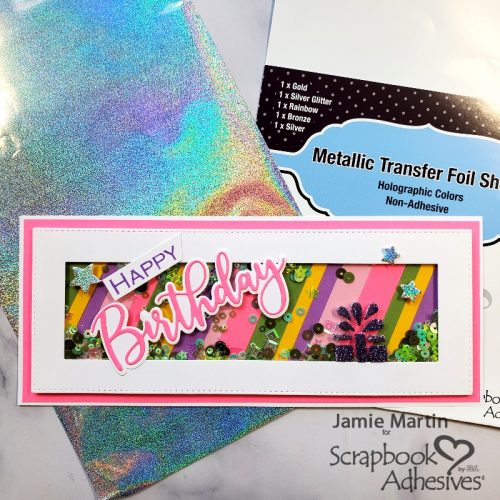
Place stars from the E-Z Runner Stars Refillable Dispenser randomly on the card and use the Metallic Transfer Foil Sheets Holographic Colors to apply to the top of the stars. Glue the words on using the Dual Tip Glue Pen.
Skill Level: Intermediate
Creative Time: 45 minutes
Materials Needed:
Scrapbook Adhesives by 3L®
Adhesive Sheets 12″ x 12″
Crafty Foam Tape White
E-Z Runner® Grand Refillable Dispenser
E-Z Runner® Stars Refillable Dispenser
Metallic Transfer Foil Sheets Holographic Colors
3D Foam Party Shapes
HomeHobby™ by 3L
Dual Tip Glue Pen
Other: Rubbernecker Stamps (Slimline Dies, Word Dies and Stamps), Cardstock, PrintWorks Specialty PaperGlitter- Stampendous Acetate
Save to Pinterest!
Visit our Website and Blog!
Sign up for our Newsletter so you never miss a contest or giveaway!


