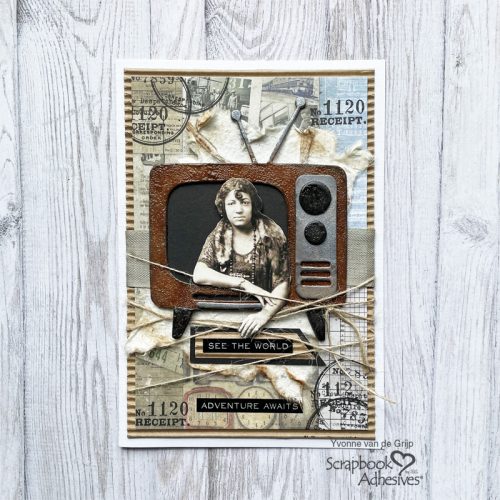
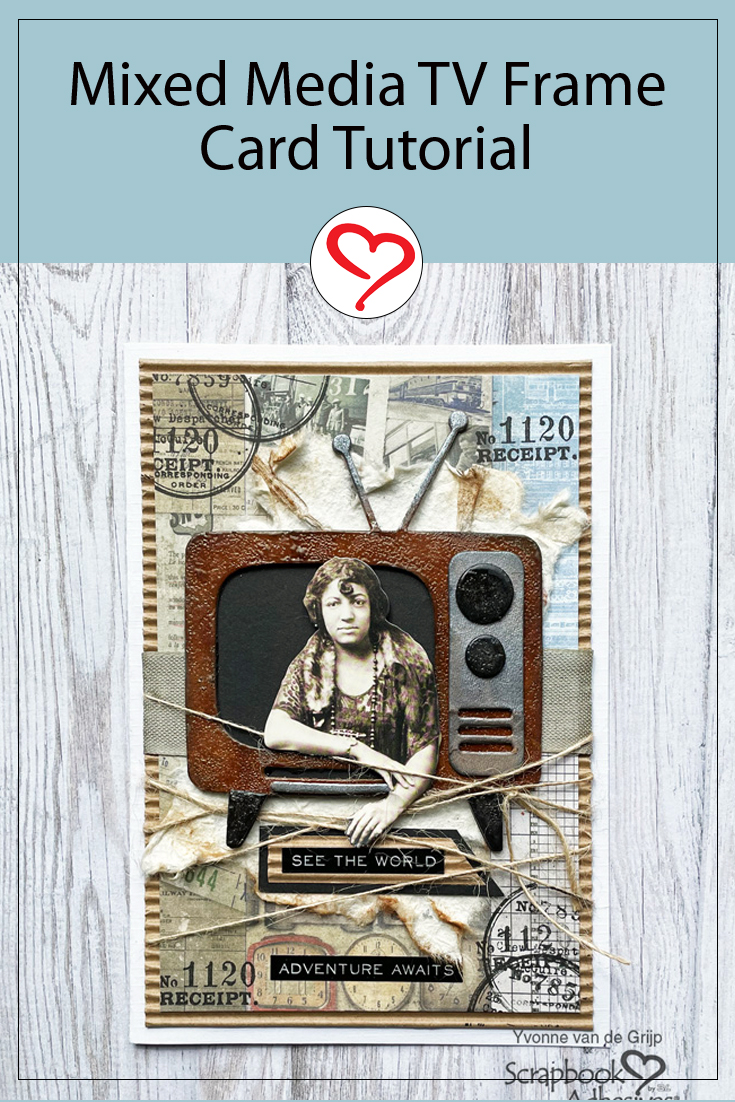
Hi everyone, Yvonne here with a unique dimensional TV Frame Card. I had so much fun making this TV frame card!
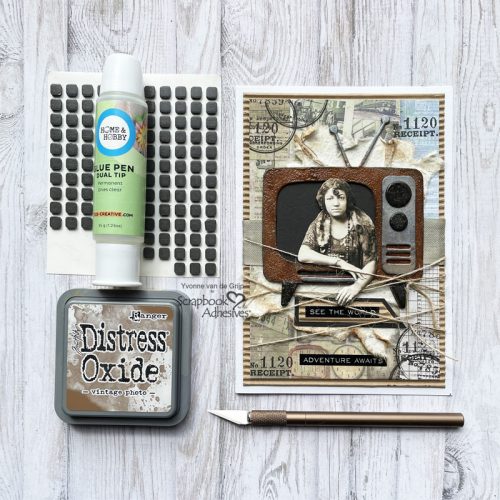
With the help of the Dual Tip Glue Pen, I was able to not only glue but also help accent the card. Are you curious how I made the card? Come on and join me and let me show you how to create the card!
Making the TV Frame
For the TV frame, I used a steel rule die and die-cut the TV from chipboard. Cover the TV by rubbing a brown chalk ink pad over it.
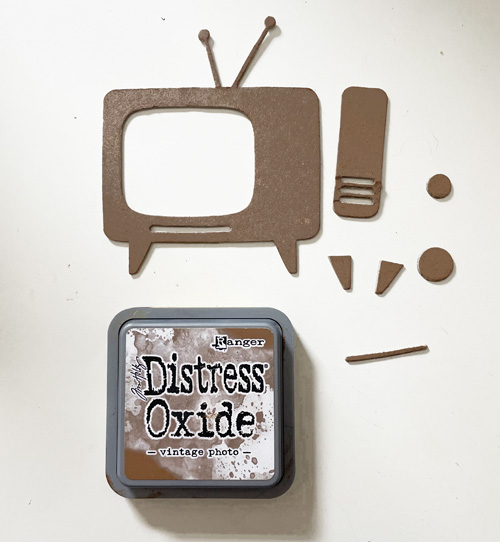
Next I used a black inkpad to accent the edges of the shape and to color the smaller parts. Because I want to use embossing powder, I used the Dual Tip Glue Pen to secure the embossing powder to the die cut.
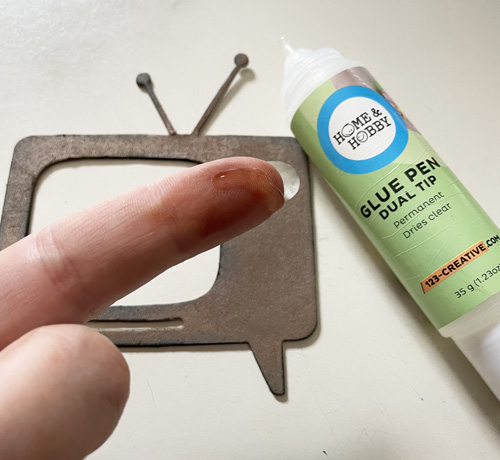
Simply rub some glue over the shape and sprinkle the brown transparent embossing powder over it. Use a heating tool to melt the powder.
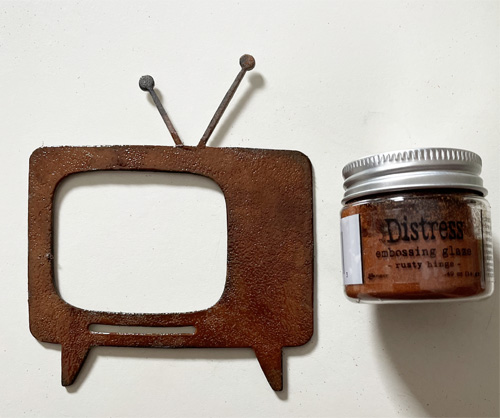
Now, I applied metallic wax over the TV antennas and the panels. Adhere the parts onto the TV frame using the Dual Tip Glue Pen. For the TV screen background, I adhered a piece of black cardstock (which I hand cut using scissors) to the back of the TV frame using the Dual Tip Glue Pen. Lastly, adhere the woman figure into the TV screen with 3D Foam Squares Black Mix.
Making the Card Panel
First I cut out a piece of patterned cardstock to a rectangular shape. Then tear a piece of cotton flower paper and adhere it onto the card panel with the Dual Tip Glue Pen.
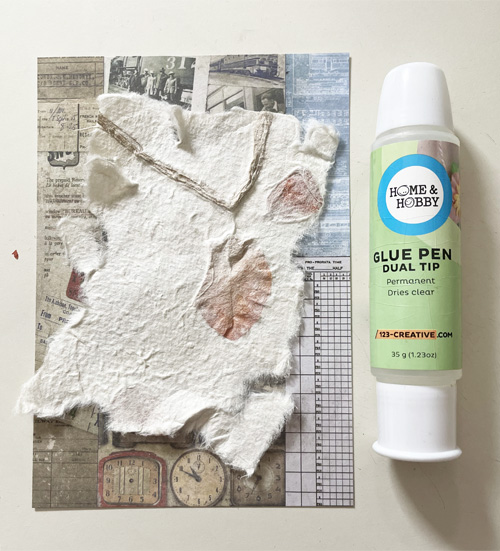
Next, alter the edges of the cotton paper with brown ink. Then adhere the panel onto a piece of corrugated cardstock with the EZ Runner® Permanent Strips Refillable Dispenser for affixing. Wrap a piece of beige ribbon around the card panel and adhere to the back of the panel using the EZ Runner® Permanent Strips Refillable Dispenser.
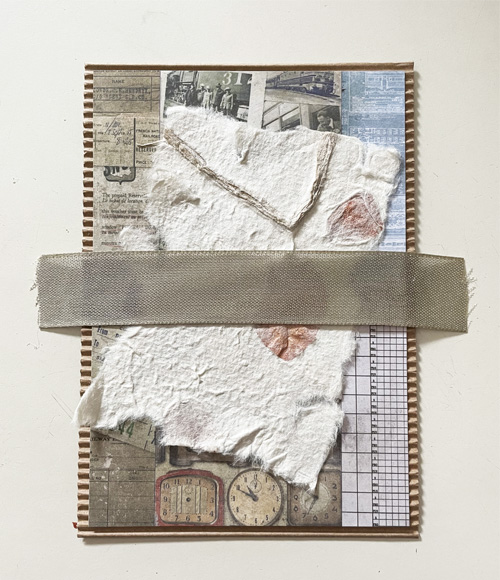
Now adhere the TV Frame embellishment onto the panel with the EZ Runner® Permanent Strips Refillable Dispenser.
Finishing the Card
To embellish the card panel, I wrapped some twine around the card panel. Place a sentiment sticker onto a piece of corrugated cardstock and mat with a piece of black cardstock using the EZ Runner® Permanent Strips Refillable Dispenser before adhering it to the card panel.
Adhere the card panel onto a white card base with the EZ Runner® Permanent Strips Refillable Dispenser. Then accent the card by stamping some accents onto the card using a black ink pad.
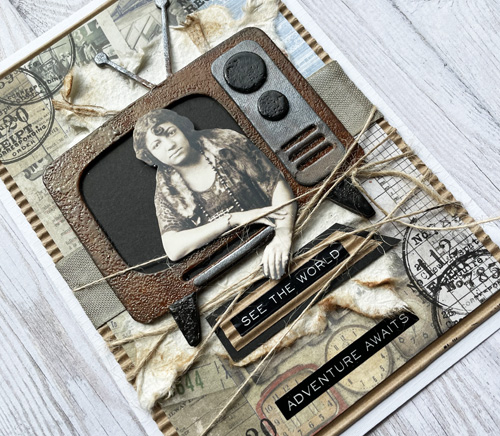
And voila your TV frame card is ready. I hope you enjoyed this tutorial and wish you happy crafting!
Yvonne van de Grijp
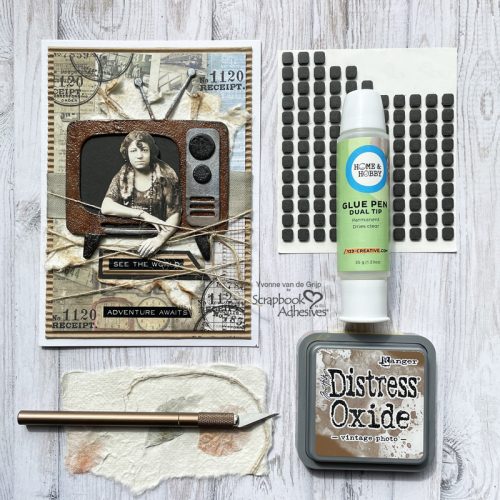
Creative Time: 60 minutes
Skill Level: Advanced
Materials needed:
Scrapbook Adhesives by 3L®
EZ Runner® Permanent Strips Refillable Dispenser
3D Foam Squares Black Mix
HomeHobby™ by 3L
Dual Tip Glue Pen
Other
Cardstock (White, Corrugated, Black, Chipboard); Die-Cutting and Embossing Machine (Spellbinders® Paper Arts: Platinum 6 Machine); Steel Rule Die-template (Sizzix: Tim Hol6tz: Retro TV); Inkpads (Distress Oxide inkpad: Vintage Photo; Distress inkpad: Black Soot; Archival Inkpad: Jet Black); Patterned Paper (Tim Holtz Destination); Embossing powder (Tim Holtz Glaze: Vintage Photo, Hickory Smoke); Stamp (Stampers Anonymous: Field Notes); Images (Tim Holtz: Metallic Stickers Quotations; Paper Dolls); Twine; Cotton Flower Paper; Scissors; Ink Blending Tool; Heat tool
Save to Pinterest!
Visit our Website and Blog!
Sign up for our Newsletter so you never miss a contest or giveaway!


