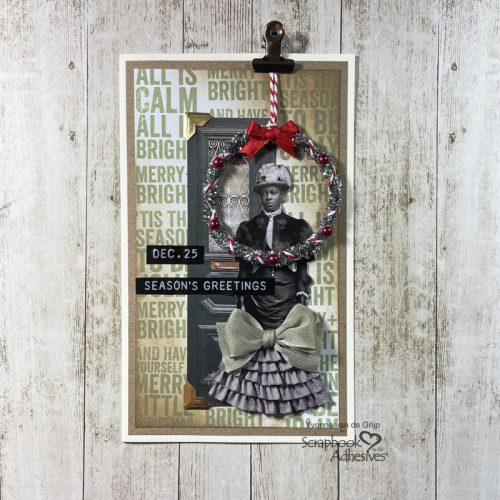
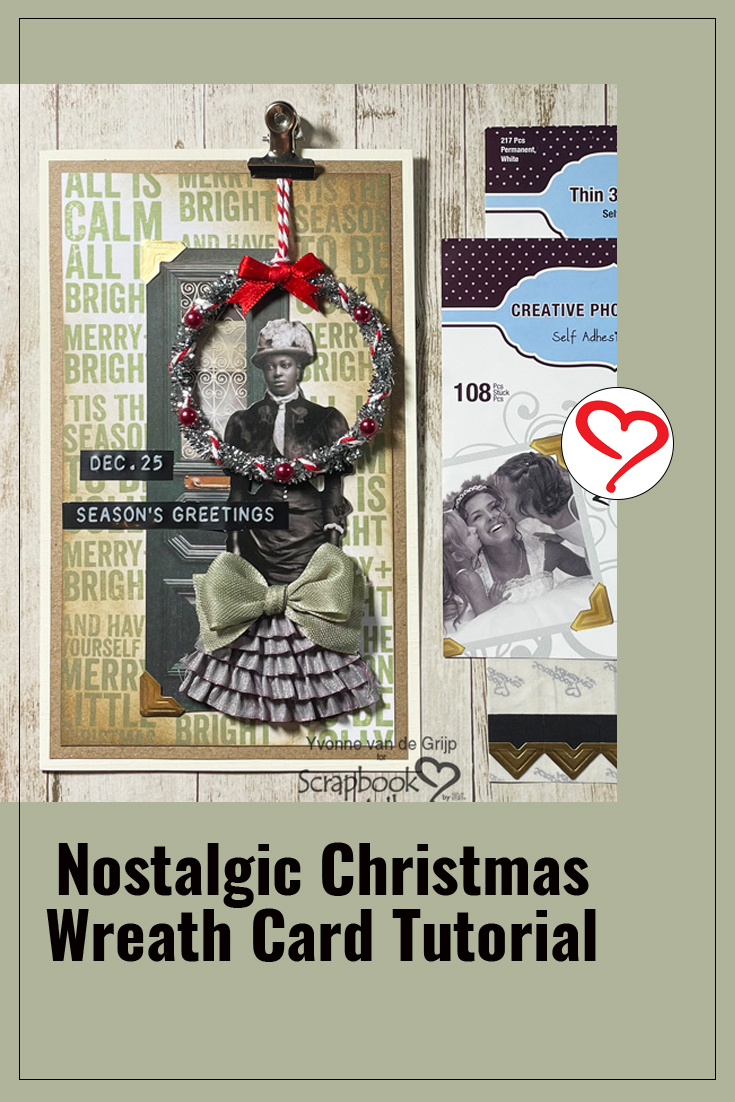
Hi everyone, Yvonne here with a nostalgic Christmas wreath card. I’m always trying to make my cards a little different to make them unique and I love a nostalgic look.
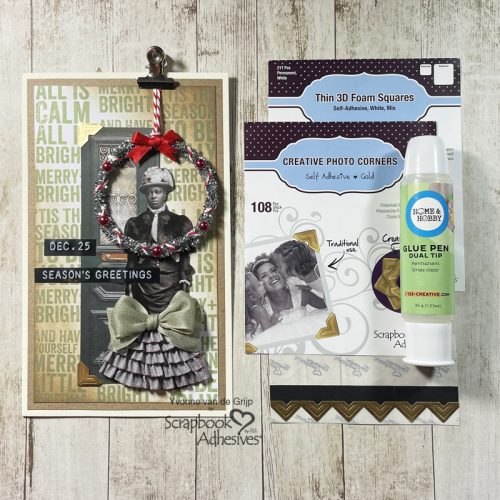
If you are using different materials for your card, a great reliable adhesive is a must. With the wide range of quality products of Scrapbook Adhesives® by 3L adhering is a piece of cake! Wanna join me in creating this nostalgic wreath card? Let’s get started!
Top Card Panel of the Nostalgic Christmas Wreath Card
Start by stamping the Christmas texts onto white cardstock using green ink.
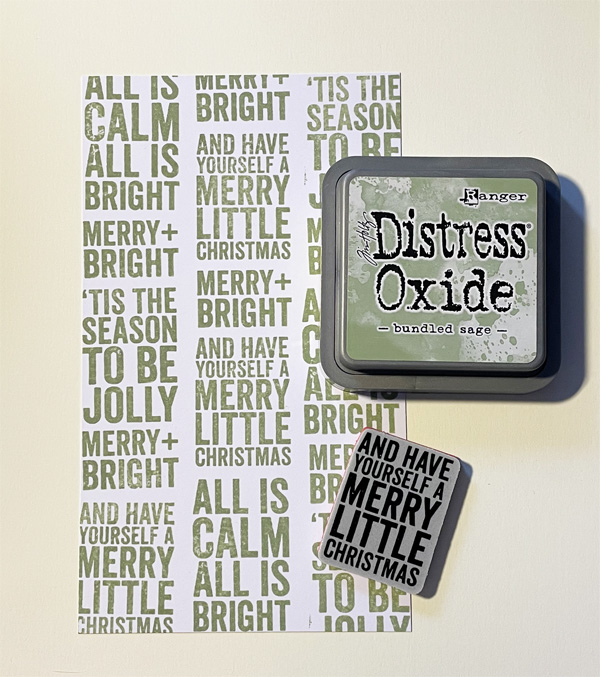
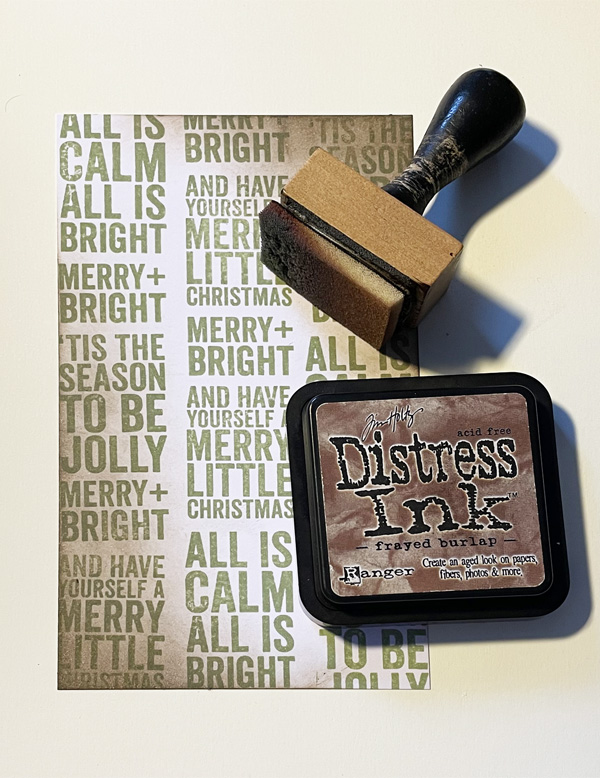
Then trim to a rectangular size. Next use brown ink and an ink blending tool to alter the panel to give it that old, nostalgic look.
Making the Card Base
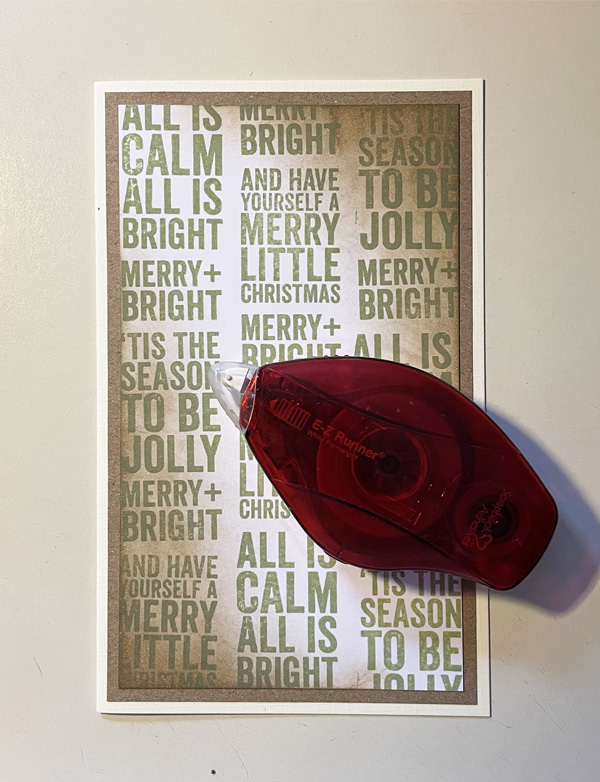
Adhere the stamped and altered card panel onto a kraft cardstock panel using the E-Z Runner® Permanent Strips Refillable Dispenser. Then adhere onto a cream card base using the E-Z Runner® Permanent Strips Refillable Dispenser for affixing.
Adding the Cardstock Elements
Start by cutting out a door image and put Creative Photo Corners Gold onto the left corners. Then adhere to the card base using the EZ Runner. Next, adhere the nostalgic female image to the card base using Thin 3D Foam Squares White Mix.
Embellishing the Skirt
Start by adding a nostalgic touch to the dress of the lady. To dress her up I used ruffled ribbon which I cut in strips and adhered to the bottom of the dress using Premium Double-Sided Tape 1/4in for stainless adhering. Then make a bow from ribbon and adhere to the dress using Premium Double-Sided Tape 1/4in.
Create the Wreath
Next, make a bow from silver chenille thread and wrap it around some red/white baker’s twine. Now knot a cord to “hang” the wreath. Adhere the wreath onto the card using the Dual Tip Glue Pen for adhering. Tip: for extra secure adhering I like to add something heavy like an acrylic block and book on top of the wreath while the glue dries.
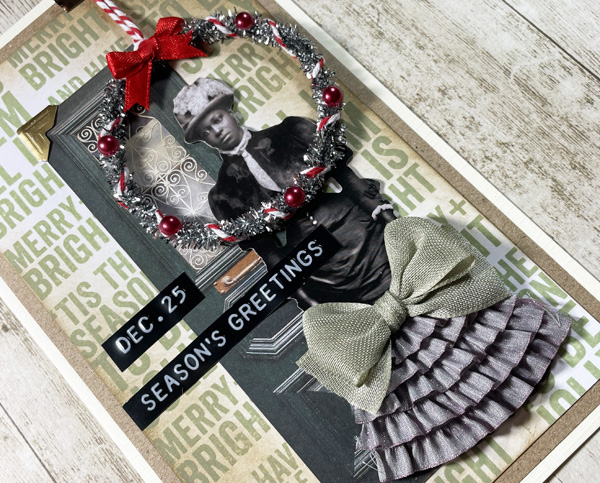
When the wreath is securely affixed, adhere a small red satin bow onto the wreath using Premium Double-Sided Tape 1/4in. For a finishing touch, I also added some red pearls. A clip is used to hold the bakery twine into place. Finally, adhere the sentiment to the card and your nostalgic Christmas wreath card is ready!
I hope you enjoyed this tutorial and wish you happy crafting.
Yvonne van de Grijp
Creative Time: 45 minutes
Skill Level: Intermediate
Materials needed:
Scrapbook Adhesives by 3L®
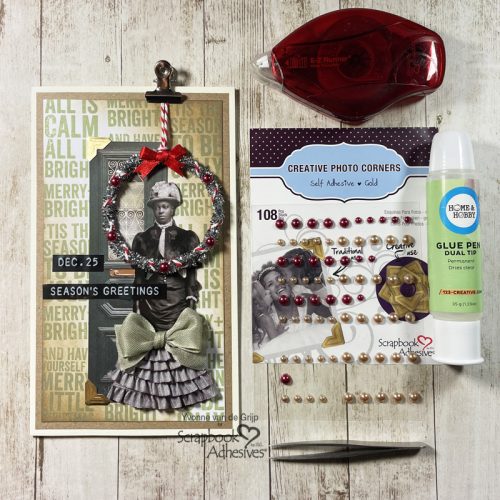
E-Z Runner® Permanent Strips Refillable Dispenser
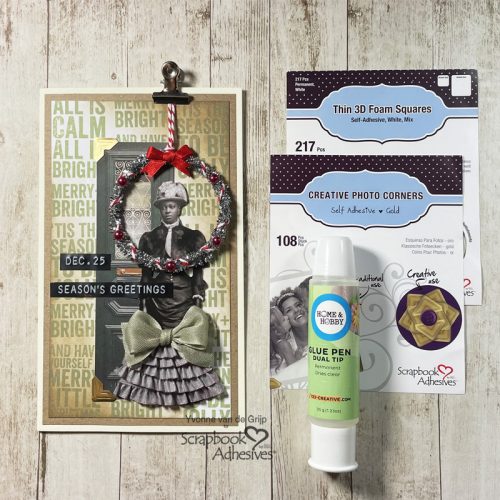
Thin 3D Foam Squares White Mix
Creative Photo Corners Gold
HomeHobby™ by 3L
Dual Tip Glue Pen
Premium Double-Sided Tape 1/4in
Other
Stamps: Stampers Anonymous (Bold Tidings Mini by Tim Holtz); Cardstock Images and Sentiment Stickers: Ideology (Paper Dolls Christmas by Tim Holtz and Label Stickers Christmas by Tim Holtz); Door: Mintay Papers; Ink: Ranger Ink (Distress Oxide Ink in Bundled Sage and Distress Ink in Frayed Burlap); Ink Blending Tool; White, Cream and Kraft Cardstock; Silver Chenille Thread; Bakery Twine; Ribbon (Lilac Ruffled, Sand, Red Satin); Red Pearls; Clip; Paper Trimmer; Scissors
Save to Pinterest!
Visit our Website and Blog!
Sign up for our Newsletter so you never miss a contest or giveaway!


