Hello crafty friends! Tracy here, and today I have a fun and easy glitter plaid background tutorial to share. Here are all of the details.
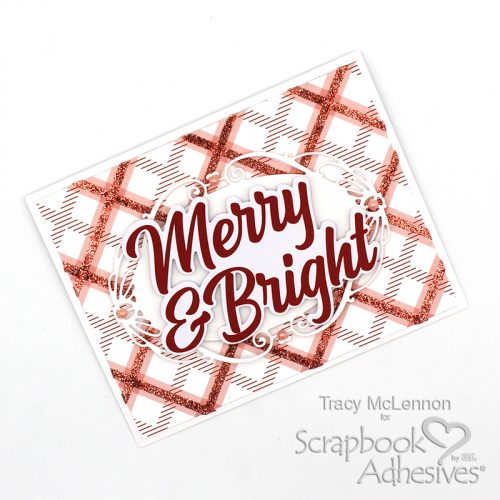
Get the Glitter Out!
This is a quick and easy way to add some sparkle to the patterned paper you already have on hand. First I cut the card front from patterned paper to 4 x 5.25-inch. Grab coordinating glitter, and Extreme Double-Sided Tape 1/8in.
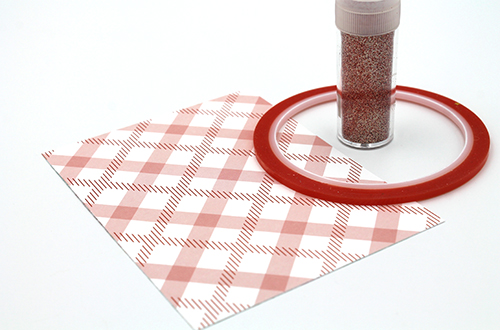
Add the Extreme Double-Sided Tape 1/8 in to the existing plaid pattern. First, in one direction, remove the backing and then the other direction. Remove the remaining backing and then rub on the coordinating glitter to complete the easy glitter plaid background. Tap or wipe off the excess glitter and set it aside for now.
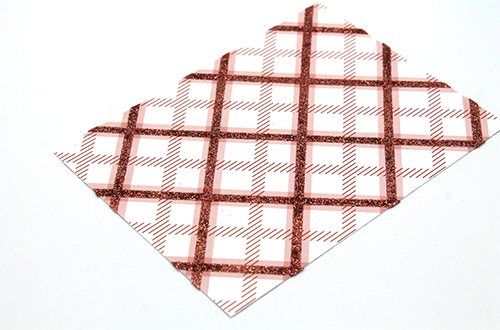
Adhere the glitter plaid background to a white cardstock card base using the E-Z Runner® Permanent Strips Refillable Dispenser. Die-cut the decorative oval from white cardstock and find a fitting die cut sentiment.
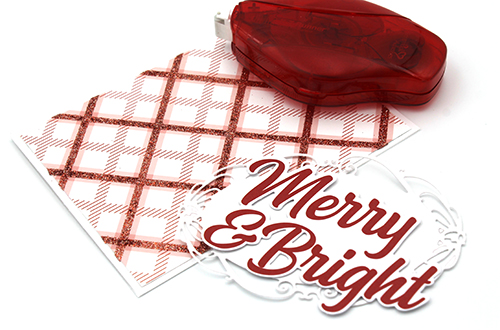
Add the sentiment die cut to the decorative die cut piece using Crafty Foam Tape White. Then adhere that to the glitter plaid background using the same Crafty Foam Tape White.
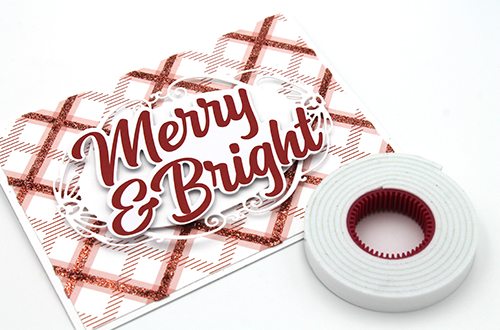
For a little extra flair, add pink pearls to the decorative die cut oval.
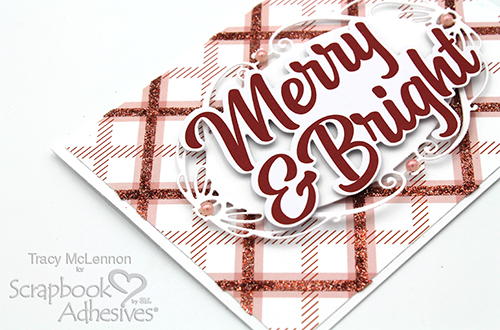
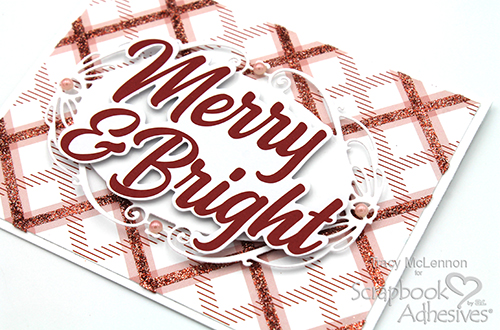
Thanks so much for stopping by!
Tracy
Creative Time: 30 minutes
Skill Level: Beginner
Materials needed:
Scrapbook Adhesives by 3L®
E-Z Runner® Permanent Strips Refillable Dispenser
Crafty Foam Tape White
HomeHobby™ by 3L
Extreme Double-Sided Tape 1/8in
Other
Cardstock- White; Ultra-fine Glitter; Pinkfresh Studios Paper and Die Cut; Heartfelt Creations Ornate Oval Die; Pink Pearls
Save to Pinterest!
Visit our Website and Blog!
Sign up for our Newsletter so you never miss a contest or giveaway!


