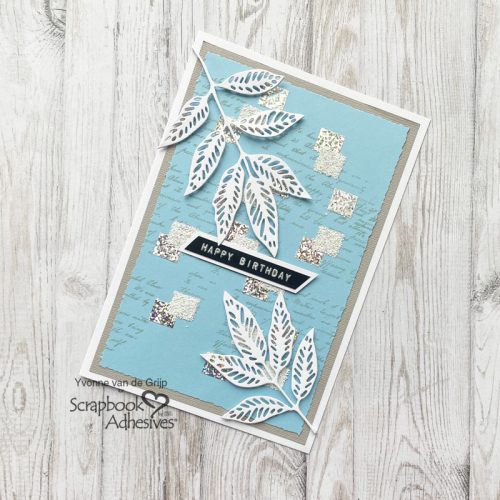
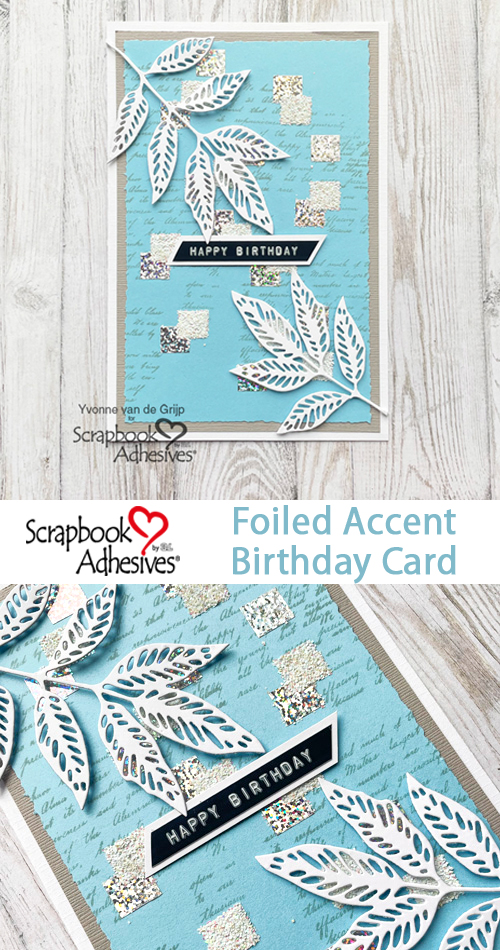
Hi everyone, Yvonne here with a Birthday card featuring the Mounting Squares 500 White using a technique called Wear Your Adhesive on the Outside to create a foiled accent birthday card.
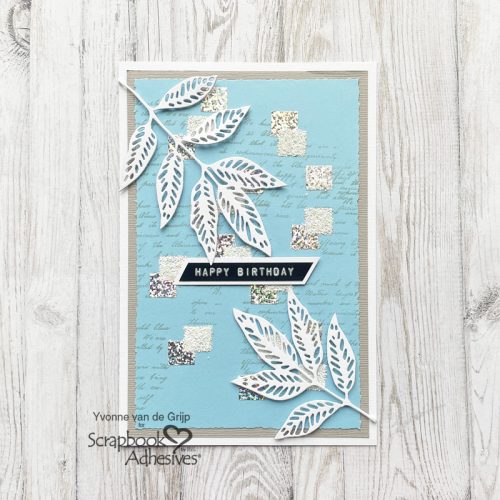
And the great thing about this card…it’s quick and easy to make! I would love to show you how I made my card. Are you joining me?
Make the Foiled Accent Birthday Card Base
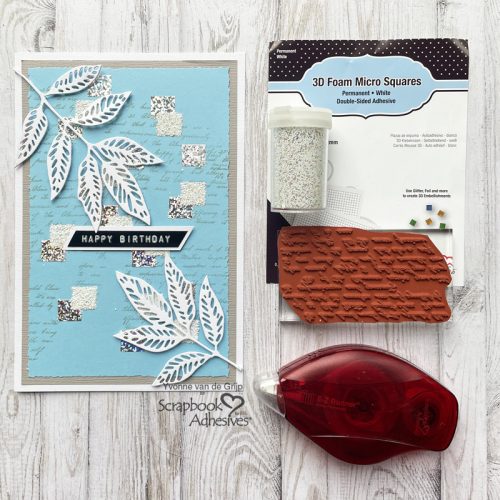
Start by folding a piece of white cardstock to a rectangular-sized card. Then adhere to a grey card panel using the E-Z Runner® Permanent Strips Refillable Dispenser.
Create the Top Card Panel
First, trim a piece of blue cardstock to a rectangular size. Then stamp upon some texts using a grey ink pad. Then adhere upon some Mounting Squares 500 White.
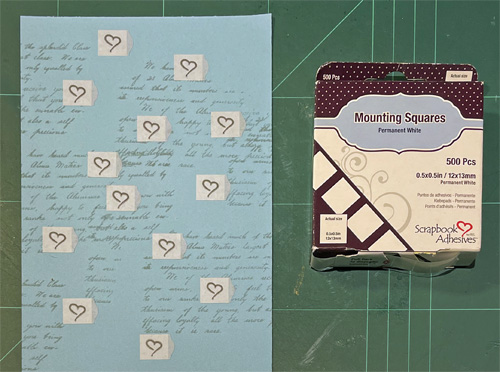
Next, take off the liner of the Mounting Squares and press Metallic Transfer Foil Sheets Holographic Colors (with the color side up) over the adhesive Square, and rub over with your fingers to transfer foil. Then peel off the foil and a holographic Square will appear.
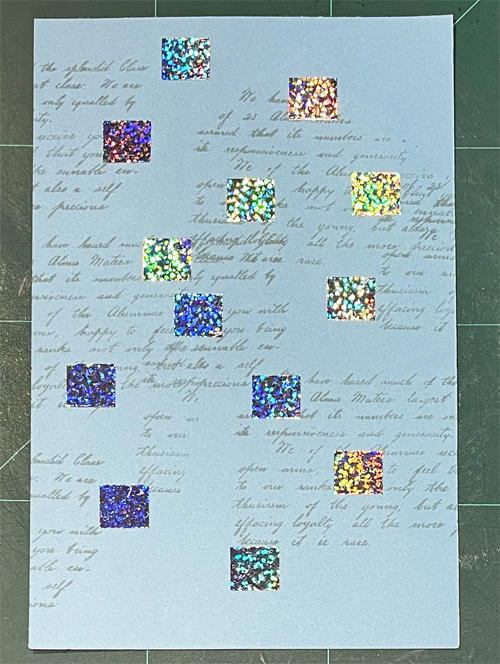
Next again adhere several Mounting Squares 500 White onto the card panel and overlap some of the holographic squares. Now take off the liner of the Mounting Squares and sprinkle white glitter upon it and rub the glitter over the Mounting Squares 500 White with your finger. Then tap off any excess glitter. This technique making your adhesive shine is also known as Wear Your Adhesive on the Outside. Next, I decided to add a torn edge to the card panel using a Torn Edge Trimmer and adhered the panel onto the card base using the E-Z Runner® Permanent Strips Refillable Dispenser.
Embellishing the Birthday card
First die-cut some skeleton leaves from white cardstock. Then adhere the leaves onto the card base using 3D Foam Squares Micro White.
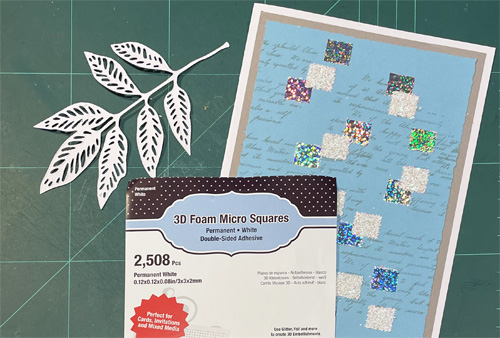
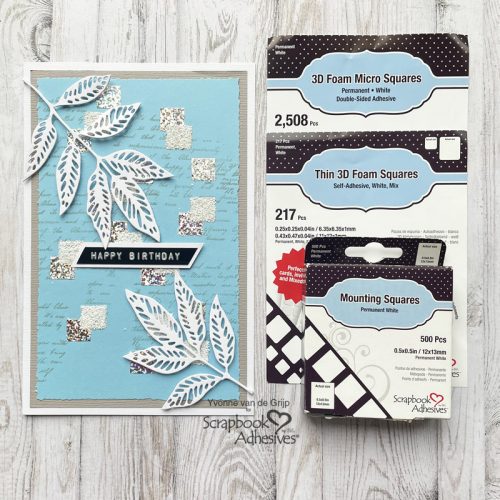
These extra small 3D Squares are great for detailed adhering without needing a craft knife since the squares are sized just 0.12×0.12in… so super easy!
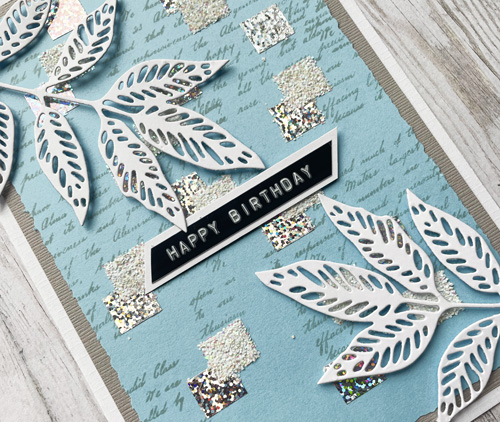
Finally, I adhered a sentiment onto the card using Thin 3D Foam Squares White Mix. And voilá your Birthday Card is ready. I hope you enjoyed this tutorial and wish you happy crafting!
Creative Time: 30 minutes
Skill Level: Intermediate
Materials needed:
Scrapbook Adhesives by 3L®
E-Z Runner® Permanent Strips Refillable Dispenser
Metallic Transfer Foil Sheets Holographic Colors
Mounting Squares 500 White
3D Foam Squares Micro White
Thin 3D Foam Squares White Mix
Other
Cardstock (White, Grey, Blue); Etched dies (Sizzix: Skeleton Leaves); Die-Cutting and Embossing Machine (Spellbinders® Paper Arts: Platinum 6 Machine); Stamp (Katzelkraft: Christmas Snowflakes); Grey Inkpad; White Glitter; Paper Trimmer (Tonic Studios: Deckle Torn Edge Trimmer Tim Holtz); Label Maker; Scissors
Save to Pinterest!
Visit our Website and Blog!
Sign up for our Newsletter so you never miss a contest or giveaway!


