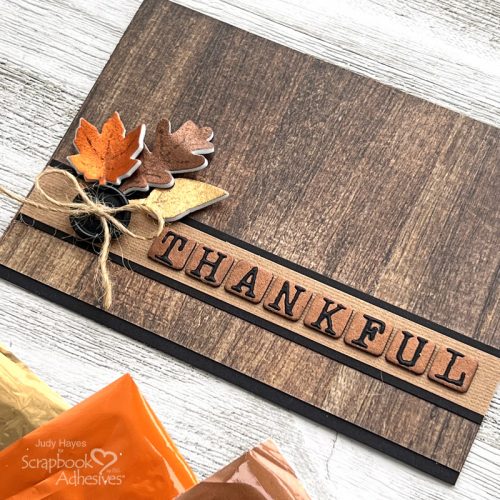
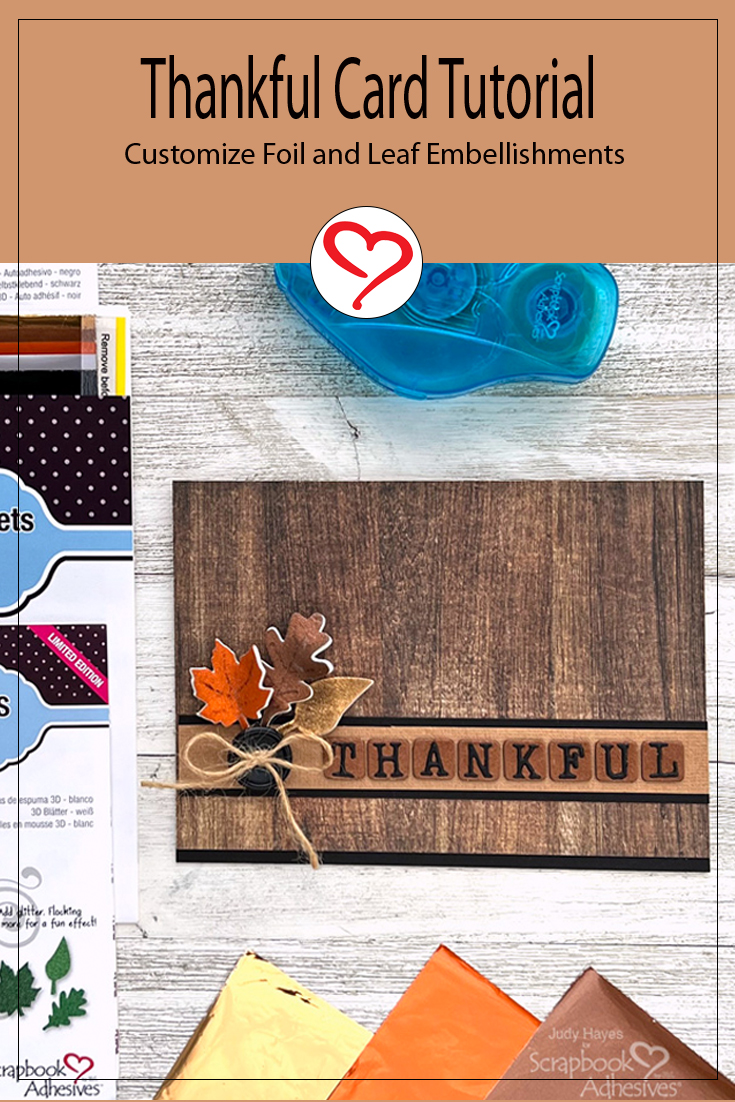
Hello crafty friends! Here it is at the end of August already! For me, that brings thoughts of fall with its beautiful colors, especially leaves. That is my inspiration for this Thankful Card with foil leaves. It’s so easy to add foils to make the 3D Foam Leaves on this card!
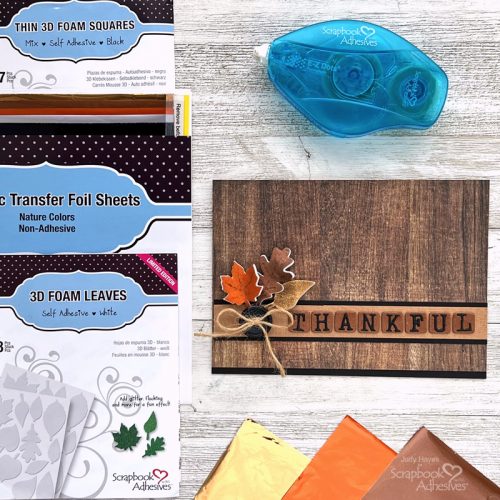
Make Thankful Band
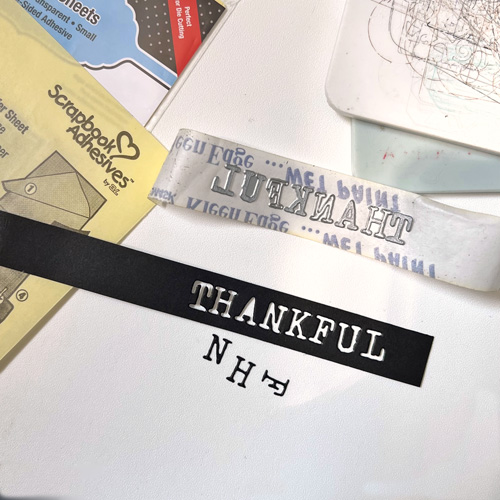
From black cardstock, die-cut letters for the word “THANKFUL.” Some of the letters are still in dies in this photo. Apply Adhesive Sheets to the back of a 0.75 x 7 inches piece of tan cardstock. I like to cut my strips longer than needed and trim them later.
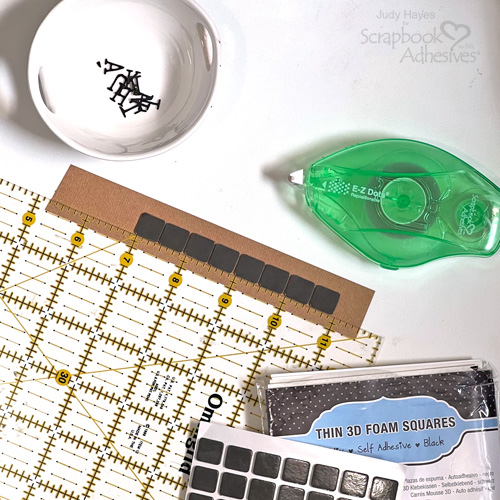
Use E-Z Dots® Repositionable Refillable Dispenser to apply adhesive at each end near the edge of a tan strip. Place a clear ruler along the long edge 0.25 inch from the edge and press it onto the adhesive to hold the ruler in place. Place eight Thin 3D Foam Squares Black Mix evenly spaced along the ruler edge.
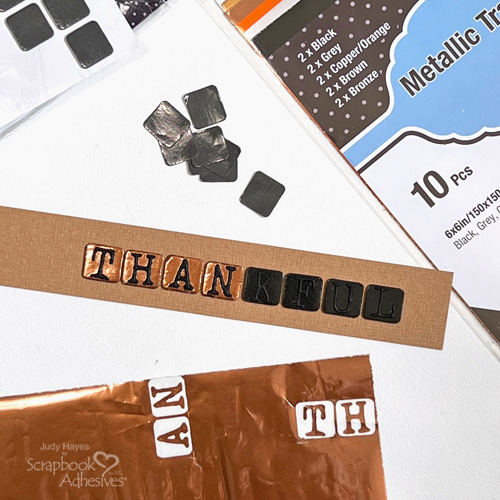
Remove liner from one Thin 3D Foam Squares and place die-cut letter on it. Continue to place a letter on each Thin 3D Foam Square to spell “THANKFUL”. Place brown foil sheet from Metallic Transfer Foil Sheets Nature Colors over letters and rub well to transfer foil to Thin 3D Foam Squares. Repeat to cover all squares. Optional: Heat slightly with a heating gun to dull the color slightly.
Trim a tan strip to 6 inches long. Cut black cardstock 1 x 6 inches. Adhere the Thankful band to the black band using E-Z Dots® Permanent Refillable Dispenser to apply adhesive.
Card Base
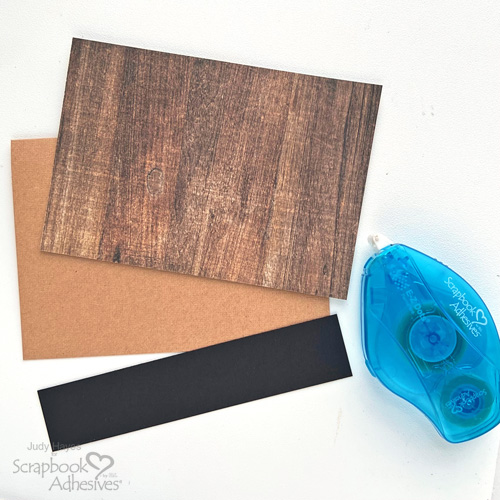
Cut tan cardstock 8.5 x 6 inches and fold to form a 4.25 x 6 inch card. From black cardstock, cut a 1 x 6 inch strip and from wood grain paper cut a piece 4.125 x 6 inches. Use E-Z Dots® Permanent Refillable Dispenser to secure the black strip along the bottom of the card and then fasten wood grain paper at top of card lapping over the black strip.
Make Foil Leaves
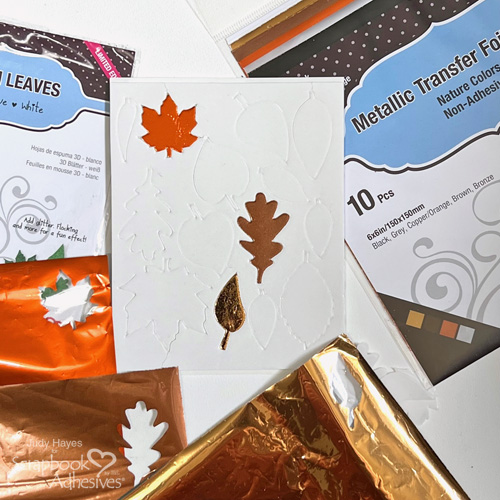
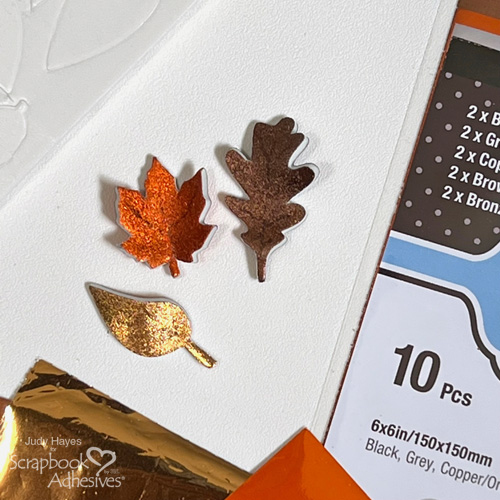
On a sheet of 3D Foam Leaves, remove the liner from the small leaf and cover with bronze foil from Metallic Transfer Foil Sheets Nature Colors. Rub foil well to transfer to leaf (color side up) and then remove foil. Repeat with brown foil on the oak leaf and copper foil on the maple leaf. Peel each leaf from the carrier sheet and apply foil to the backside. Heat leaves slightly with heat gun and shape while warm. Optional: Draw leaf veins with a black fine marker.
Assemble Card
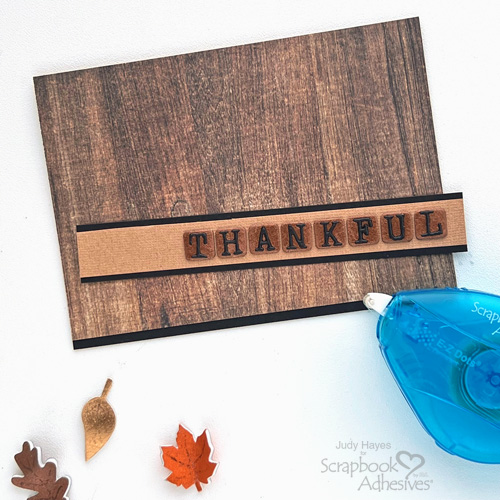
Apply adhesive to the back of the “THANKFUL” band using E-Z Dots® Permanent Refillable Dispenser and fasten to the card front.
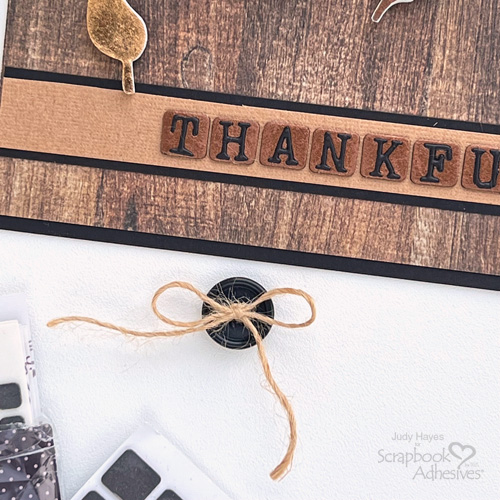
Thread twine through button holes and tie a bow. Apply small Thin 3D Foam Squares Black Mix to the back, peel the liners and fasten on the card.
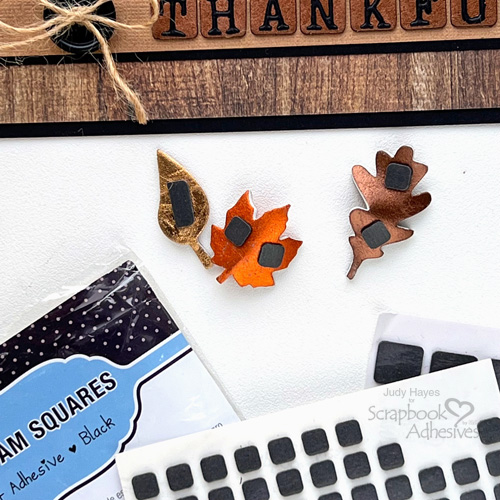
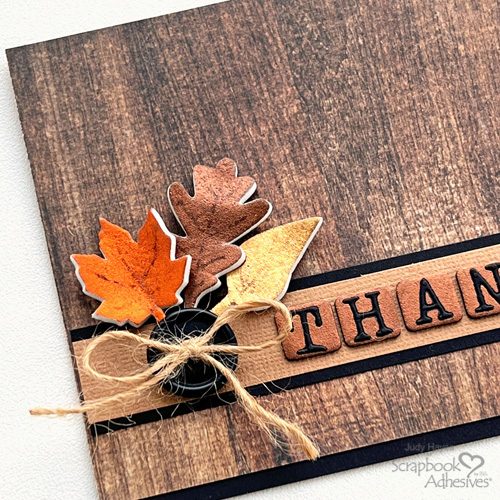
Place Thin 3D Foam Squares Black Mix on the back of the leaves, peel the liners and attach leaves around the button with stems tucked under the button.
Thanks for Visiting!
Judy Hayes
Creative Time: 30 mins
Skill Level: Intermediate
Materials Needed:
Scrapbook Adhesives by 3L®
Thin 3D Foam Squares Black Mix
E-Z Dots® Repositionable Refillable Dispenser
Metallic Transfer Foil Sheets Nature Colors
E-Z Dots® Permanent Refillable Dispenser
Other
Patterned Paper: PhotoPlay (Great Outdoors Collection/Row your Boat); Craft Dies: Sizzix (Tim Holtz/Alphanumeric Tiny Type Upper); Black and Tan Cardstock; Twine; Button
Save to Pinterest!
Visit our Website and Blog!
Sign up for our Newsletter so you never miss a contest or giveaway!


