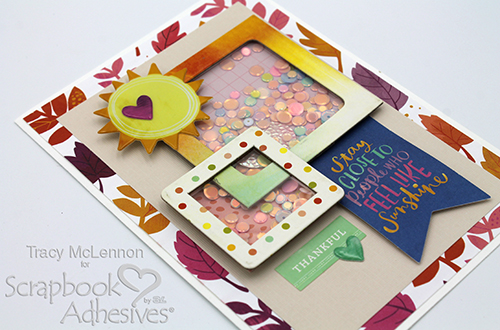
Hello crafty friends! Tracy here, and today I have a quick and easy fall shaker card tutorial to share. I wanted to dig into my crafty stash and use up products I have been holding on to for a long time. Here are all of the details.
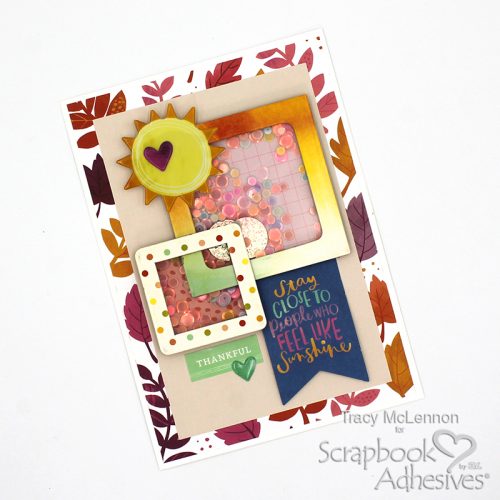
Search Your Stash
Everyone has a stash of crafty goodies that you’ve been hoarding for one reason or another. I have a little collection of chipboard frames from old collections in a bin, and today I decided to create a shaker card using some of them.
The first step in creating this fall shaker card is to choose the chipboard frames you would like to use. Cut acetate to fit behind the frames, and adhere to the acetate using the E-Z Runner® Ultra Strong Refillable Dispenser.
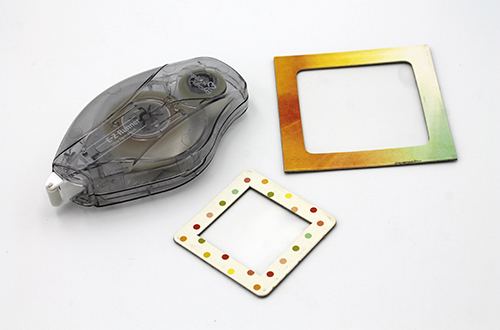
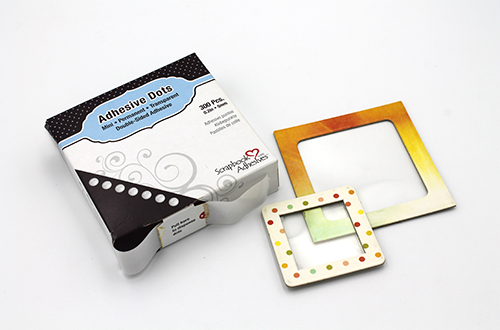
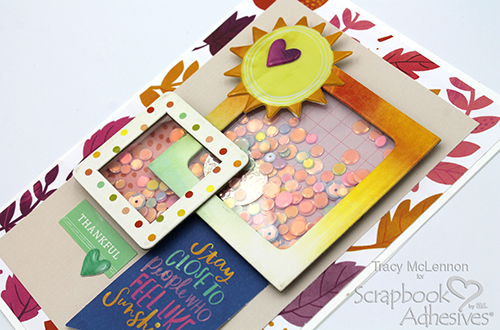
I chose to overlap the frames slightly for this fall shaker card, and I did this by adhering them together using Adhesive Dots Mini.
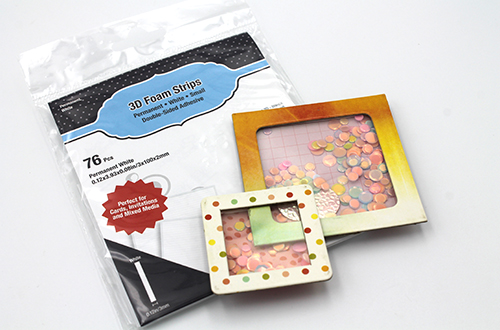
Cut patterned paper pieces to fit behind each frame. Using 3D Foam Strips, create the walls in back of the frames to contain your shaker bits. Fill the shakers with the sequins mix and add the patterned paper backing to each frame.
Create a simple layered background for the fall shaker card using cardstock and patterned paper. Add the shaker frames to the card front using the E-Z Runner® Ultra Strong Refillable Dispenser. The final touch is to add a few coordinating embellishments and sentiment pieces.
Thanks so much for stopping by!
Tracy
Creative Time: 45 minutes
Skill Level: Intermediate
Materials needed:
Scrapbook Adhesives by 3L®
Adhesive Dots Mini
E-Z Runner® Ultra Strong Refillable Dispenser
3D Foam Strips
Other
Cardstock (Peach, White); Pink Paislee Truly Grateful Collection; Acetate; Chipboard Frames; Spiegelmom Scraps Sequins Mix
Save to Pinterest!
Visit our Website and Blog!
Sign up for our Newsletter so you never miss a contest or giveaway!


