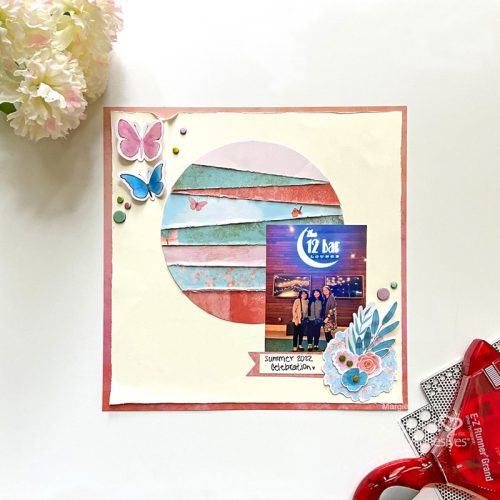
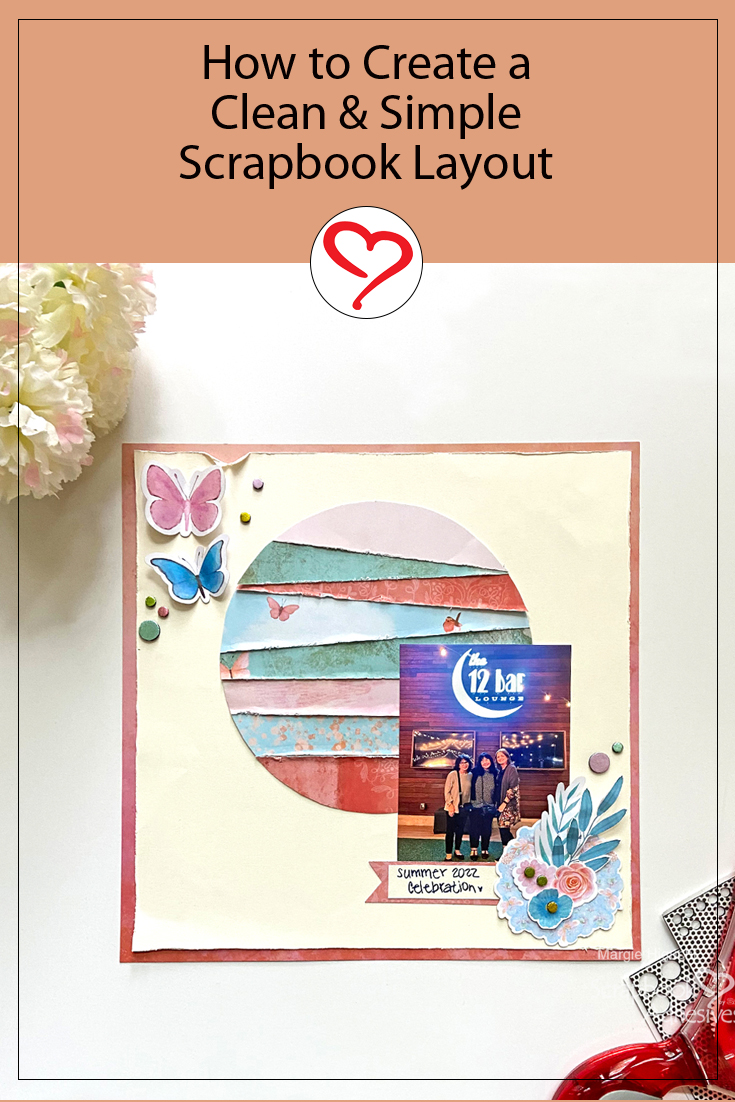
Do you have summer memories to document? I created a fairly simple and clean summer celebration scrapbook page to record my summer {milestone} birthday with fellow milestone babes! Let me show you how I created this style of layout.
Summer Celebration Page Base
Distress the edges of an 11 x 11-inch square cream cardstock. Then adhere to a 12 x 12-inch patterned paper with the E-Z Runner® Grand Permanent Strips Dispenser. For kicks, I tore and split a small area on the top left corner of the cream cardstock.
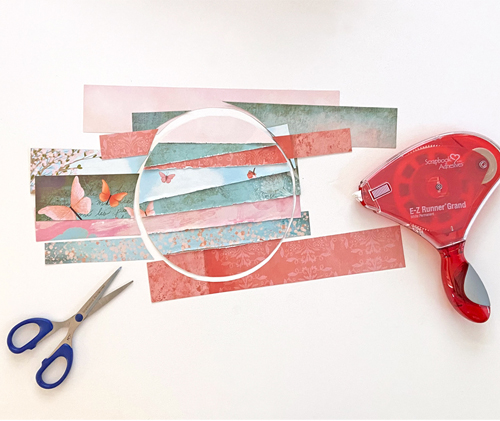
Cut about eight strips of 2 x 10-inch patterned paper and distress the edges on all. It’s a great way to use up scraps! Next, die-cut a 7.25-inch circle from cream cardstock. Varying the width of the strips, place them on top of the circle with the E-Z Runner® Grand Permanent Strips Dispenser. Designer’s Tip: I cut the width between 1 to 2-inches and shift them at an angle for interest. Trim the edges to form the circle.
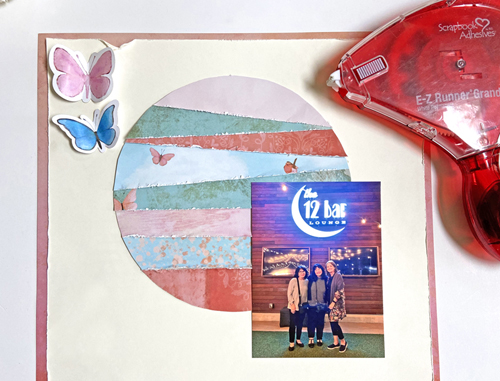
Secure the layered circle shape and the vertical picture with the E-Z Runner® Grand Permanent Strips Dispenser.
Embellish the Page
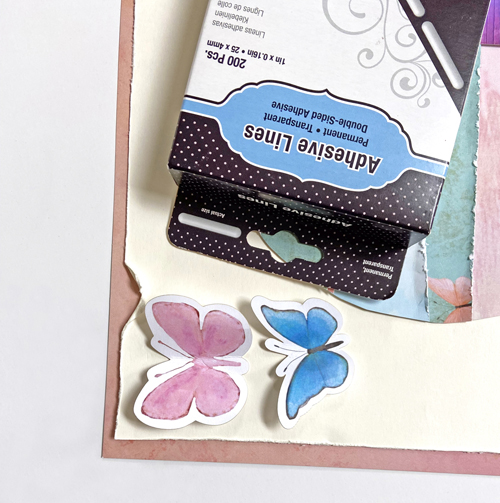
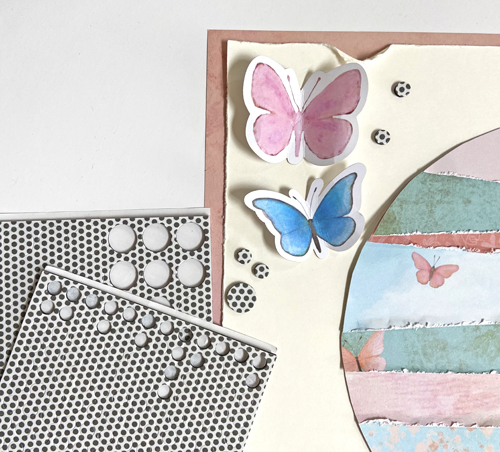
For a dimensional accent, I used two die-cut butterfly shapes and secured them with Adhesive Lines along their bodies so that I can lift the wings up.
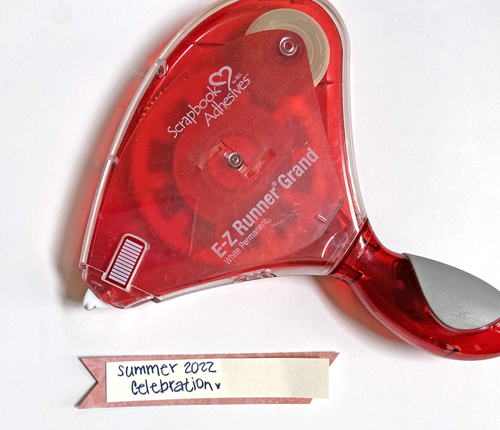
With the leftover strip of patterned paper, I created a ribbon tail banner and matted it with a Summer Celebration sentiment on a cream cardstock strip with the E-Z Runner® Grand Permanent Strips Dispenser. Using the same adhesive, place the sentiment below the picture.
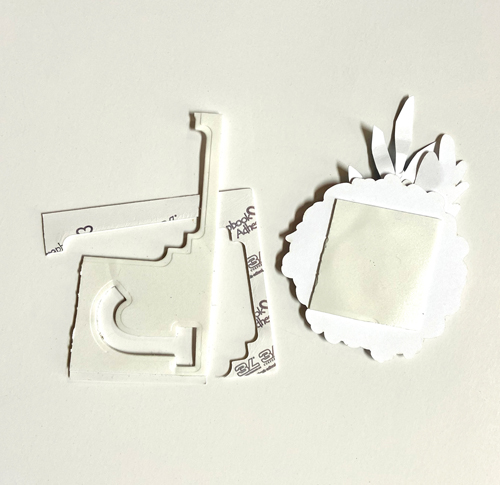
From the ephemera pack, I clustered a few die-cut shapes together and popped it up with a leftover piece from the 3D Foam Creative Sheet. Place over the bottom right corner of the picture.
Wear Your Adhesive on the Outside with Foil
Now the fun part, foiling with adhesives! For my Wear Your Adhesive technique, I am adding foil to the flower centers on the cluster and making faux sequins (vs. sequins) around the layout. Using the small foam circles from the 3D Foam Circles in Black, I centered them on three flowers. Foil them with the yellow and green foil sheets from the Metallic Transfer Foil Sheets in Pastel Colors.
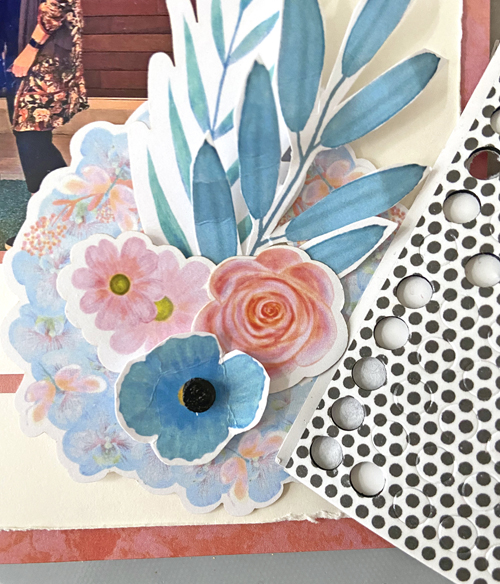
Take the top liner off (one at a time), cover the foil sheet (color side UP) over the exposed adhesive, rub with your fingertips to transfer the color, and peel off the foil. If there are missed areas, simply reapply the foil. Repeat with the rest of the centers.
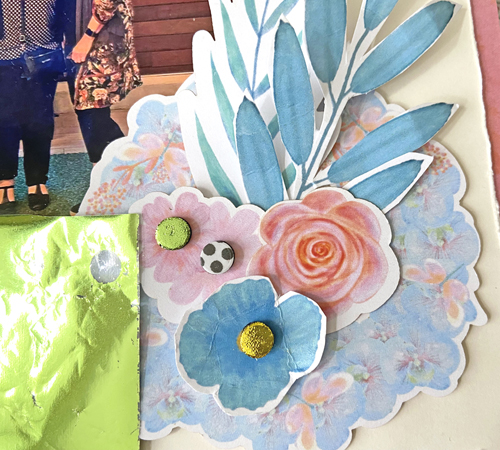
Accent the layout with a combination of small and regular circles from the 3D Foam Circles in Black in place of sequins. Use the foiling steps as mentioned to give them sparkle and dimension! I used all the foil colors in the Metallic Transfer Foil Sheets in Pastel Colors.
I hope you enjoyed my Summer Celebration scrapbook layout process. What will you document for the summer? Share in the comments below!
Thanks for stopping in!
Margie Higuchi
Creative Time: 40 minutes
Skill Level: Intermediate
Material Needed
Scrapbook Adhesives by 3L®
E-Z Runner® Grand Permanent Strips
3D Foam Circles in Black Mix
Adhesive Lines
3D Foam Creative Sheets Small
Metallic Transfer Foil Sheets in Pastel Colors
Other
Patterned Papers and Ephemera Pack: Kraft n Creativity; Cream Cardstock
Save to Pinterest!
Visit our Website and Blog!
Sign up for our Newsletter so you never miss a contest or giveaway!


