
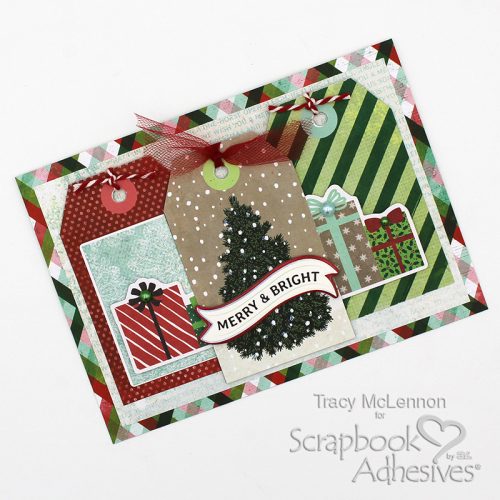
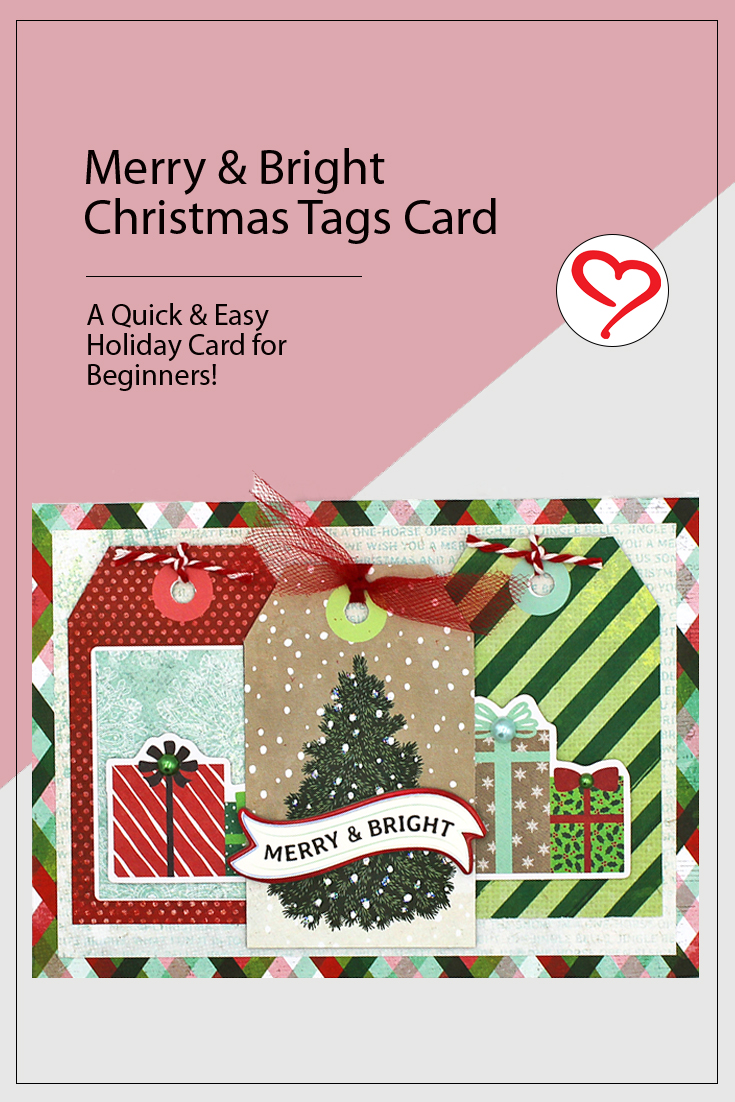
Hello Christmas crafty friends! Tracy here and today I have a quick and simple Christmas Tags card that you can create in minutes. Here are all of the festive details.
Let’s Get Started
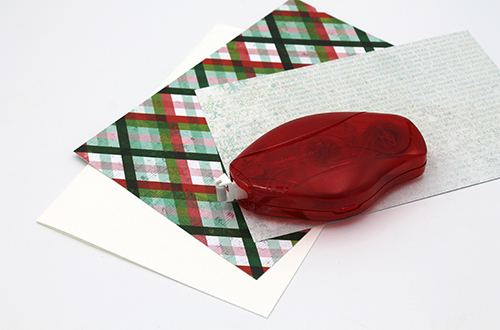
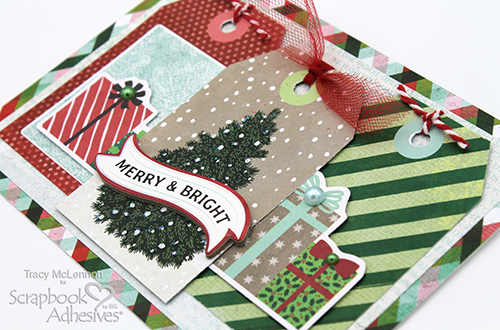
First I cut a 5×7 white cardstock card base. I cut the plaid patterned paper to 5×7, and the light blue patterned paper to 4.5×6.5. Adhere these layers of the quick and simple Christmas Card together using the E-Z Runner® Permanent Strips Refillable Dispenser.
Next, cut out the coordinating patterned tags that you like. I used Thin 3D Foam Squares Black Mix at the top of the 2 outside tags, and the E-Z Runner® Permanent Strips Refillable Dispenser for the bottom of the tags. This gives that little bit of extra dimension to this quick and simple Christmas card. It also makes adding ribbon or twine to the tags easier.
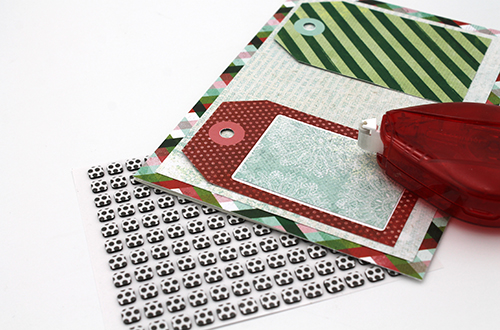
The Christmas Gift die cut piece and the middle tag are added to the card front using Thin 3D Foam Squares Black Mix. Again, this adds just a little bit of dimension to the card layers. Add the “Merry and Bright” chipboard sticker to the middle.
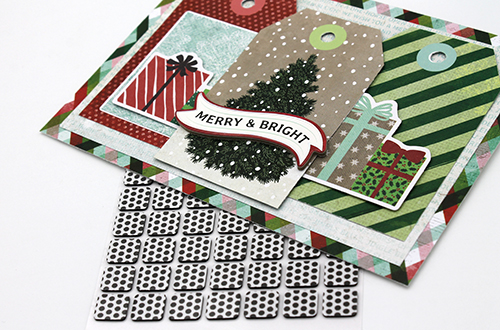
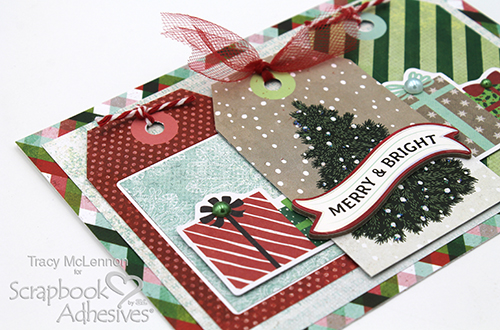
Add red tulle ribbon to the middle tag of this quick and simple Christmas card. Then I added just a simple knot of red/white baker’s twine to the other 2 tags. The final touch is to add just a little shine and dimension by adding some coordinating pearls.
Thanks so much for stopping by!
Tracy
Skill Level: Beginner
Creative Time: 20 minutes
Materials Needed:
Scrapbook Adhesives by 3L®
Thin 3D Foam Squares Black Mix
E-Z Runner® Permanent Strips Refillable Dispenser
Other:
Vicki Boutin Evergreen and Holly Collection, Red Tulle Ribbon, Red/White Baker’s Twine, Pearls, Cardstock- White
Save to Pinterest!
Visit our Website and Blog!
Sign up for our Newsletter so you never miss a contest or giveaway!


