
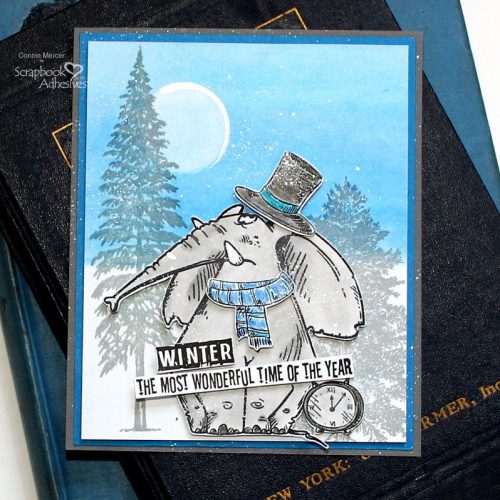
Hi, Connie here with a Wonderful Winter card using the wonderful 3D Foam adhesives for that wonderful dimension. In my opinion, it’s all wonderful. I’m creating some super cute stamps by KatzelKraft that are wonderful (ok, I’ll stop with the wonderful 🙂 🙂

As always we have a few things to do before we are ready to assemble the card. So let’s get started~
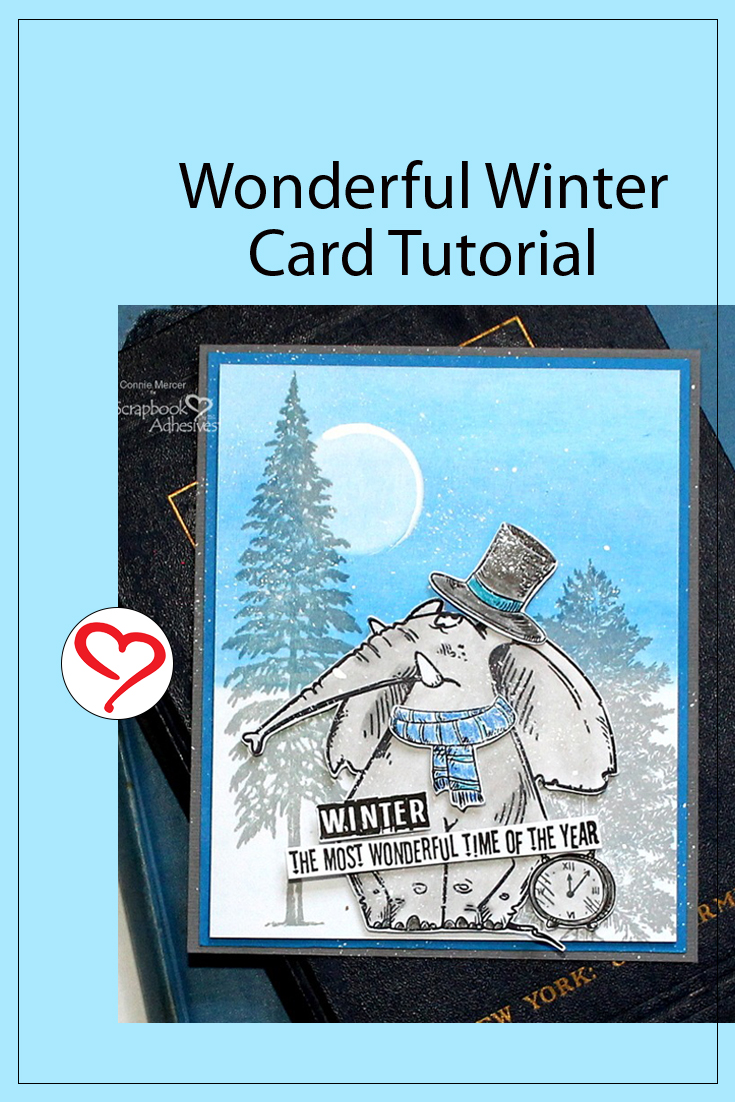
Wonderful Winter Stamp Images
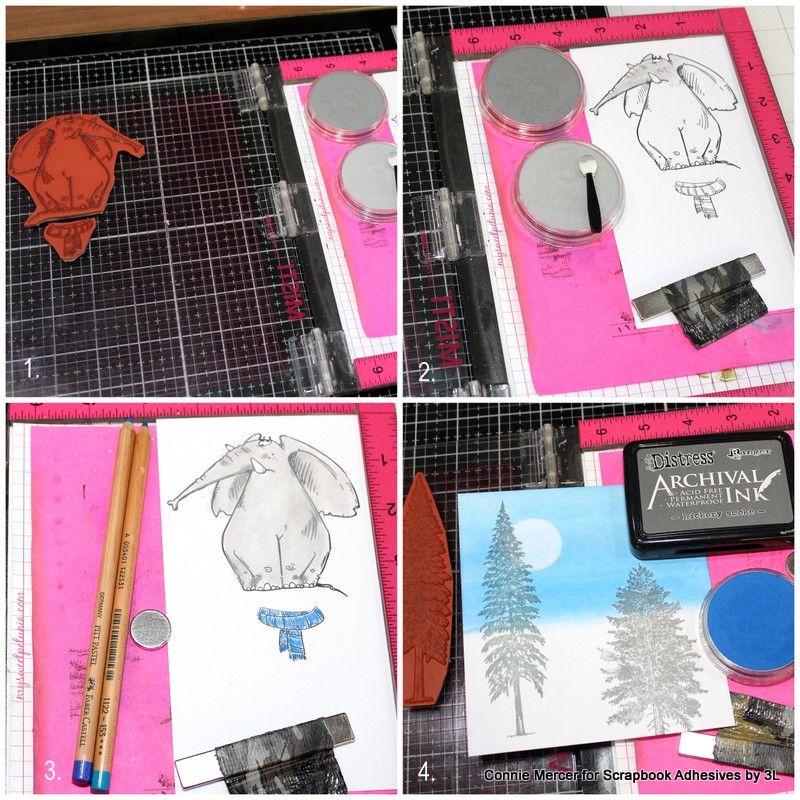
- 1. Using a stamping platform, stamp the image on white cardstock.
2. Color with pan pastels or a medium of your choice.
3. Color the winter scarf with colored pencils and highlight. Do the same with the hat, and clock.
4. Stamp the trees with light grey ink and use pan pastels to put in the sky and winter sun.
Mask off using a circle stencil and using an eraser to remove the pan pastel color.
Assembling the Card
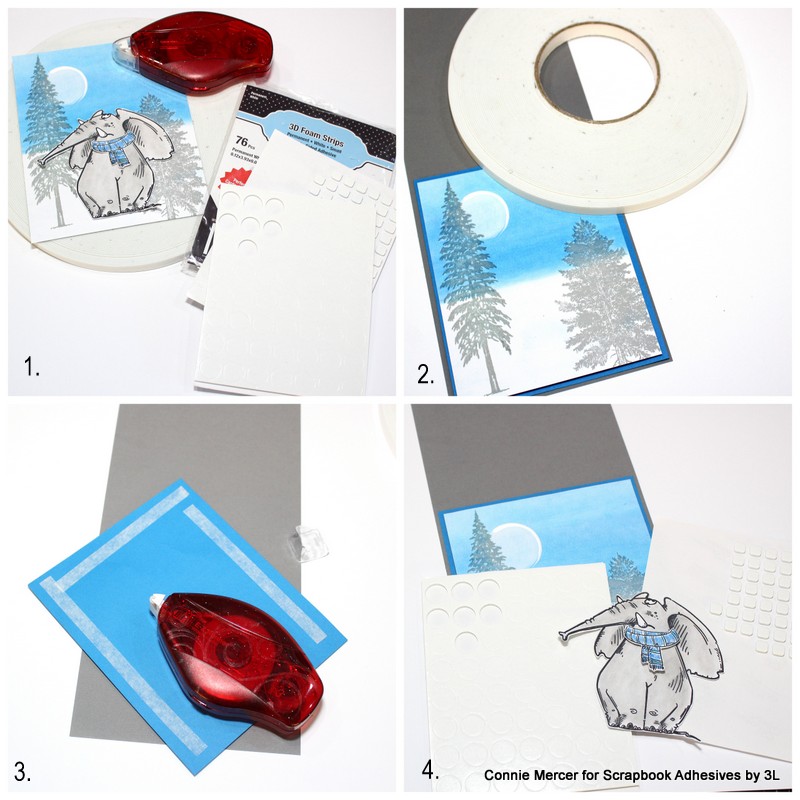
- 1. Cut out the images of the elephant, hat, scarf, and clock.
2. Now you’re ready to arrange the elements on the card. Using the Crafty Foam Tape 108′, adhere the card front to a blue cardstock mat.
3. With the E-Z Runner® Permanent Strips Refillable Dispenser, adhere the matted card front to the card base.
4. Use the 3D Foam Circle White Mix and the 3D Foam Square White Mix to place the scarf, hat, and clock on the card front. Distress card front with acrylic white paint. Add the sentiments using the 3D Foam Strips.
Thanks for stopping by and on to 2023!!
Happy Holidays,
Connie Mercer
Creative Time: 45 minutes
Skill Level: Beginner
Materials Needed:
Scrapbook Adhesives by 3L®
EZ Runner Permanent Strips Refillable Dispenser
EZ Runner Permanent Strips Refill
3D Foam Circles White Mix, 3D Squares White Mix and 3D Foam Strips
Crafty Foam Tape 108′
Other: Stamps: KatzelKraft; Ink: Ranger Ink; Pan Pastels; Colored Pencils; White Acrylic Paint
Save to Pinterest!
Visit our Website and Blog!
Sign up for our Newsletter so you never miss a contest or giveaway!


