
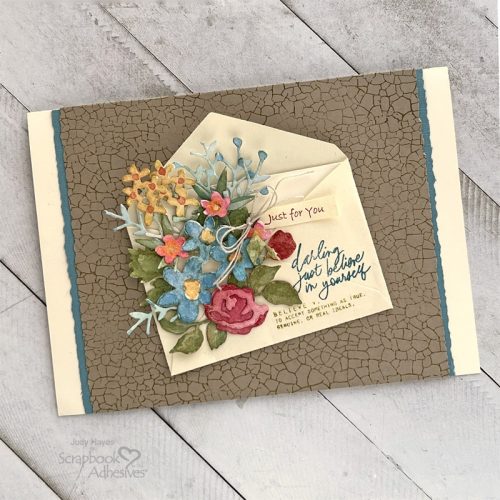
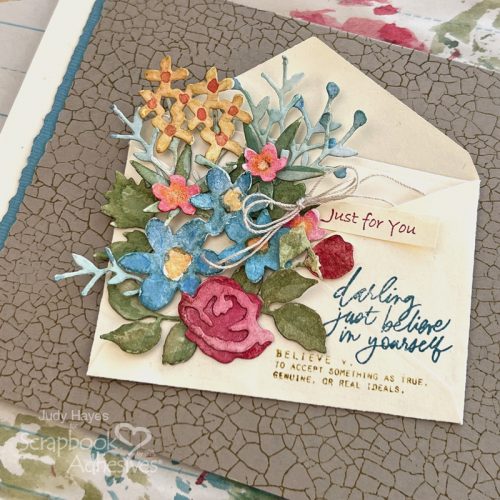
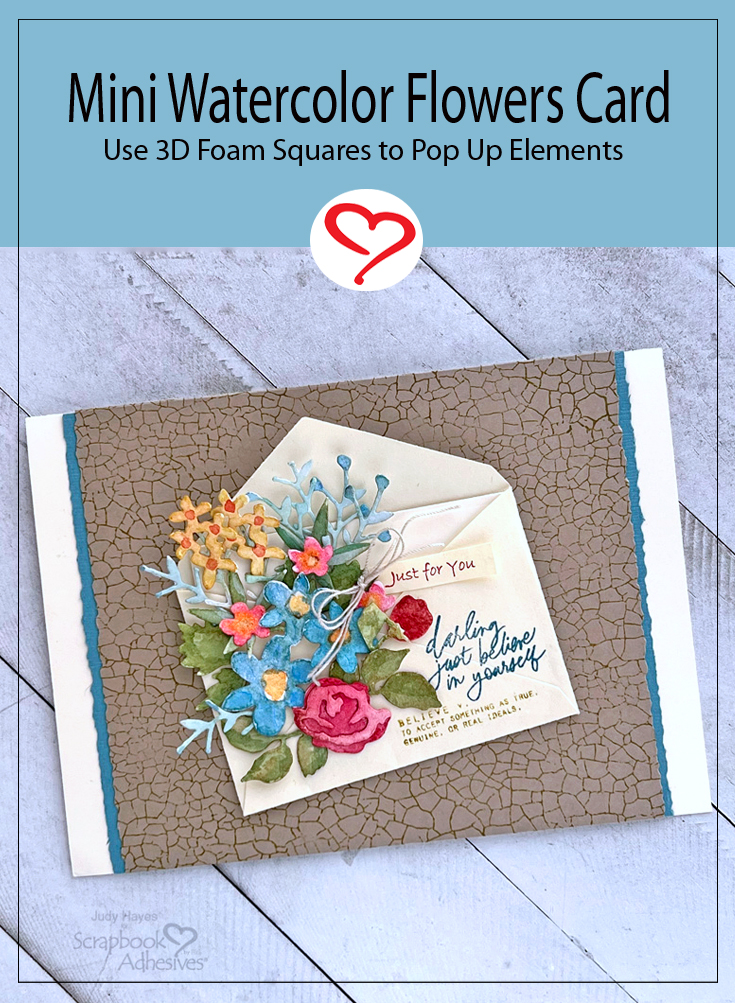
Hello Friends! Today, I’m thinking of pretty spring flowers with this Mini Watercolor Flowers Card! The flowers are die-cut and then I painted them with watercolors. I chose not to use all the layering pieces on most of the flowers, instead, I added shading and different color centers with watercolors.
Layers for the Watercolor Flowers Card
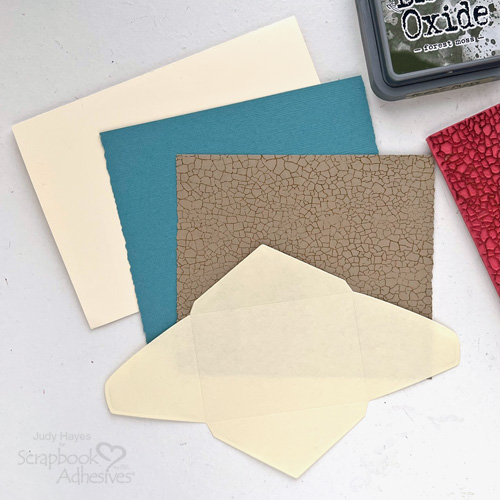
I’ve prepared the pieces for the card by cutting the following:
- Cut a 4.5 x 6.25-inch Cream Card Base (insert for the envelope cut with die – not shown in photo)
- Trim to a 4.5 x 5.5-inch Blue Cardstock (cut ends with deckle-edged scissors)
- Cut a 4.5 x 5.25-inch Peanut Cluster Cardstock (cut ends with deckle-edged scissors + stamp Craze Pattern with Distress Oxide Ink in Forest Moss)
- Die-cut an envelope die with Cream Text-Weight Paper
Assemble the Card Base
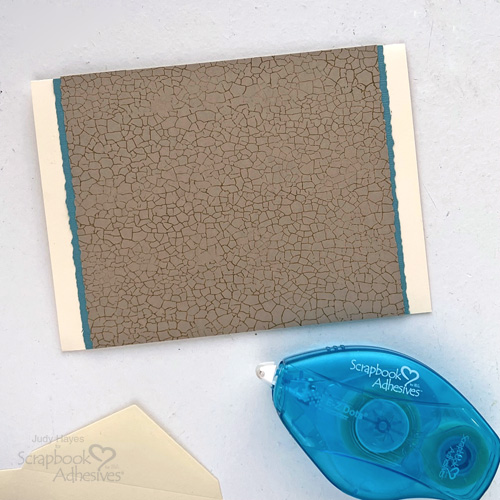
Use E-Z Dots® Permanent Refillable Dispenser (or E-Z Runner® Ultra Strong Refillable Dispenser) to attach the craze stamped piece to the blue cardstock piece and then attach both to the cream card base.
Make the Envelope
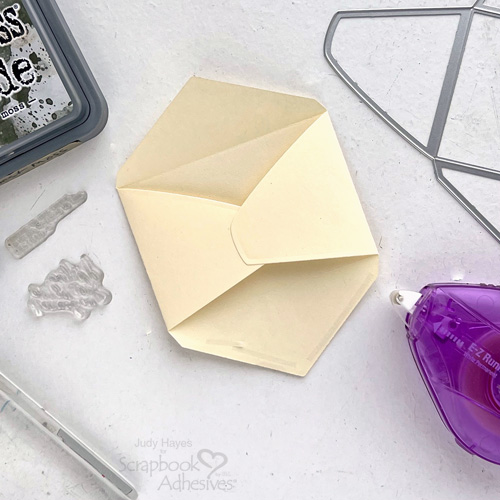
Fold the envelope along its crease lines. Use E-Z Runner® Micro Refillable Dispenser to apply adhesive where side pieces overlap and press together. Next, add adhesive along the bottom flap edge and press in place. Leave the top flap open.
Ink definition stamp with Distress Oxide Forest Moss ink, stamp off once and stamp on the envelope. Use Distress Oxide Uncharted Mariner to ink verse and stamp on the envelope.
Apply a small amount of adhesive to the back of the insert and tuck it into the envelope so it’s slightly above the fold of the flap.
Cut and Watercolor Flowers
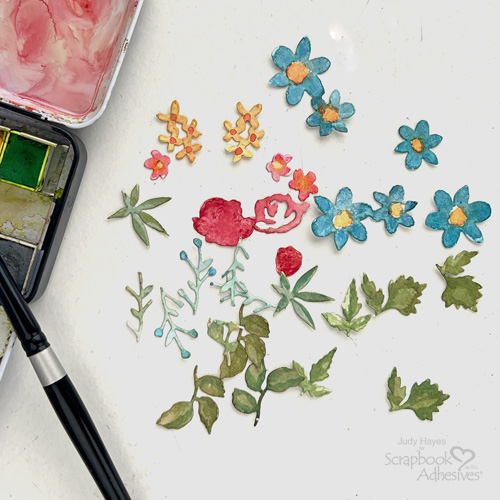
Use mini flower dies and die cutting machine to die-cut an assortment of flowers and leaves from white watercolor paper. Paint flowers and leaves with watercolors.
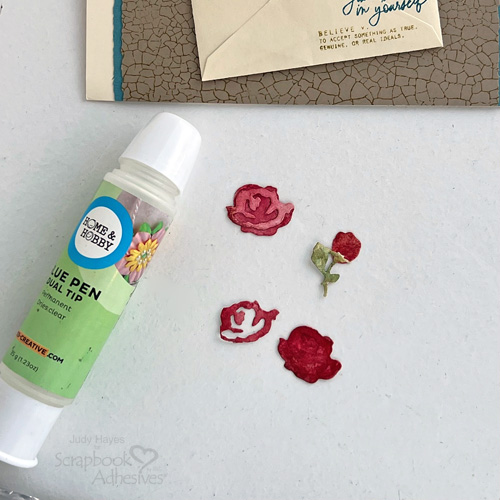
Glue any layers of flowers together using the Dual Tip Glue Pen.
Attach the Envelope
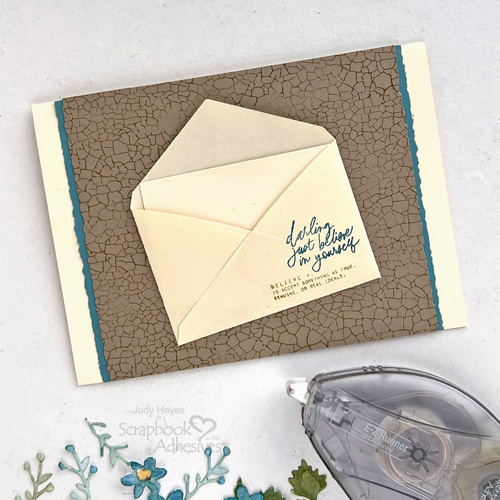
Apply adhesive to the corners of the envelope with E-Z Runner® Ultra Strong Refillable Dispenser and fasten to the card front.
Fasten Flowers and Leaves
Arrange flowers and leaves on the envelope. Fasten them in place using Adhesive Dots Micro, Thin 3D Foam Squares White Mix, and 3D Foam Squares Micro White depending on the size of the flower and the dimension desired. (Designer Tip – I used Thin 3D Foam Squares small on larger flowers, Adhesive Dots Micro on most leaves, and Thin 3D Foam Squares Micro on small flowers.)
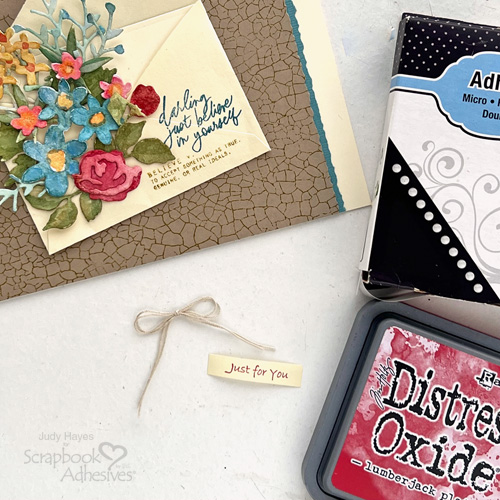
Stamp or write “Just for You” on a strip of text-weight cream paper. Apply Adhesive Dots Micro to end and tuck under flowers.
Tie a small bow with 2 strands of crochet thread and secure it with Adhesive Dots Micro near the “Just for You” strip. (Designer Tip – roll Adhesive Dots Micro into a ball and fasten it behind the bow knot.)
Thanks for Visiting!
Judy Hayes
Creative Time: 30 mins
Skill Level: Intermediate
Materials Needed:
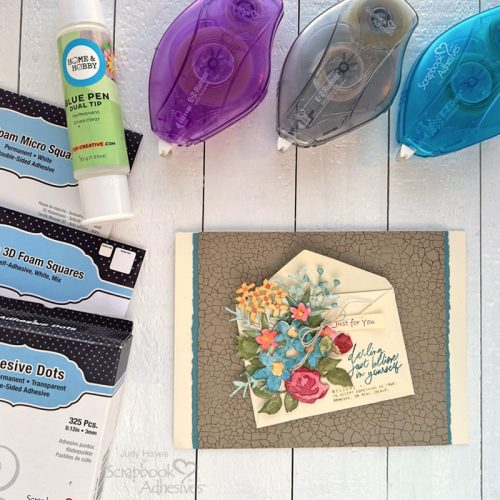
Scrapbook Adhesives by 3L®
E-Z Runner® Micro Refillable Dispenser, E-Z Dots® Permanent Refillable Dispenser and E-Z Runner® Ultra Strong Refillable Dispenser
Thin 3D Foam Squares White Mix
HomeHobby™ by 3L
Other
Bazzill Basics Paper (Peanut Cluster), Heidi Swapp Stamps (February Agenda), Prima Marketing (Watercolor Classics), Ranger Ink Distress Oxide Inks (Forest Moss, Uncharted Mariner, Lumberjack Plaid), Ranger Ink (Distress Watercolor Cardstock), Sizzix Tim Holtz Dies (Brushstroke Flowers, Mini, Postale), Stampers Anonymous Tim Holtz Stamp (Craze and Planks), Cardstock (Cream, Muted Turquoise), Text Weight Paper (Cream), Crochet Thread(string)
Save to Pinterest!
Visit our Website and Blog!
Sign up for our Newsletter so you never miss a contest or giveaway!


