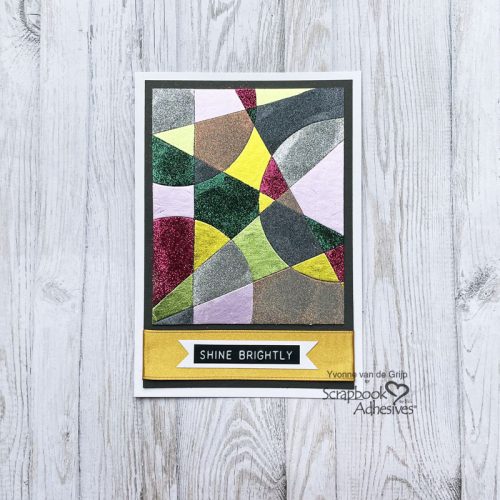
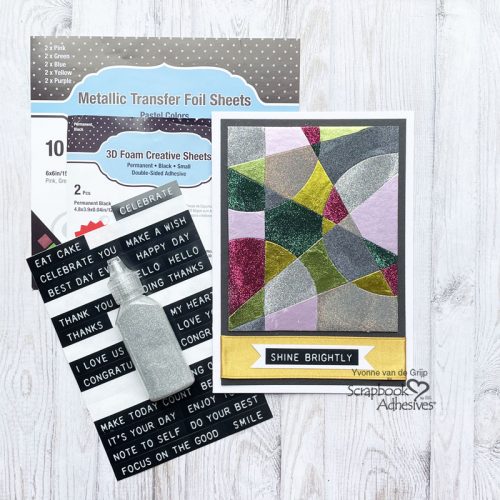
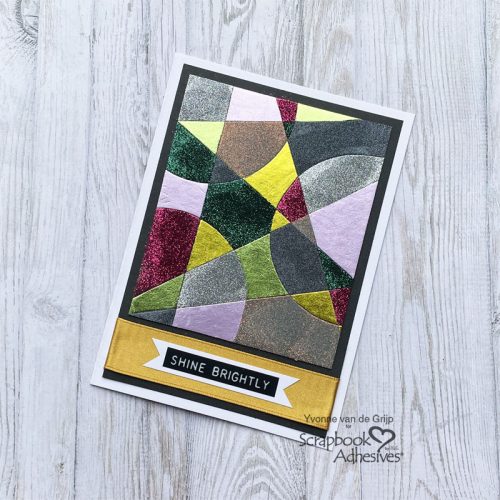
Hi everyone, Yvonne here with a Mosaic Glitter and Foil card. To create this stunning effect, I used the Wear Your Adhesive on the Outside technique with glitter and Metallic Transfer Foil Sheets Pastel Colors. The great thing about this card is….it’s super easy to create, so also suitable for beginner cardmakers! Wanna join me in creating the card? Let’s get started!
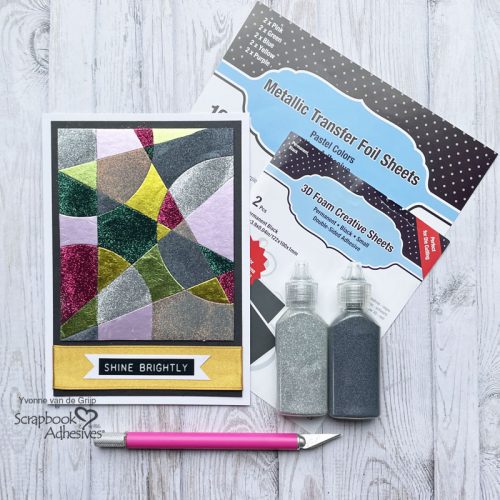
Mosaic Top Card Panel
Start making the Glitter and Foil Card by sanding the top liner of a 3D Foam Creative Sheets Small, Black just a little.
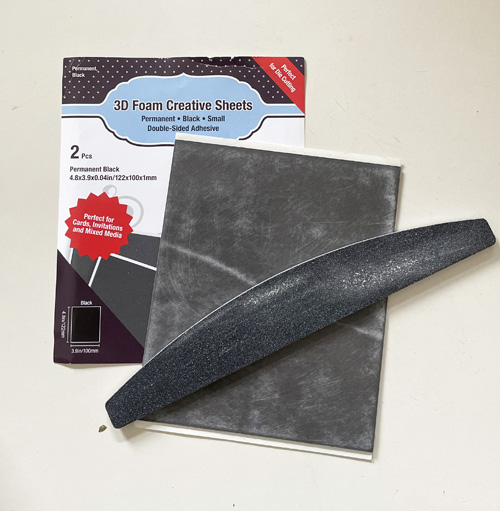
I sanded the top liner because I want to draw lines with a pen and this way the drawn lines are more visible and the ink from my pen smooches less easily…. it’s just a tip 😉. Next draw lines and circles on the top liner of the 3D Foam Creative Sheets Small, Black.
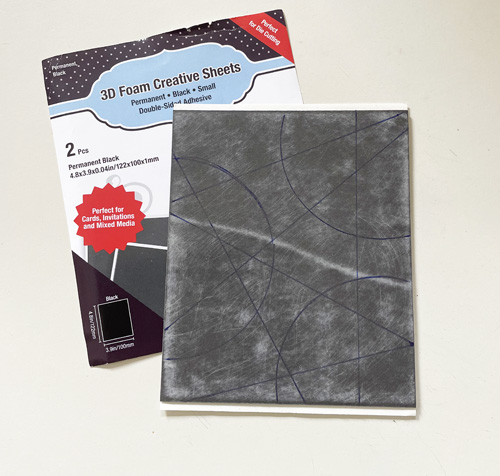
Now remove the back liner of the 3D Foam Creative Sheets Small, Black, and adhere onto a piece of black cardstock. Then use a craft knife to cut along the lines and through the top liner of the 3D Foam Creative Sheets Small, Black.
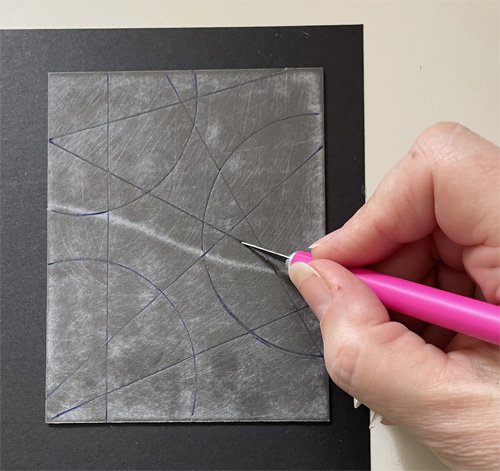
If you cut into the foam, that is no problem at all, just do not cut all the way through the cardstock.
Creating Glitter and Foil Fun
Now the glitter and foil fun starts. Carefully take of some of the pieces of the (cut) top liner of the 3D Foam Creative Sheets Small, Black. Then take a piece of Metallic Transfer Foil Sheets Pastel Colors and place it over the adhesive parts with the color of the foil (for example green) facing up. Then use your finger to rub the foil over the adhesive and then carefully remove the Metallic Sheet.
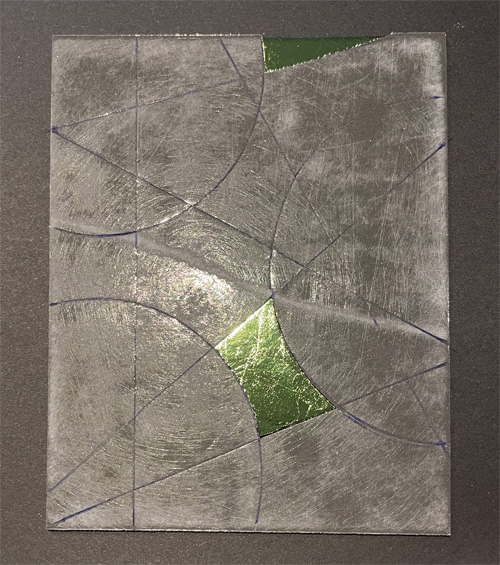
Repeat this with several colors of foil.
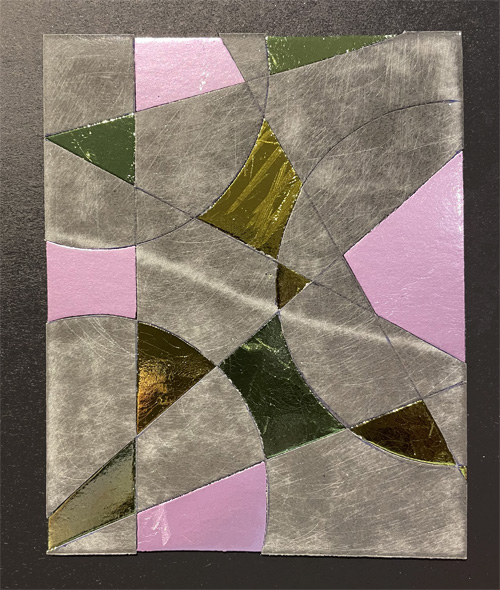
Then remove some parts of the 3D Foam Creative Sheets Small, Black, and rub some glitter over the revealed adhesive parts. Repeat using several colors of glitter.
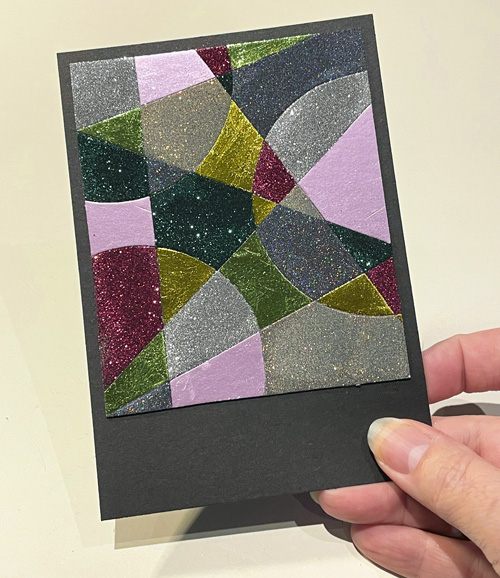
The technique for making your adhesive shine is called Wear Your Adhesive on the Outside.
Adhering Ribbon
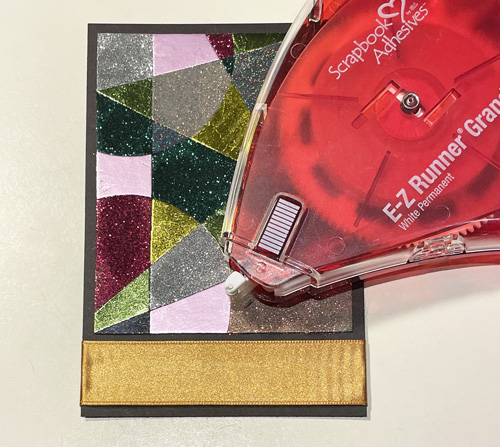
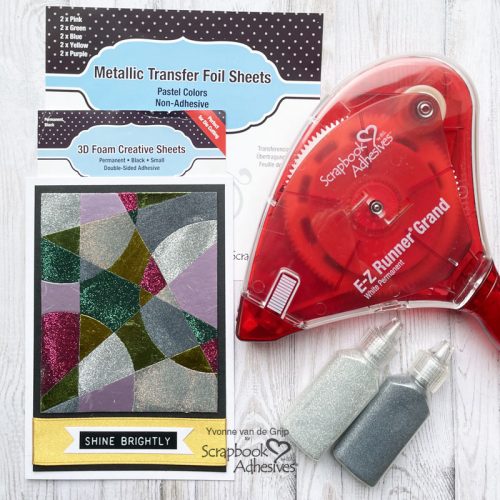
To adhere the satin ribbon around the top Card panel of the Glitter and Foil Card I used the E-Z Runner Grand Refillable Dispenser. Simply fold the ends of the ribbon around the top card panel and adhere the ends to the back of the card panel. Then adhere to a white card base using the E-Z Runner Grand Refillable Dispenser.
The Finishing Touch
For a finishing touch, I adhered a sticker sentiment onto a white banner I cut (using Scissors) from white cardstock. Then adhere to the Mosaic Glitter and Foil Card using the E-Z Runner Grand Refillable Dispenser. And voilá, your Mosaic Glitter and Foil Card is finished!
I hope you enjoyed this simple tutorial and wish you happy crafting!
Yvonne van de Grijp
Creative Time: 30 minutes
Skill Level: Beginner
Materials needed:
Scrapbook Adhesives by 3L®
E-Z Runner Grand Refillable Dispenser
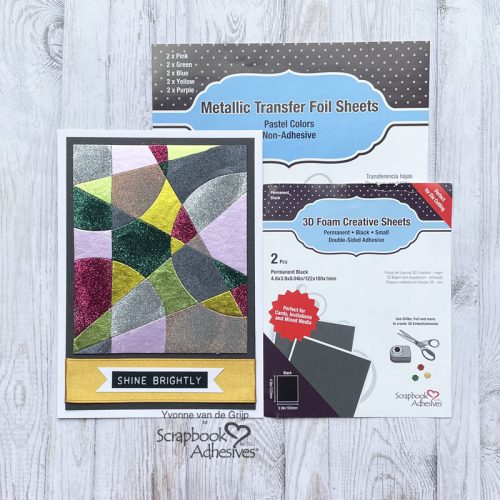
Metallic Transfer Foil Sheets Pastel Colors
3D Foam Creative Sheets Small, Black
Other
Cardstock (Black, White); Satin Ribbon (Mustard); Glitter (Black, Silver, Pink, white holographic); Sentiment Sticker (Tim Holtz: Label Stickers); Scissors; Paper Trimmer
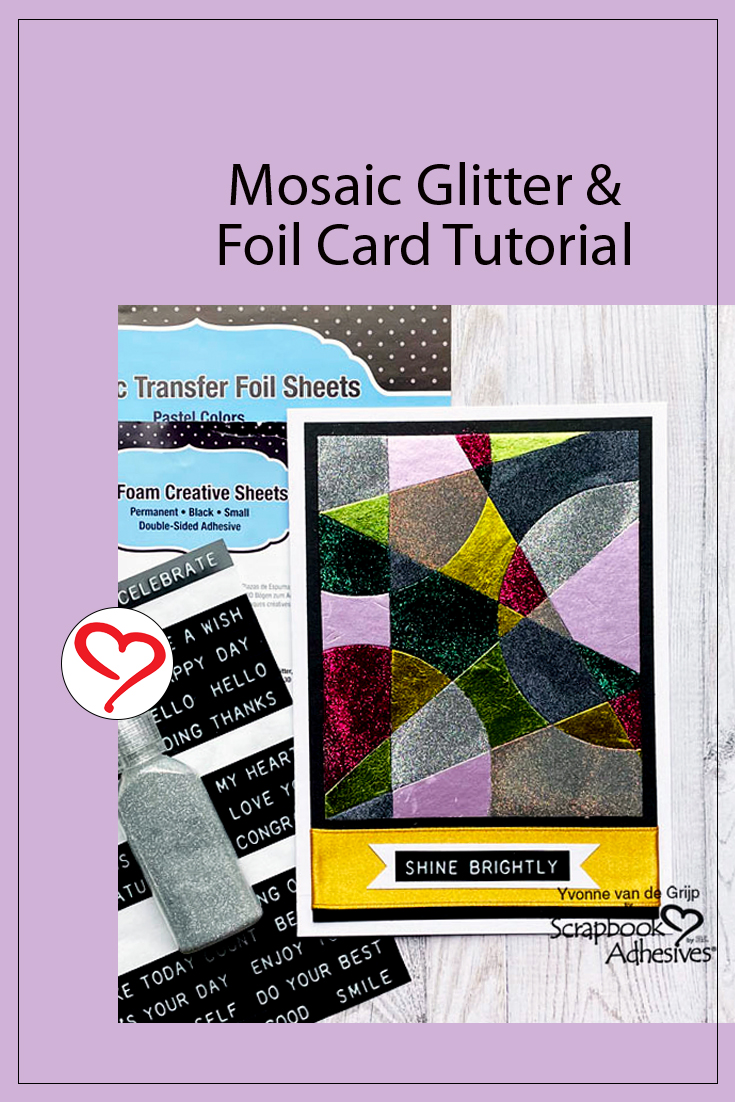
Save to Pinterest!
Visit our Website and Blog!
Sign up for our Newsletter so you never miss a contest or giveaway!


