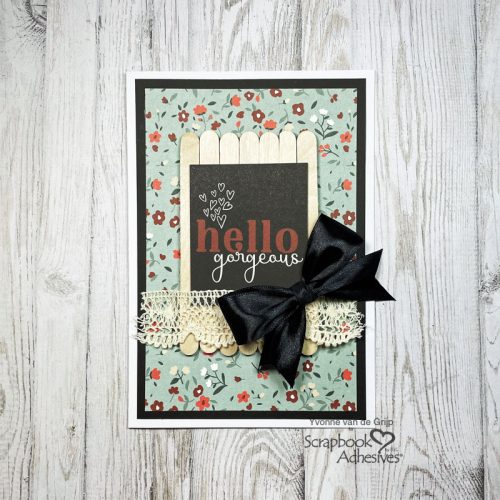
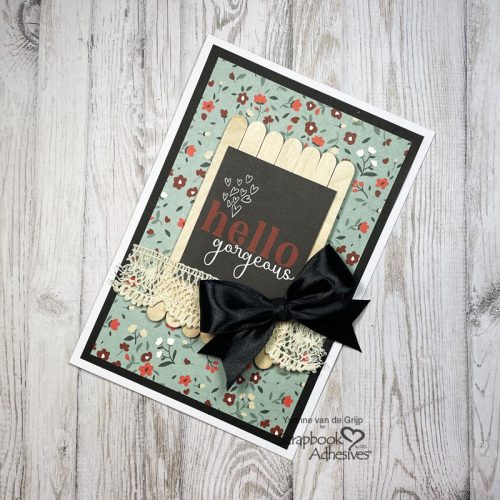
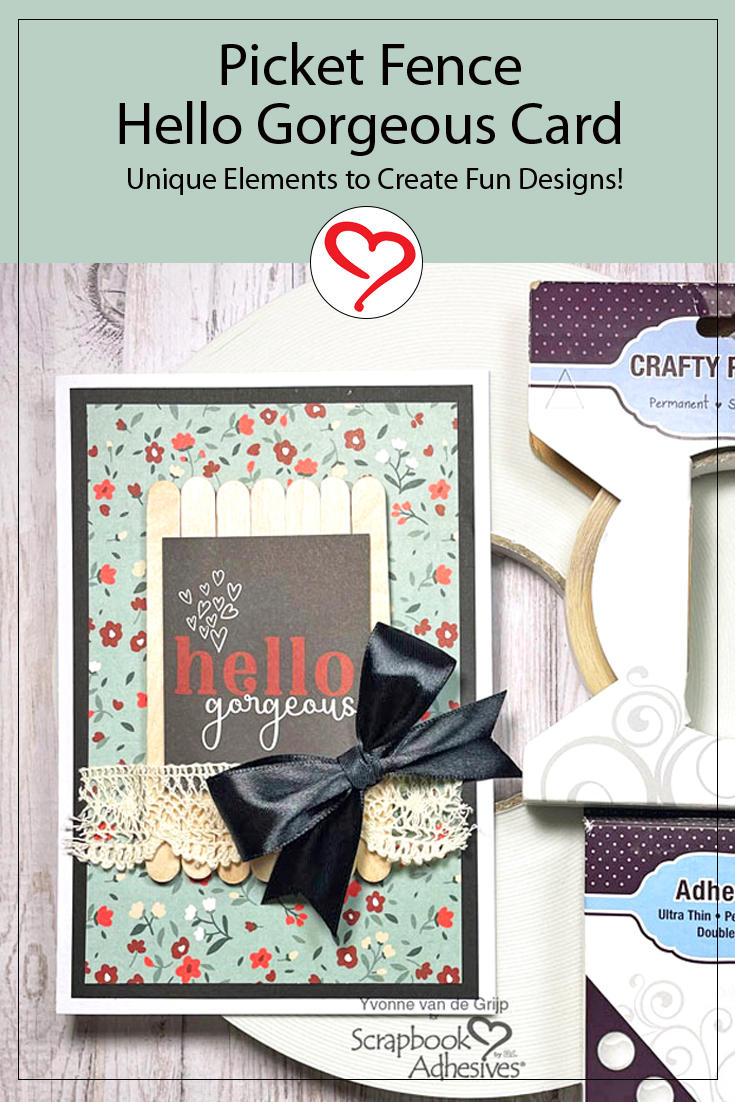
Hi everyone, Yvonne here with a quick and easy-to-make card. I added a fun element to this Picket Fence Hello Gorgeous Card. Do you see what it is? It will certainly bring brighten someone’s day! Let me show you how to create this Picket Fence Card Let’s get started!
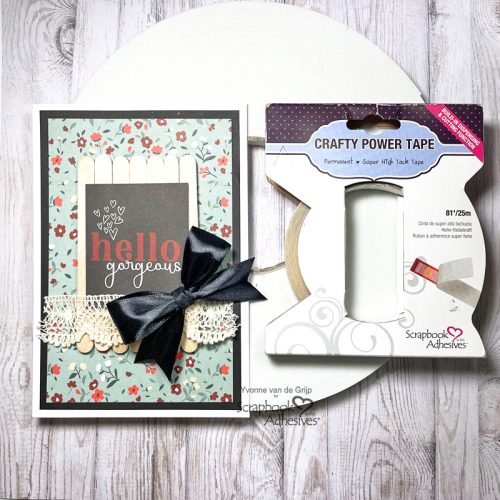
Create a Layered Card Base
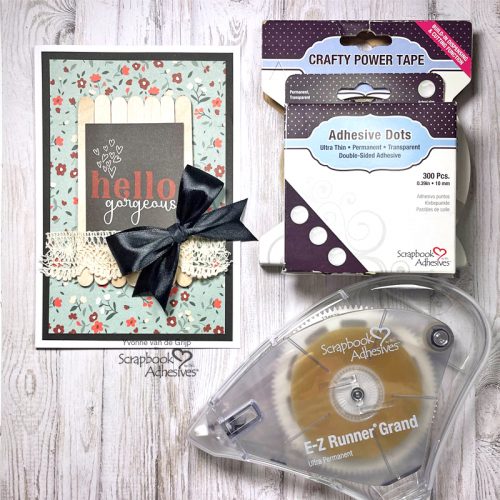
Before starting on the picket fence element, let’s get the foundation together. Layer a piece of patterned paper and a black card panel together before adhering them to a white card base. with the E-Z Runner® Grand Ultra Strong Refillable Dispenser.
Making the Picket Fence
Start by adhering the wooden craft sticks (aka popsicle sticks) onto a piece of scrap white cardstock.
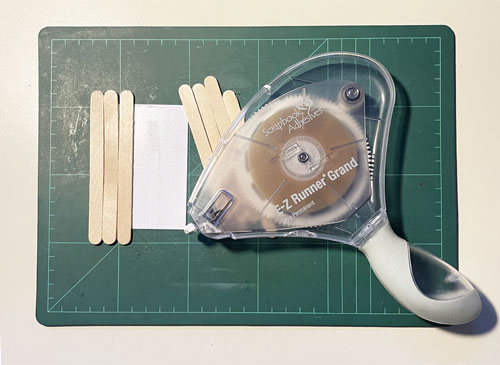
Make sure the sticks cover the cardstock, so no cardstock will stick out. For an extra strong hold, use the E-Z Runner® Grand Ultra Strong Refillable Dispenser to adhere them to the cardstock.
Embellishing the Card Front
Start by adhering Crafty Foam Tape 108ft to the back of the Picket Fence element to the layered card base. Remove the liner and adhere the wooden fence to the card base.
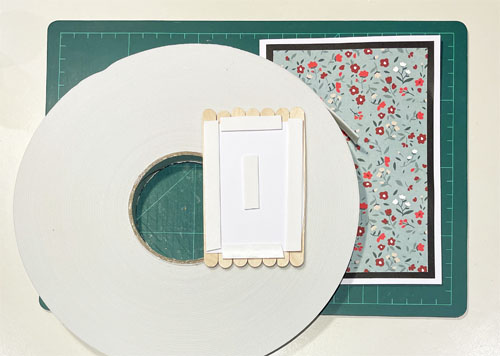
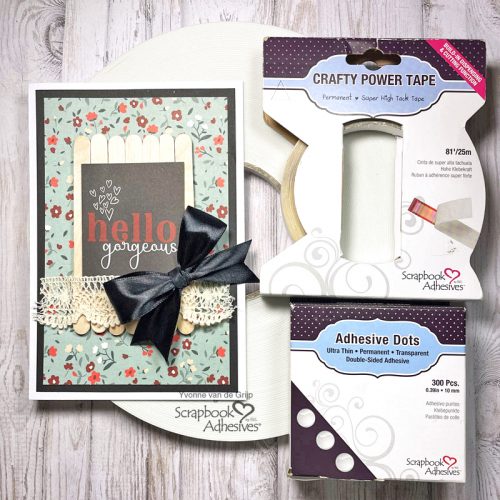
Trim a sentiment from patterned paper and adhere to the fence using Crafty Foam Tape 108ft. for dimension and interest. Adhere a piece of lace trim across the fence using Crafty Power Tape Dispenser 81ft. Tie a black ribbon bow and adhere with Adhesive Dots Medium Ultra Thin.
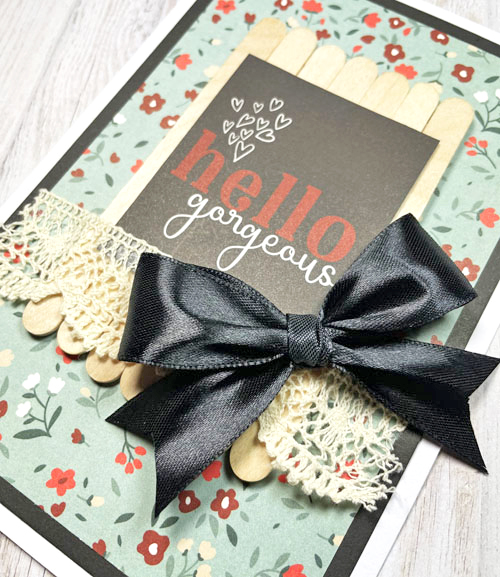
And voilá your Picket Fence Hello Gorgeous Card is ready! I hope you enjoyed this simple tutorial and wish you happy crafting!
Creative Time: 20 minutes
Skill Level: Beginner
Materials needed:
Scrapbook Adhesives by 3L®
E-Z Runner® Grand Ultra Strong Refillable Dispenser
Adhesive Dots Medium Ultra Thin
Crafty Power Tape Dispenser 81ft
Other: Cardstock (White, Black); Patterned Paper (Photoplay™: Our Friendship Collection Pack); Wooden Popsicles; Lace; Satin Bow; Scissors; Paper Trimmer
Save to Pinterest!
Visit our Website and Blog!
Sign up for our Newsletter so you never miss a contest or giveaway!


