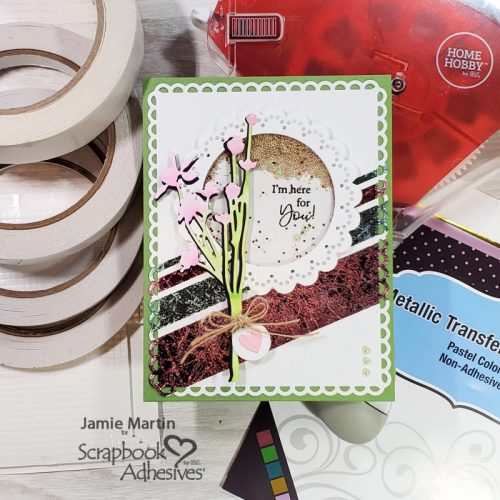
Hi, Jamie here today! I have a Floral Foil Shaker Card featuring a combination of the Metallic Transfer Foil Sheets Pastel Colors and Metallic Transfer Foil Sheets Nature Colors that Scrapbook Adhesives by 3L® has to offer. You’ll really want to try this Wear Your Adhesive on the Outside technique.
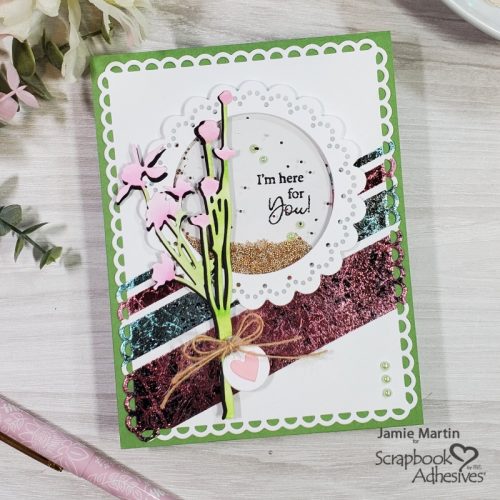
Wear Your Adhesive on the Outside with the Background Panel
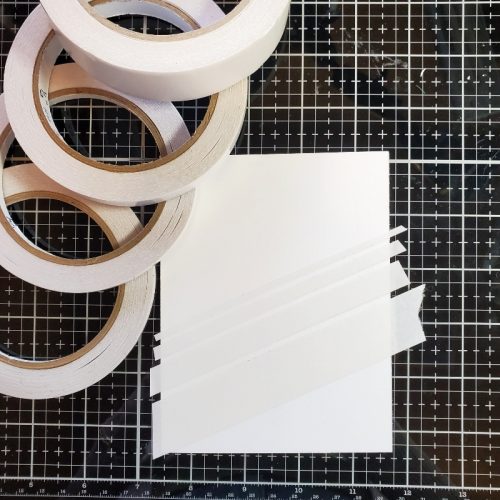
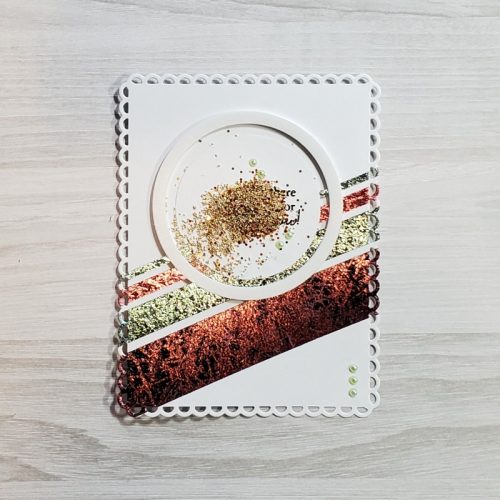
Make the background with a combination of Premium Double-Sided Tape 1in, Premium Double-Sided Tape 1/2in, Premium Double-Sided Tape 1/4in, and Premium Double-Sided Tape 1/8in is placed diagonally across a 4 1/4″ x 5 1/2″ white cardstock panel.
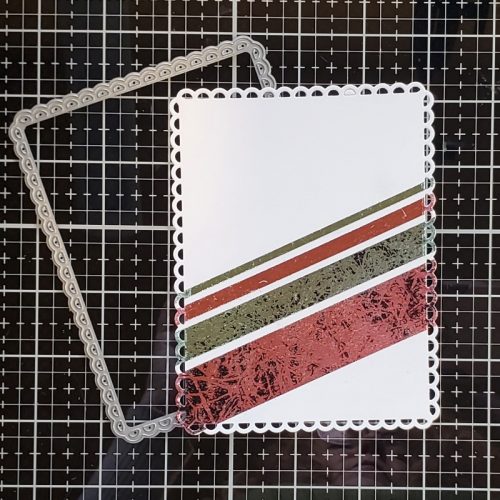
For a marbled look, crumble up a piece of pink foil from the Metallic Transfer Foil Sheets Pastel Colors and flatten it to place on one of the tapes (remove the tape liner and place the foil color facing you). Rub to transfer the color to the tape and peel off the foil. Next, place a solid color black foil from the Metallic Transfer Foil Sheets Nature Colors over the partially foiled tape and rub (again, color side facing you). Remove the foil and this will create a veined look. Repeat the steps until all the tapes are foiled.
Die-cut the panel using a scalloped rectangle-shaped cutting die. Now to add the interactive feature.
Making The Shaker
Shaker cards are made easily with the 3D Foam Circle Frames White. All you do is pick the size of the circle that you need and place it on your panel. Die-cut a circle that fits inside of the foam circle, stamp a sentiment with black ink, and emboss it with clear embossing powder. Add a couple of self-adhesive pearls. Adhere the circle to the inside of the foam circle with the Dual Tip Glue Pen which gives me the chance to center the circle where I want it.
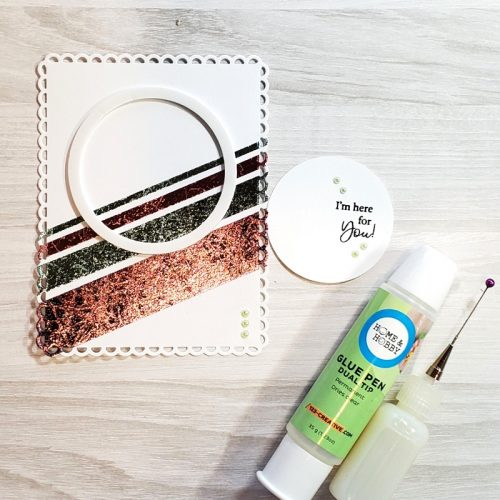
The Shaker Bits
Next, place the shaker bits in the center of the foam circle. Designer’s Note: when removing the liner from the 3D Foam Circle Frames White, hold your card with one hand and remove the liner slowly so the little bits don’t jump up on the adhesive.
The Floral Accents
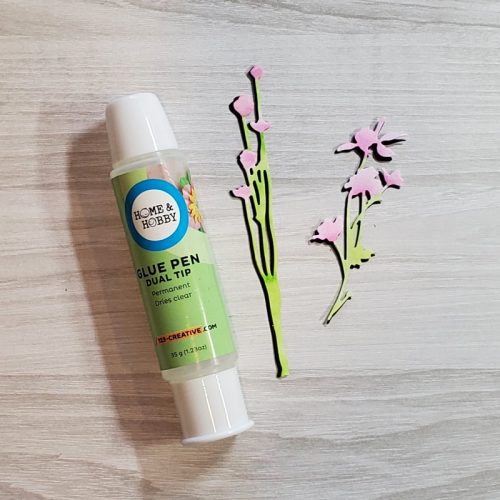
Flowers were die-cut twice from white cardstock and once from black cardstock. Sponge pink ink on one of the white cardstock pieces and trim the flowers. On the other white piece, sponge the stems in green ink before adhering the pink flowers with the Dual Tip Glue Pen. Layer the black piece behind the inked flowers to create a shadow.
Final Touches
From white cardstock, die-cut a scallop circle shape with the center die-cut with a circle die. Place the acetate behind the scallop shape using the Dual Tip Glue Pen. Add the flowers to the left side of the shaker with the Dual Tip Glue Pen. Finally, mount the shaker panel to a green card using the E-Z Runner® Grand Permanent Strips Refillable Dispenser.
Thanks for Visiting!
Jamie Martin
Creative Time: 50 mins
Skill Level: Advanced
Materials Needed:
Scrapbook Adhesives by 3L®
E-Z Runner® Grand Permanent Strips Refillable Dispenser
3D Foam Circle Frames White
Metallic Transfer Foil Sheets Pastel Colors
Metallic Transfer Foil Sheets Nature Colors
HomeHobby™ by 3L
Premium Double-Sided Tape 1in, Premium Double-Sided Tape 1/2in, Premium Double-Sided Tape 1/4in, and Premium Double-Sided Tape 1/8in
Dual Tip Glue Pen
Other:
Rubbernecker Stamps- Nested Circle Dies, Nested Scallop Rectangles, Color Fuse Inks, Crossover ll Die-cut Machine
Sizzix/ Tim Holtz- Flower Dies
Divinity Designs- Mini Tag Die
Printworks Specialty Paper- Cardstock
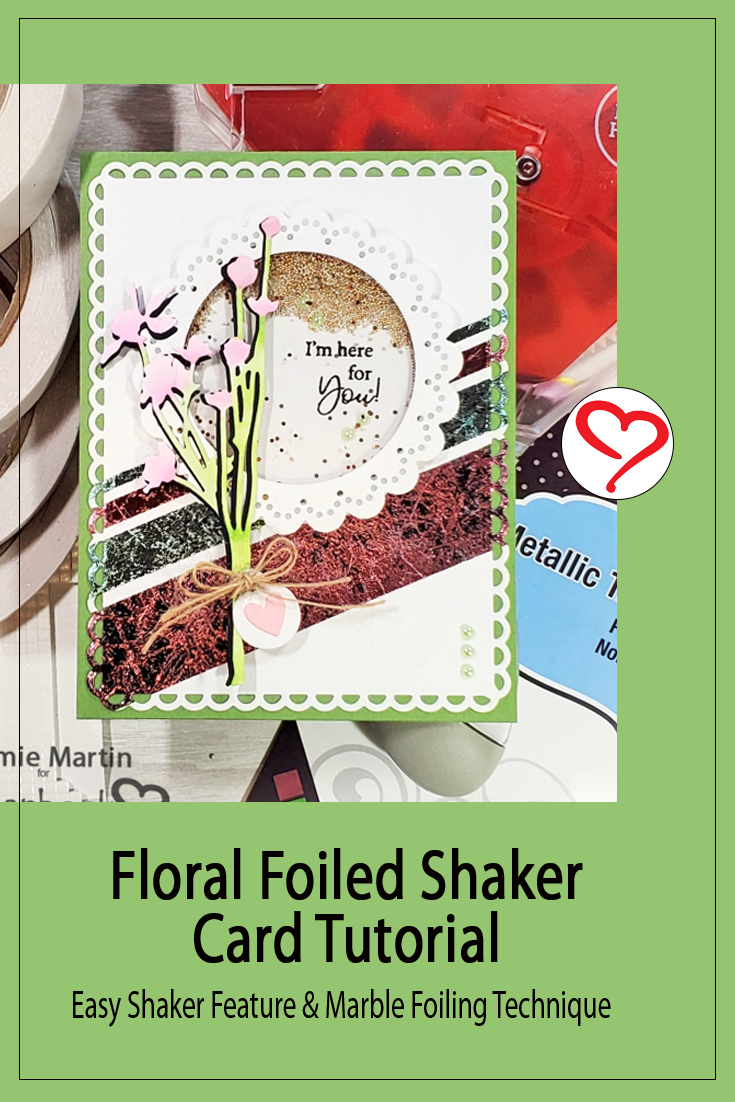
Save to Pinterest!
Visit our Website and Blog!
Sign up for our Newsletter so you never miss a contest or giveaway!


