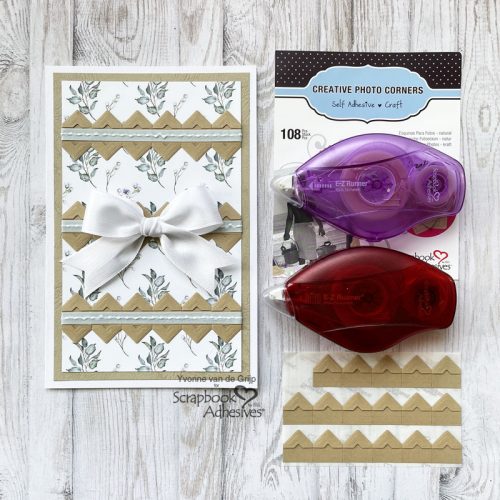
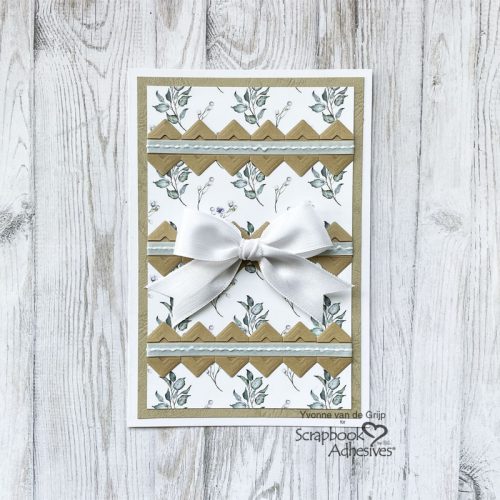
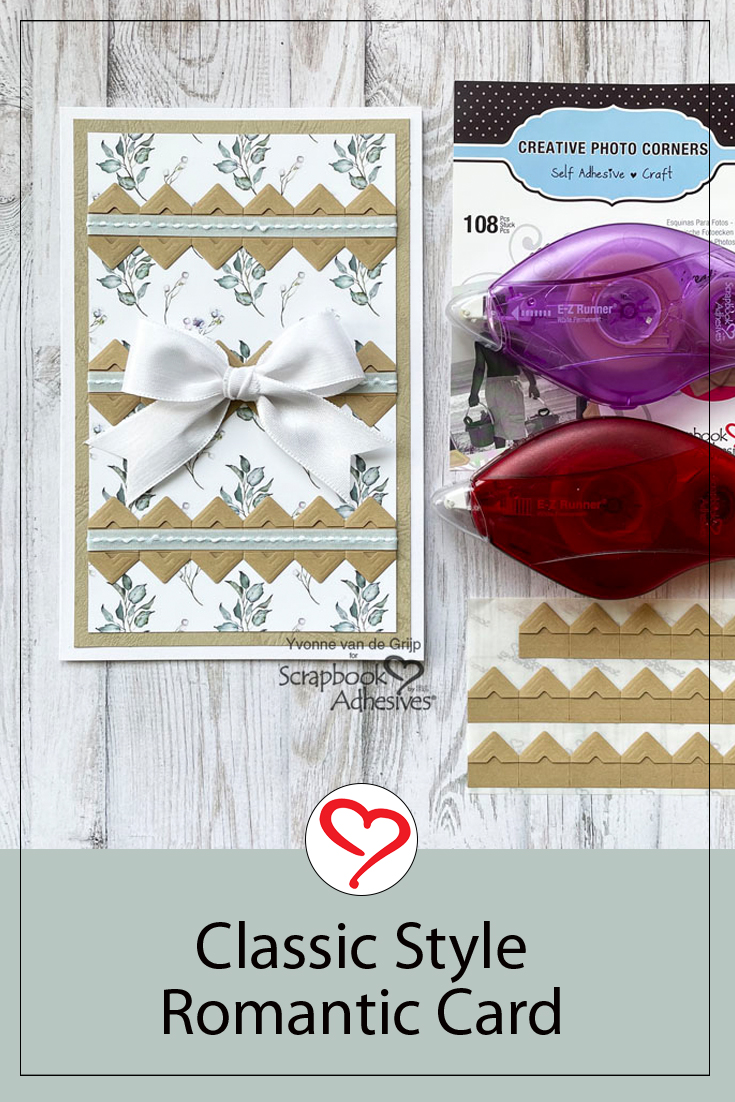
Hi everyone, Yvonne here with a Classic Styled Romantic Card. This card is easy to create so also suitable for beginner cardmakers. Using soft colors and a satin ribbon. I would love to share how I made the card. Shall we get started?
![Classic Styled Romantic Card by Yvonne van de Grijp for Scrapbook Adhesives by 3L](https://www.scrapbook-adhesives.com/blog/wp-content/uploads/2023/04/YvonnevdGrijpPhotoCornerCard-Staged-4-800x800px-500x500.jpg)
Top Card Panel
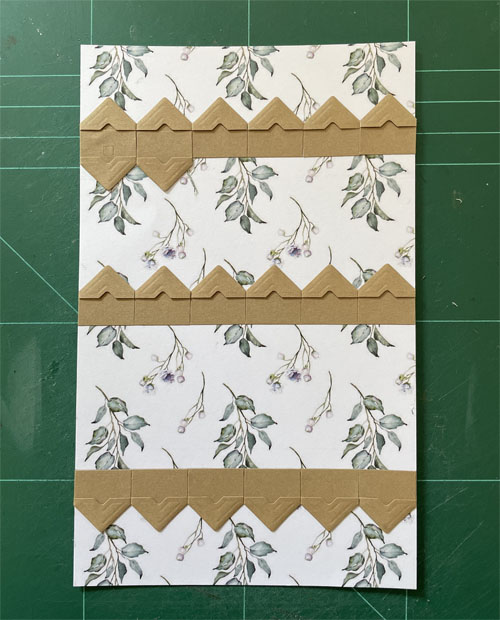
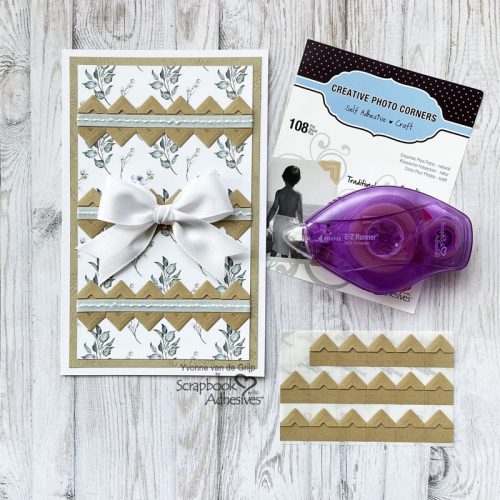
To create the top card panel of the Romantic Photo Corner Card start adhering Creative Photo Corners Kraft in 3 horizontal rows on a piece of patterned paper. Tip: for a perfect horizontal line, simply draw a pencil line onto the patterned paper using a ruler and then adhere the Creative Photo Corners Kraft along the drawn line. Then adhere a second row over the first row as shown in the photo below.
![Classic Styled Romantic Card by Yvonne van de Grijp for Scrapbook Adhesives by 3L](https://www.scrapbook-adhesives.com/blog/wp-content/uploads/2023/04/YvonnevdGrijpPhotoCornerCard-1.jpg)
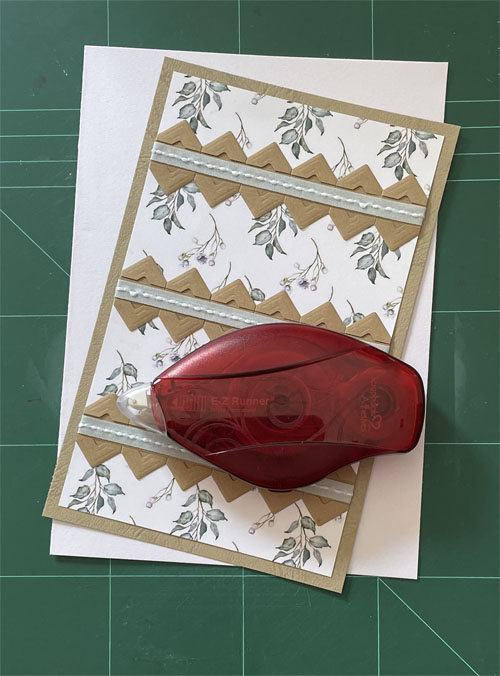
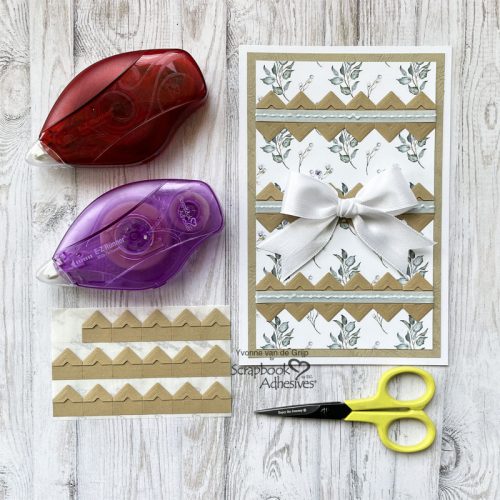
Next, adhere the ribbon horizontally over the Creative Photo Corners Kraft. Simply use the E-Z Runner® Micro Refillable Dispenser to adhere it.
![Classic Styled Romantic Card by Yvonne van de Grijp for Scrapbook Adhesives by 3L](https://www.scrapbook-adhesives.com/blog/wp-content/uploads/2023/04/YvonnevdGrijpPhotoCornerCard-3.jpg)
The E-Z Runner® Micro Refillable Dispenser is perfect for adhering small and thin items. Then adhere the ends of the ribbon to the back of the card panel.
Card Base
To create the card base for the Romantic Photo Corner Card first adhere the top card panel onto a piece of kraft cardstock (which matches the Creative Photo Corners Kraft). Then adhere to a white card base. For adhering the layers I used the E-Z Runner® Permanent Strips Refillable Dispenser.
![Classic Styled Romantic Card by Yvonne van de Grijp for Scrapbook Adhesives by 3L](https://www.scrapbook-adhesives.com/blog/wp-content/uploads/2023/04/YvonnevdGrijpPhotoCornerCard-4.jpg)
Finishing Touch
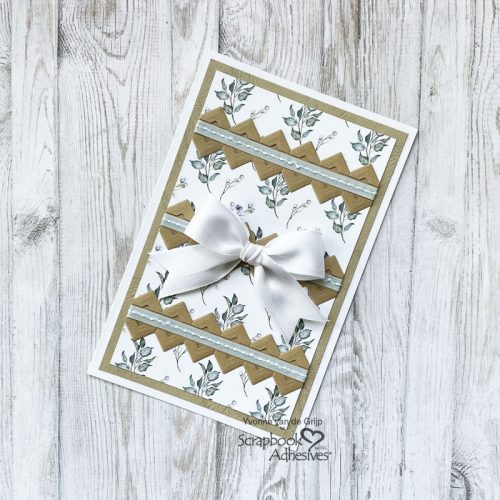
For a finishing touch, I made a white satin bow and adhered it to the centre of the card using the E-Z Runner® Permanent Strips Refillable Dispenser.
![Classic Styled Romantic Card by Yvonne van de Grijp for Scrapbook Adhesives by 3L](https://www.scrapbook-adhesives.com/blog/wp-content/uploads/2023/04/YvonnevdGrijpPhotoCornerCard-detail.jpg)
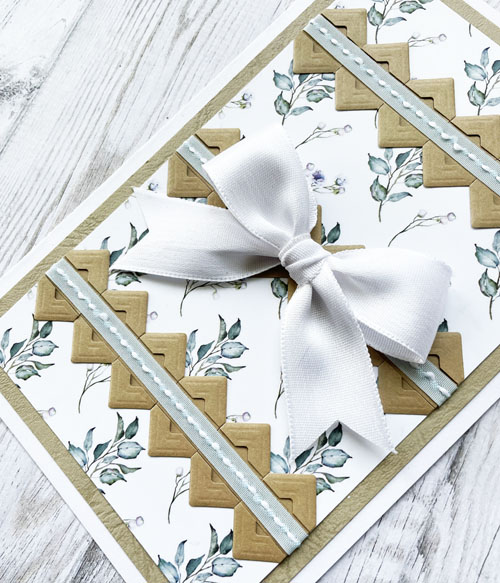
And voilá, your Romantic Photo Corner Card is ready. I hope you enjoyed this simple tutorial and wish you happy crafting!
![Classic Styled Romantic Card by Yvonne van de Grijp for Scrapbook Adhesives by 3L](https://www.scrapbook-adhesives.com/blog/wp-content/uploads/2023/04/YvonnevdGrijpPhotoCornerCard-Staged-1-800x800px-500x500.jpg)
![Classic Styled Romantic Card by Yvonne van de Grijp for Scrapbook Adhesives by 3L](https://www.scrapbook-adhesives.com/blog/wp-content/uploads/2023/04/YvonnevdGrijpPhotoCornerCard-Staged-3-800x800px-500x500.jpg)
![Classic Styled Romantic Card by Yvonne van de Grijp for Scrapbook Adhesives by 3L](https://www.scrapbook-adhesives.com/blog/wp-content/uploads/2023/04/YvonnevdGrijpPhotoCornerCard-Staged-2-800x800px-500x500.jpg)
![Classic Styled Romantic Card by Yvonne van de Grijp for Scrapbook Adhesives by 3L](https://www.scrapbook-adhesives.com/blog/wp-content/uploads/2023/04/YvonnevdGrijpPhotoCornerCard-Staged-5-800x800px-500x500.jpg)
Creative Time: 25 minutes
Skill Level: Beginner
Materials needed:
Scrapbook Adhesives by 3L®
E-Z Runner® Micro Refillable Dispenser
E-Z Runner® Permanent Strips Refillable Dispenser
Other
Cardstock (White, Kraft; Patterend: The Paper Boutique: Morning Whispers); Ribbon (soft blue 1/8 inch, White satin 1 inch); Scissors; Paper Trimmer; Pencil; Ruler
Save to Pinterest!
![Classic Styled Romantic Card by Yvonne van de Grijp for Scrapbook Adhesives by 3L Pinterest](https://www.scrapbook-adhesives.com/blog/wp-content/uploads/2023/05/051723-Classic-Styled-Romantic-Card-YvonnevdGrijp-Long-Pin.jpg)
Visit our Website and Blog!
Sign up for our Newsletter so you never miss a contest or giveaway!