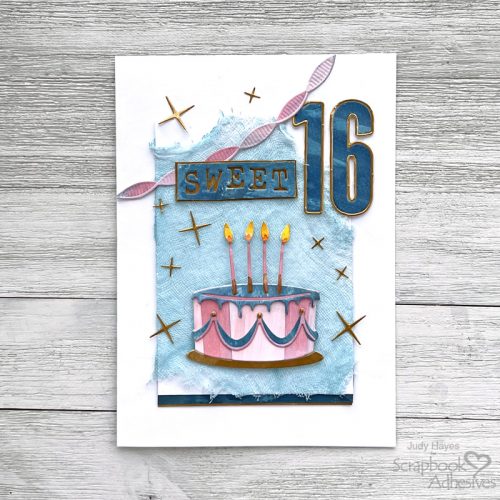
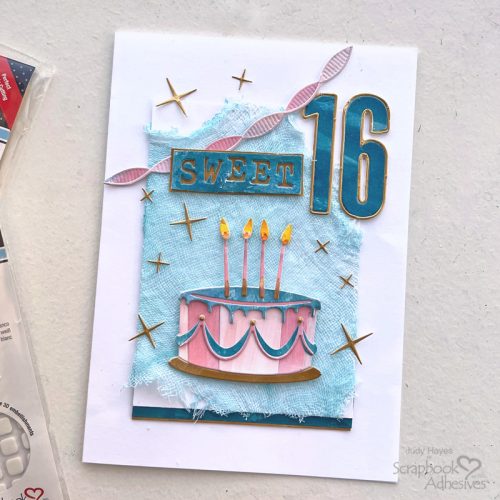
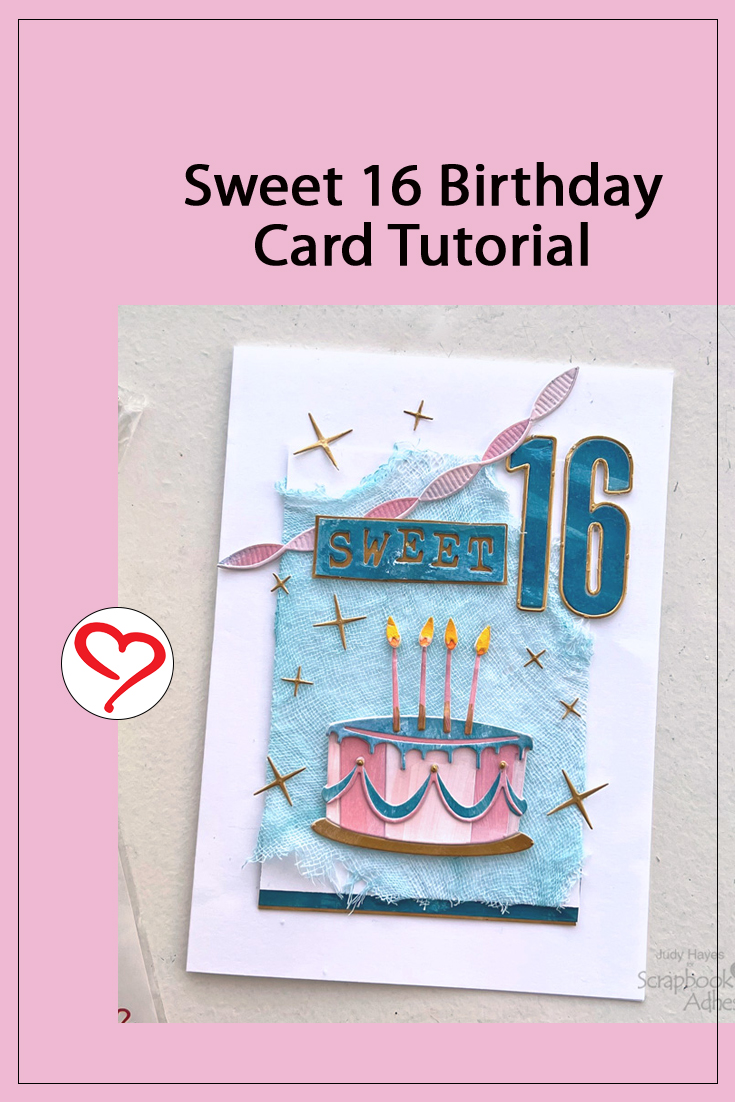
Hi, Judy here today! I put together a Sweet 16 Birthday Card just for fun which I’m super happy with how it turned out! Inked cheesecloth were used for texture in the background. The papers were painted and then die-cut the cake and numbers to be popped up with Thin 3D Foam Squares White Mix on the card front. Designer’s Note: Colored cardstock can be used instead of painting the papers.
Prep the Card Pieces
First, cut white cardstock to 7 x 10 inches and fold to form a 5 x 7-inch card. Prep the papers for die-cutting by painting the white cardstock with Distress Paints in Uncharted Mariner, Speckled Egg, Spun Sugar, Saltwater Taffy, and Carved Pumpkin. Also, gold metallic paint. Allow to dry. Next, apply Adhesives Sheets 4 x 6in. to the back of the painted papers before die-cutting cake pieces, and stars.
Assemble the Elements
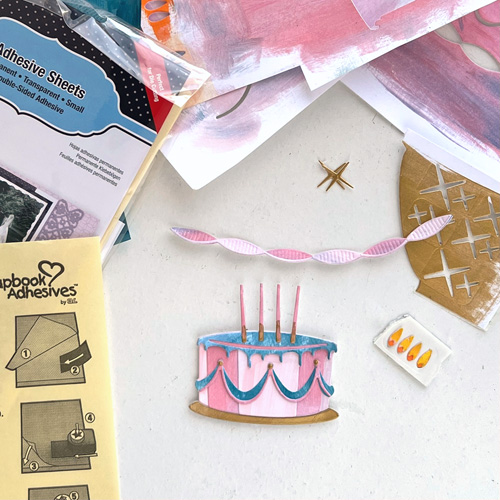
Assemble the cake by peeling the liner from Adhesives Sheets 4 x 6in. and pressing the pieces together. Fasten the candles to the cake.
Now let’s work on the candle flames. Die-cut the flame bases from 3D Foam Creative Sheets Small White, peel liner from top and secure the colored flames to the foam. Use Yellow marker to color small area on cardstock from which to cut flames.
Die-cut the garland pieces from two shades of pink, peel the liner from the top piece, and place over the bottom layer of the garland.
Cut the Sentiment
Cut a piece each of blue and gold painted papers large enough to cut numbers, and apply 3D Foam Creative Sheets Small White to the back of each. Then die-cut 1 and 6 in each the blue and the gold painted cardstock. Carefully remove the thin border on the blue, and replace them with the gold thin border from the gold numbers.
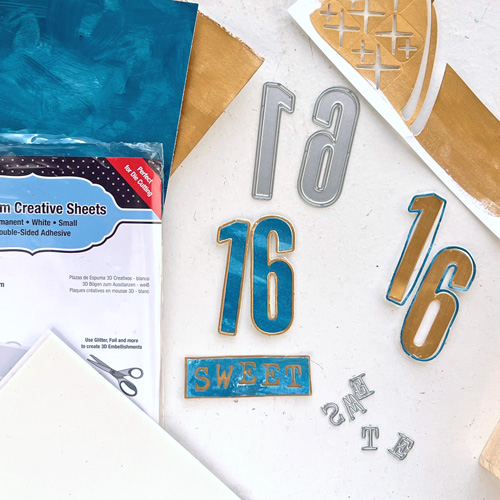
Cut 0.625 x 2.125 piece of blue cardstock with 3D Foam Creative Sheets Small White on the back. Tape the letters, SWEET, on to the blue cardstock and die-cut. Remove letters (save for another project), peel the bottom liner and place on a piece of gold-painted paper. Trim the gold paper to leave a narrow border.
Create the Background
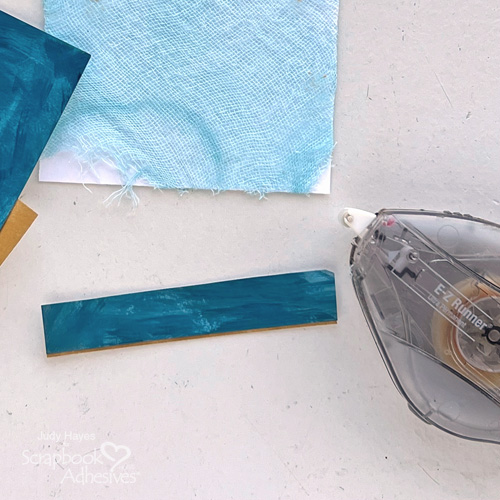
Use Distress inks to color a piece of white cheesecloth and allow it to dry. Cut a piece of 3.5 x 5 inch white cardstock. Place the cheesecloth on a work surface and lay cardstock on it. Roll the E-Z Runner® Ultra Strong Refillable Dispenser along the edges and wrap the cheesecloth around cardstock. Press to secure. Trim the excess cheesecloth.
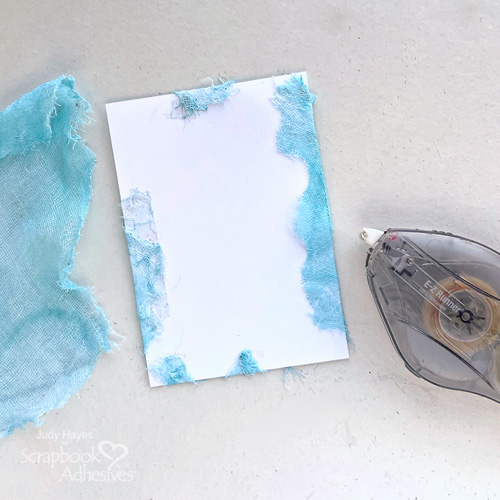
Cut a strip of gold paper 3.5 x 0.5 inches and blue paper 3.5 x 0.75 inches. Adhere the gold strip behind the blue with a narrow reveal using E-Z Runner® Ultra Strong Refillable Dispenser. Secure both to the bottom of the cheesecloth covered panel using the same adhesive.
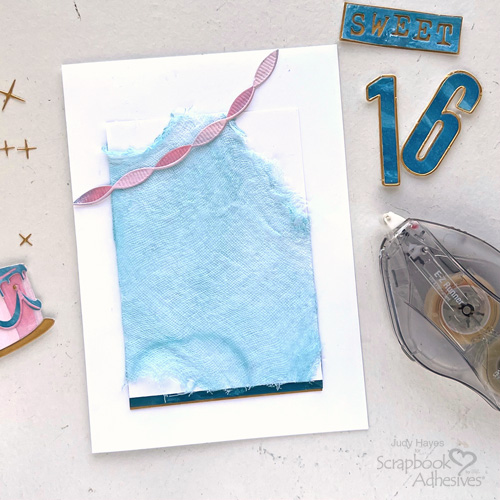
Apply adhesive with E-Z Runner® Ultra Strong Refillable Dispenser to the back of cheesecloth-covered panel and fasten it to the card front.
Add the Garland
Peel the back liner from the garland and place angled across card top.
Add the Cake
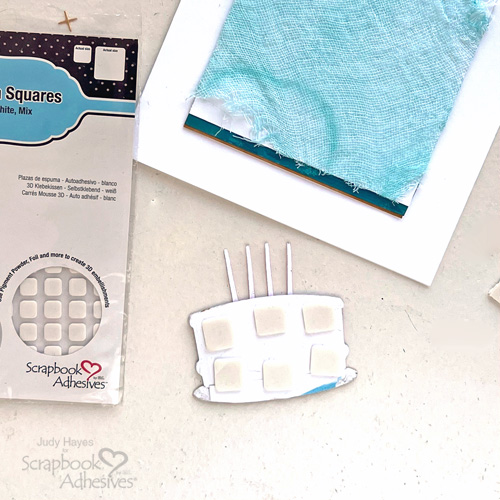
Apply Thin 3D Foam Squares White Mix to the back of the cake, peel liners, and attach on the card. Peel the liner from the candle flames and adhere to the candles.
Attached the Sentiment and Stars
Peel the liner from the back of the numbers and press in place on the card. Apply adhesive with E-Z Runner® Ultra Strong Refillable Dispenser to back of “SWEET” strip and secure on the card. Peel the liners from the stars and place them around the cake and on top of the card.
Thanks for Visiting!
Judy Hayes
Creative Time: 30 mins
Skill Level: Advanced
Materials Needed:
Scrapbook Adhesives by 3L®
E-Z Runner® Ultra Strong Refillable Dispenser
Thin 3D Foam Squares White Mix
3D Foam Creative Sheets Small White
Other: Ink: Ranger Ink (Distress Paints in Uncharted Mariner, Speckled Egg, Spun Sugar, Saltwater Taffy, Carved Pumpkin); Paint: DecoArt (Marvelous Metallics Glorious Gold); Craft Dies: Sizzix (Tim Holtz Celebrate, Colorize, Alphanumeric Bulletin, Alphanumeric Tiny Type Upper); White Cardstock; Cheese Cloth dyed with Distress Broken China Ink; Yellow Marker
Save to Pinterest!
Visit our Website and Blog!
Sign up for our Newsletter so you never miss a contest or giveaway!


