
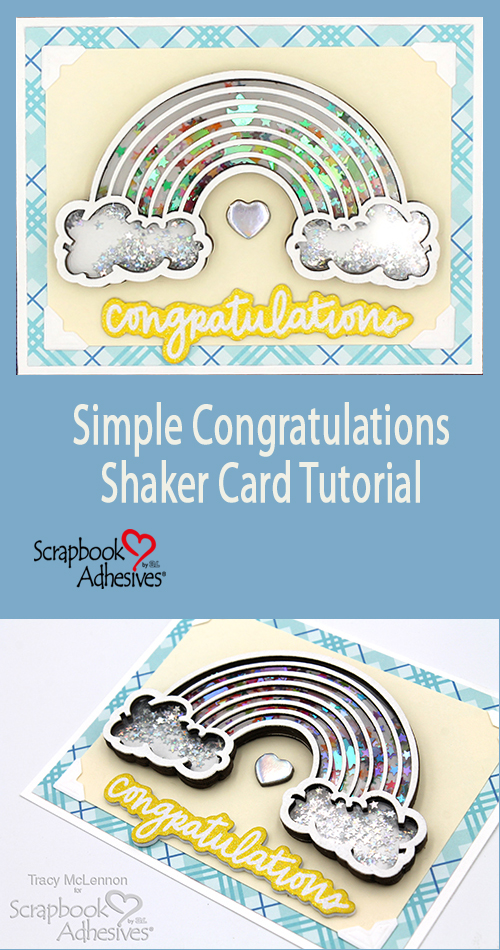
Hello crafty friends! Tracy here, and today I have a quick and easy tutorial on how to create a Congratulations Shaker Card. Here are all of the details.

Let’s Get Started
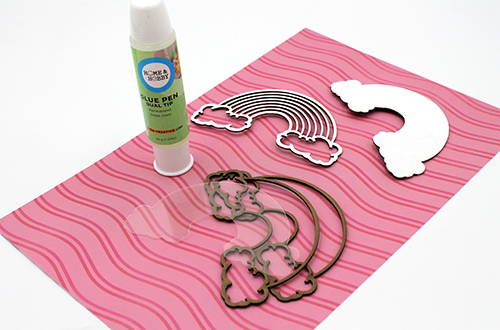
I love to create shaker cards, and I have been obsessed as of late. But today I wanted to show you just how easy it can be to create using this fabulous chipboard shaker kit, and a few other products. Let’s create a Congratulations Shaker Card.
First I covered the base and top piece of the shaker kit using white acrylic paint. Let dry completely.
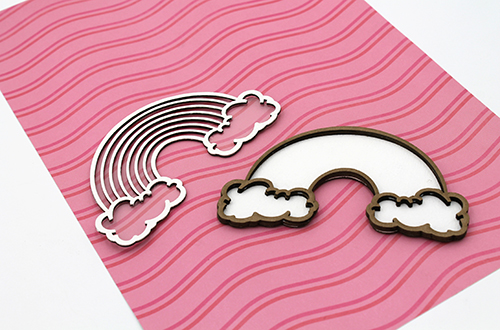
The next step is to adhere the top piece to the acrylic piece, and the other chipboard pieces to the base using the Dual Tip Glue Pen. You will want to let these dry completely so that the shaker bits don’t get stuck on any liquid adhesive in your Simple Shaker Card.
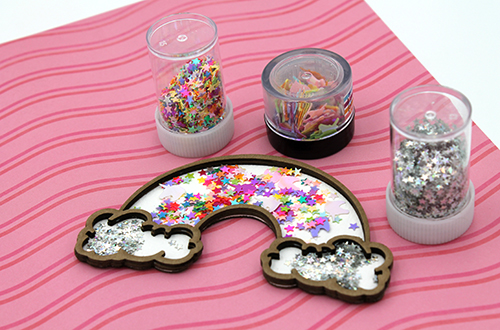
Once completely dry, add your chosen shaker bits. I chose to use silver stars in the cloud sections and rainbow stars and unicorn heads in the top section of the Simple Shaker Card.
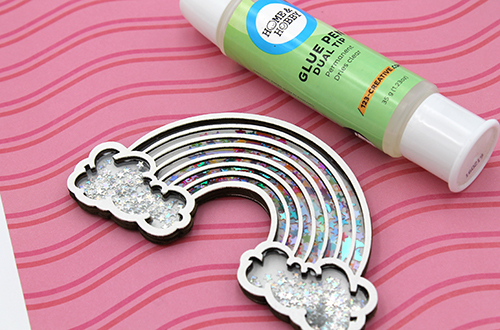
Adhere the top of the shaker to the base with is shaker bits, again using the Dual Tip Glue Pen.
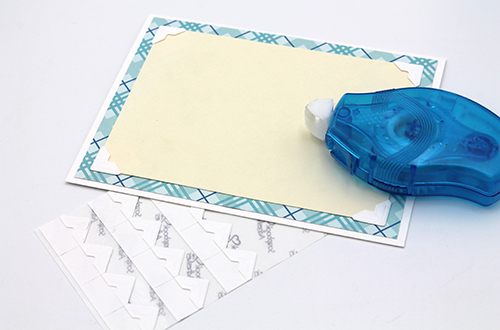
Create a simple layered card base using patterned paper and cardstock. I added Creative Photo Corners White to the corners of the pale yellow cardstock, but also adhered it using the E-Z Runner® Petite Permanent Dots Refillable Dispenser.
Create a solid base
This solid base will support the chipboard shaker nicely. Adhere the card front to the white cardstock card base, again using the E-Z Runner® Petite Permanent Dots Refillable Dispenser.
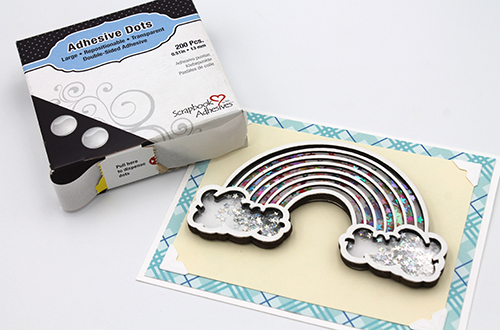
Once completely dry, you can adhere the shaker to the card using Adhesive Dots Large. The simple shaker card is starting to come together.
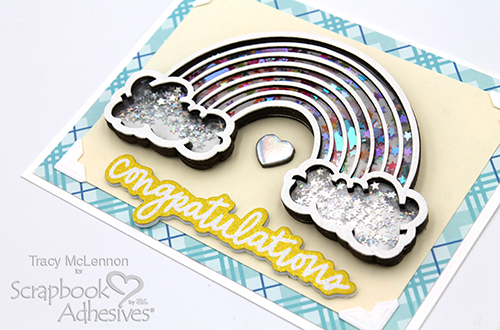
I added a few embellishments to the simple shaker card to finish. The sentiment foam sticker along the bottom and a chipboard heart sticker above the sentiment.
Thanks so much for stopping by!
Tracy
Creative Time: 45 minutes
Skill Level: Beginner
Materials Needed:
Scrapbook Adhesives by 3L®
Adhesive Dots Large
E-Z Runner® Petite Permanent Dots Refillable Dispenser
Creative Photo Corners White
HomeHobby™ by 3L
Dual Tip Glue Pen
Other:
Paige Evans- Blooming Wild Collection; Cardstock (White, Pale Yellow); Creative Embellishments Chipboard- Rainbow Shaker Kit; White Acrylic Paint; Foam Stencil Brush
Save to Pinterest!
Visit our Website and Blog!
Sign up for our Newsletter so you never miss a contest or giveaway!


