
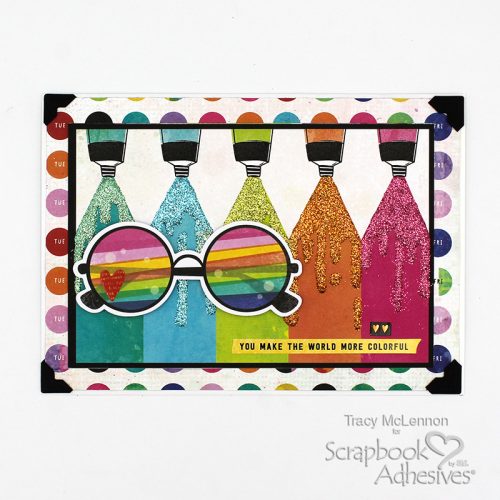
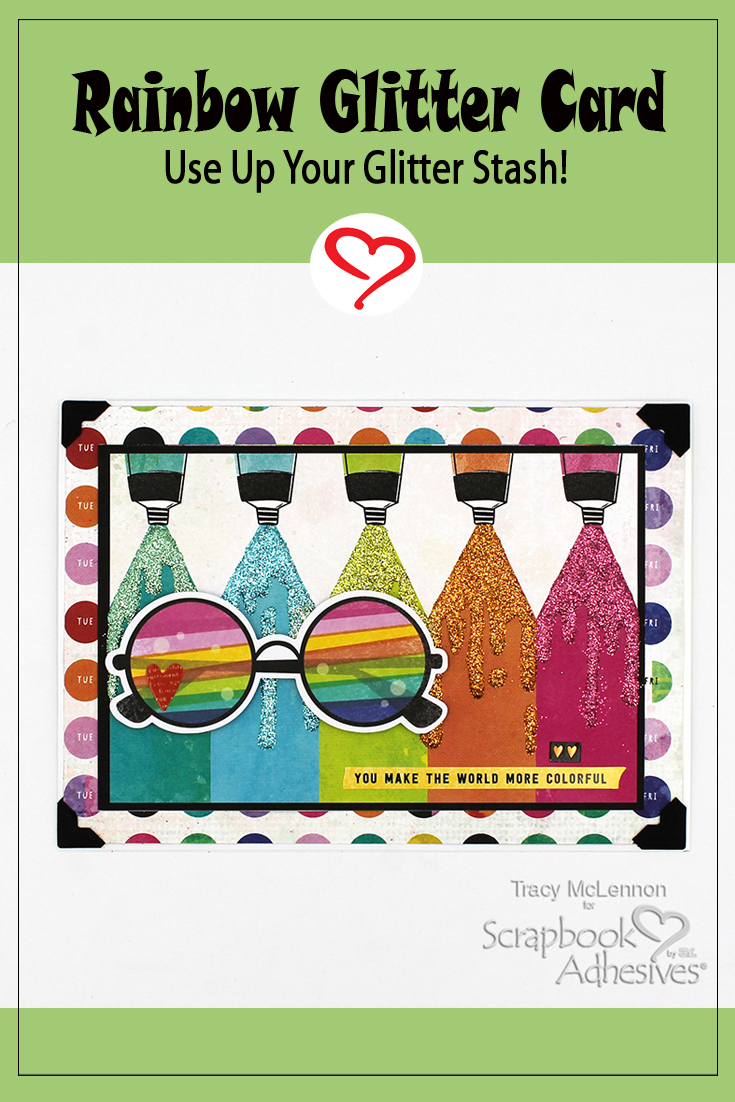
Hello crafty friends! Tracy here, and today I have a sparkly little rainbow glitter card to share. This card is created in just a few easy steps with leftover bits of a beautiful collection. Here are the details.
Let’s Get Started!
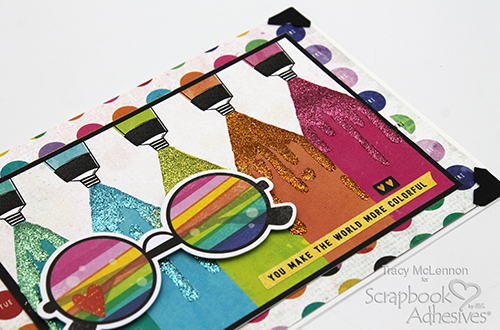
I had this pretty rainbow journal card image that was just begging to be created into a card. I chose ultra-fine glitters to match each color in the image.
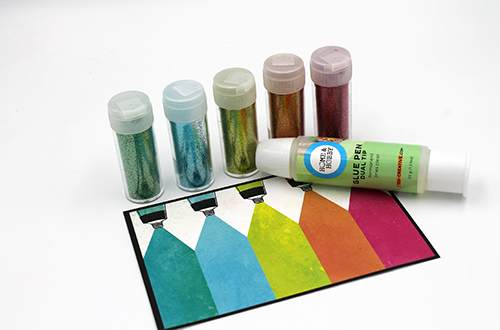
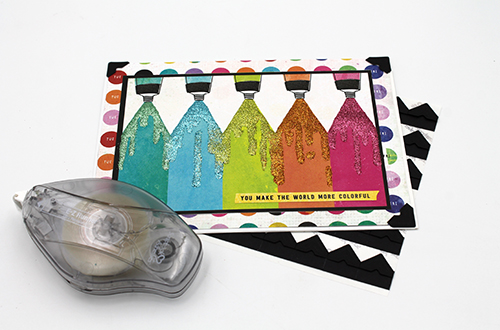
Using the Dual Tip Glue Pen, I added drip-type shapes on each section of color and added the coordinating ultra-fine glitters. This creates the perfect sparkly base for this Rainbow Glitter Card. Set aside to dry completely. Add the sticker sentiment to the bottom right-hand corner of the card front.

Create a white cardstock 5×7 card base. Cut the polka dot patterned paper to 4.75 x 6.75-inch and adhere to the card base using CREATIVE. I adhered the glittered card front to the card using the E-Z Runner® Ultra Strong Refillable Dispenser.
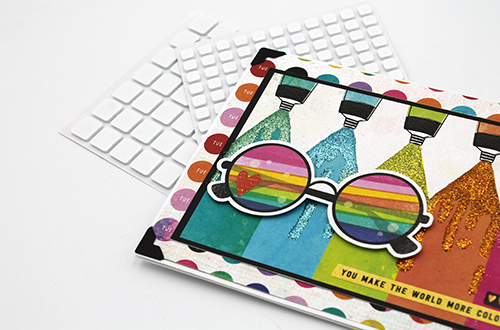
Adhere the final touch to this Rainbow Glitter Card, the die-cut piece to the card front using 3D Foam Squares White Mix.
Thanks so much for stopping by!
Tracy
Creative Time: 30 Minutes (plus drying time)
Skill Level: Beginner
Material Needed:
Scrapbook Adhesives by 3L®
3D Foam Squares White Mix
E-Z Runner® Ultra Strong Refillable Dispenser
Creative Photo Corners Black
HomeHobby™ by 3L:
Dual Tip Glue Pen
Other:
Patterned Papers and Embellishments: Vicki Boutin; Ultrafine Glitter: Stampendous; White Cardstock
Save to Pinterest!
Visit our Website and Blog!
Sign up for our Newsletter so you never miss a contest or giveaway!


