Hi, Margie here today, and I am so excited to share this super FUN Fall Pumpkin Home Decor Piece! You can incorporate adhesives not only on paper but on home decor pieces. Featuring the Adhesives Sheets 12 x 12in. and Adhesive Lines, we are assembling this cute pumpkin! Let me show you how!
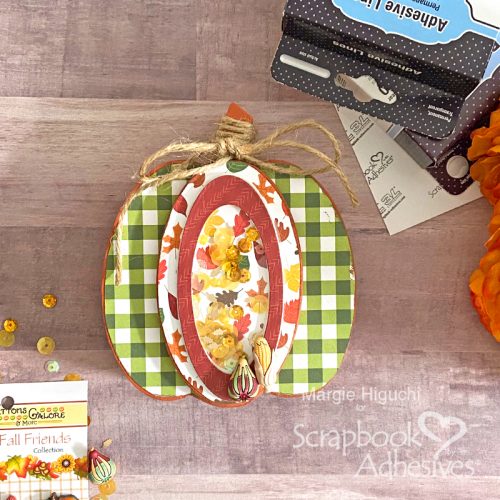
Prep the Fall Pumpkin
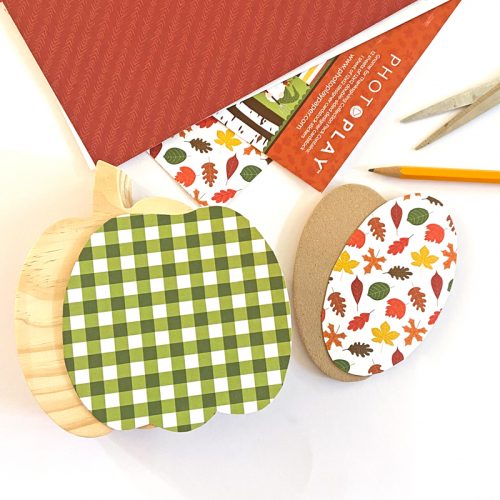
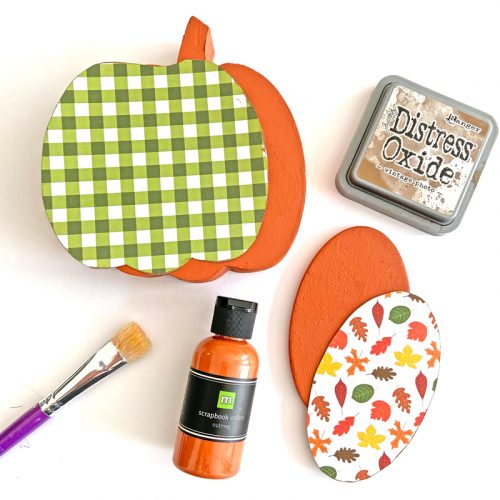
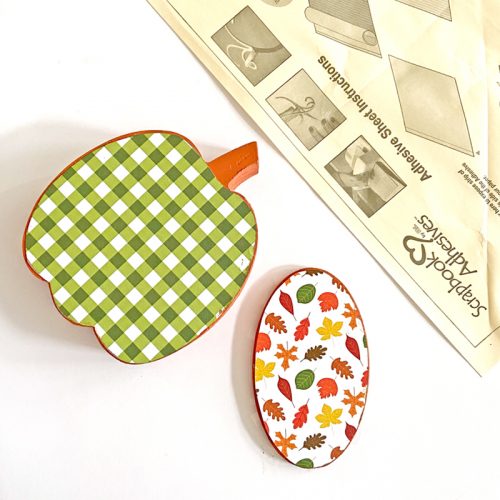
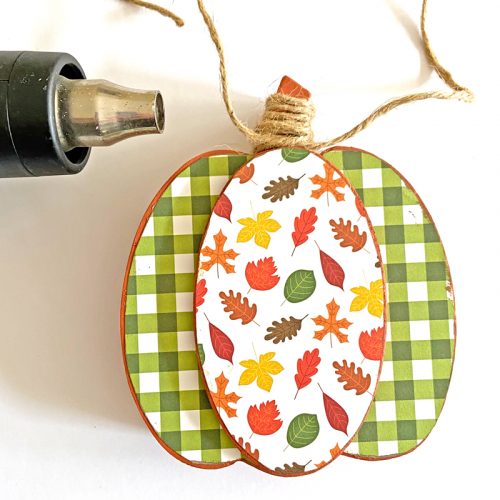
Trace the pumpkin and its middle section onto your choice of patterned paper with a pencil. Cut on the inside of the lines with scissors. Edge the cut papers with ink to give them definition. Paint the pumpkin and its middle section with Nutmeg paint. I used one coat. Let dry.
Assemble the Pumpkin
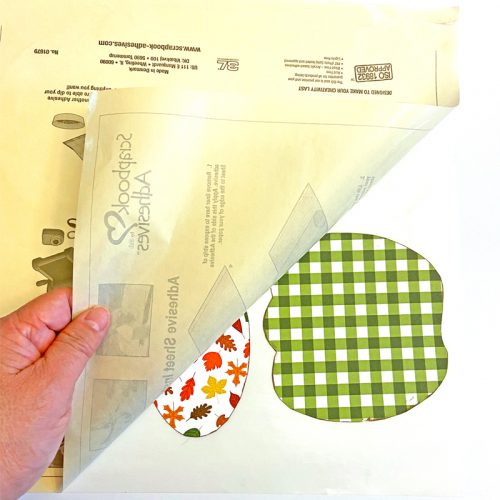
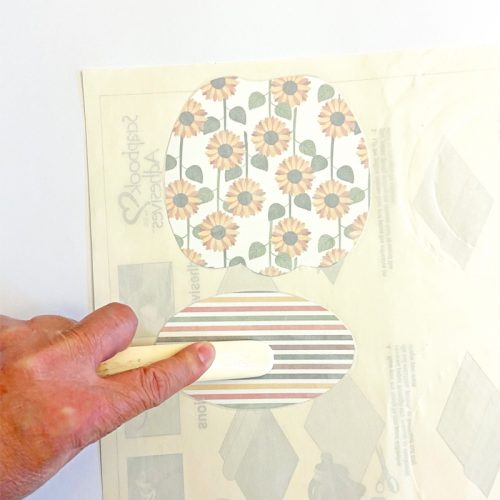
Apply an Adhesives Sheets 12 x 12in. to the back of each patterned paper shape. Use the round end of the bone folder to burnish and transfer the adhesive completely for that edge-to-edge coverage. Peel off the liners and cover the pumpkin and its middle section piece.
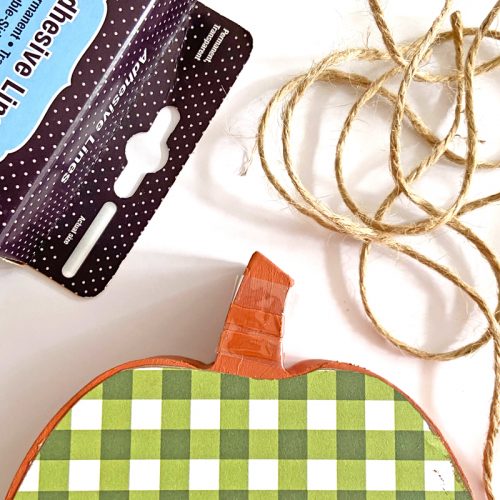
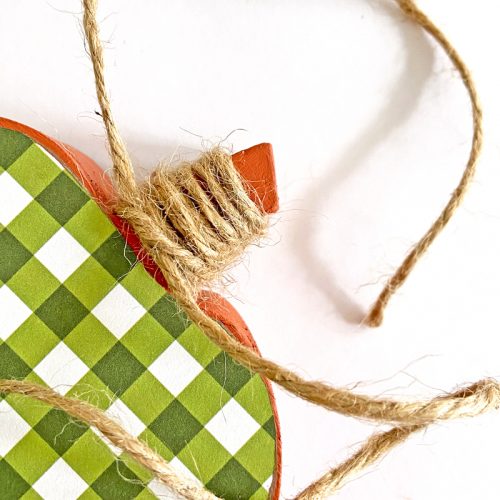
For the stem, I wanted texture so I placed several Adhesive Lines on the front by wrapping around it and did the same for the back. On the sides, I added one each in the middle. Next, wrap the twine (about 1.5 yards) around until you get your desired look. I tied a knot for now as a place keeper.
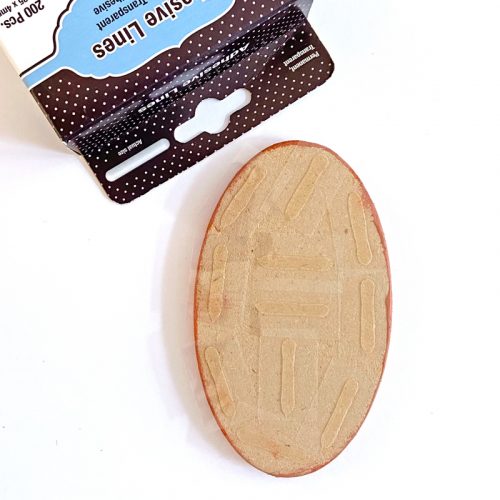
Add about 11 Adhesive Lines on the back of the middle section of the pumpkin and remove all the liners. Using a heat tool, warm up the lines and the middle section of the pumpkin base. Place the middle section on top and push it into the base to secure. Designer’s Tip: I used a stack of books on top for added pressure. 🙂
Shaking It Up in the Middle
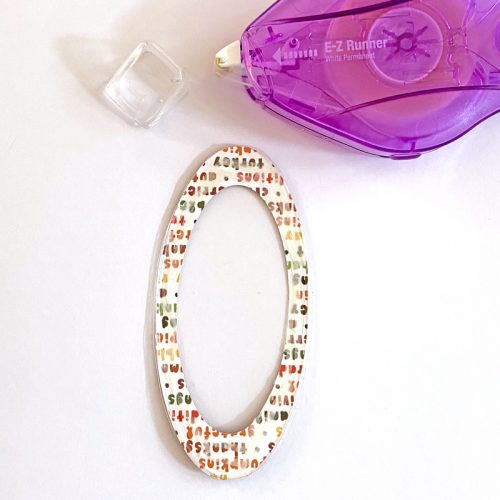
Nest two long narrow oval dies together and secure them with washi tape onto a 3D Foam Creative Sheets Small White. Roll them through a die-cutting machine to cut out a narrow oval ring. Die-cut one more time with the 3D Foam Creative Sheets Small White and then with patterned paper. Lastly, die-cut just the larger oval with acetate. You should have three oval rings and one solid oval.
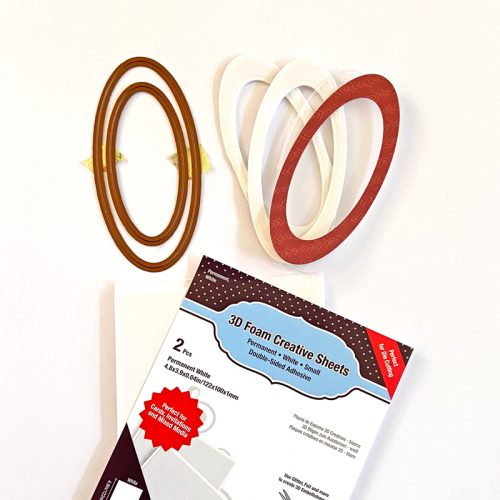
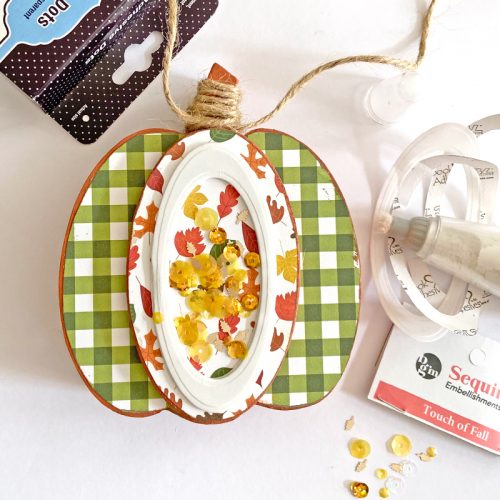
Stack the two 3D Foam ovals. With the top liner still on, powder the inside and outer edges to take off the stickness. Add Touch of Fall Sequinz inside. Designer’s Tip: Use Adhesive Dots Micro to secure a couple of sequins so that when the pumpkin stands, not all the sequins will fall down.
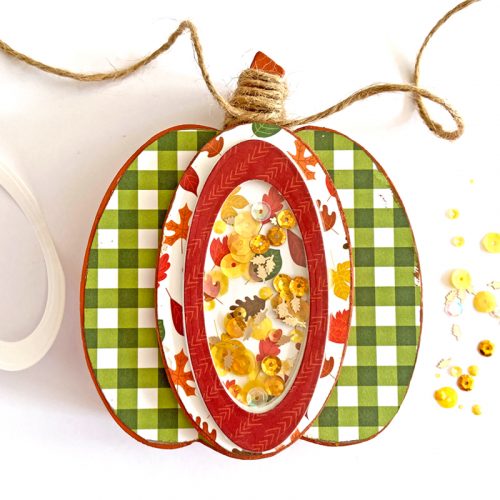
Apply the E-Z Runner® Micro Refillable Dispenser on the back of the patterned paper oval and add the acetate to create a window. Then take off the top liner of the 3D Foam oval and add the window to complete the shaker feature.
The Finishing Touches
Snip off the backs of the Fall Friends 3D Buttons – Autumn Bounty and secure each with an Adhesive Dots 3D – it’s perfect for those bulky embellishments! Tie a bow with your twine and you’re done!
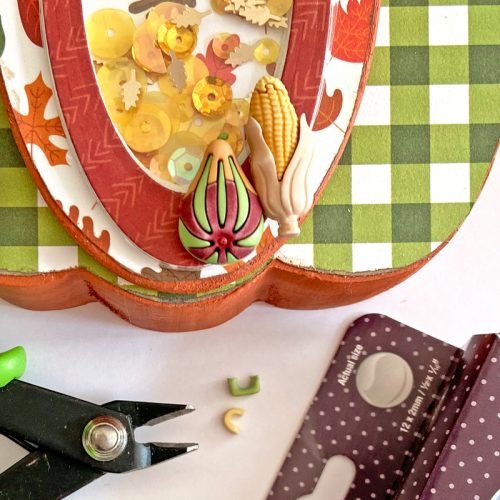
I hope this project makes you think about using the Adhesives Sheets 12 x 12in. and the various shapes of Adhesive Dots + Lines – they really made my assembly go fast and smooth! Till next time, Happy Fall and thanks for visiting!
Margie Higuchi
Creative Time: 90 mins
Skill Level: Intermediate
Materials Needed:
Scrapbook Adhesives by 3L®
E-Z Runner® Micro Refillable Dispenser
3D Foam Creative Sheets Small White
Adhesive Dots Micro, Adhesive Dots 3D and Adhesive Lines
Other: Papers: PhotoPlay Paper (Gnome for the Holidays Thanksgiving Collection); Embellishments: Button Galore & More (Touch of Fall Sequinz and Fall Friends 3D Buttons – Autumn Bounty); Ink: Ranger Ink (Distress Oxide in Vintage Photo); Wood Pumpkin: Foundations Decor; Paint: Making Memories (Nutmeg); Thin Metal Cutting Dies: Spellbinders Paper Arts (Long Ovals); Clear Acetate; Pencil; Scissors; Paint Brush; Twine; Craft Cutter
Click Preferred Retailers List
Save to Pinterest!
Visit our Website and Blog!
Sign up for our Newsletter so you never miss a contest or giveaway!
Visit our Website and Blog!
Sign up for our Newsletter so you never miss a contest or giveaway!

