
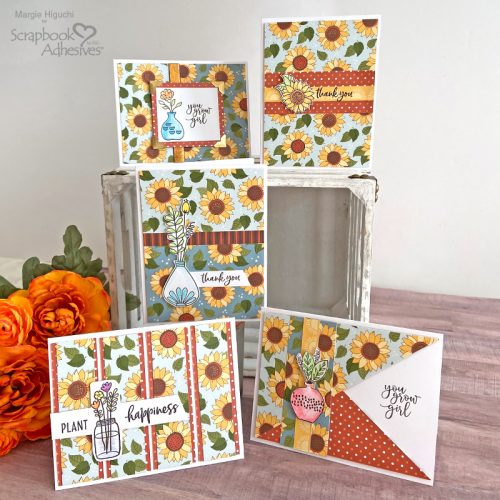
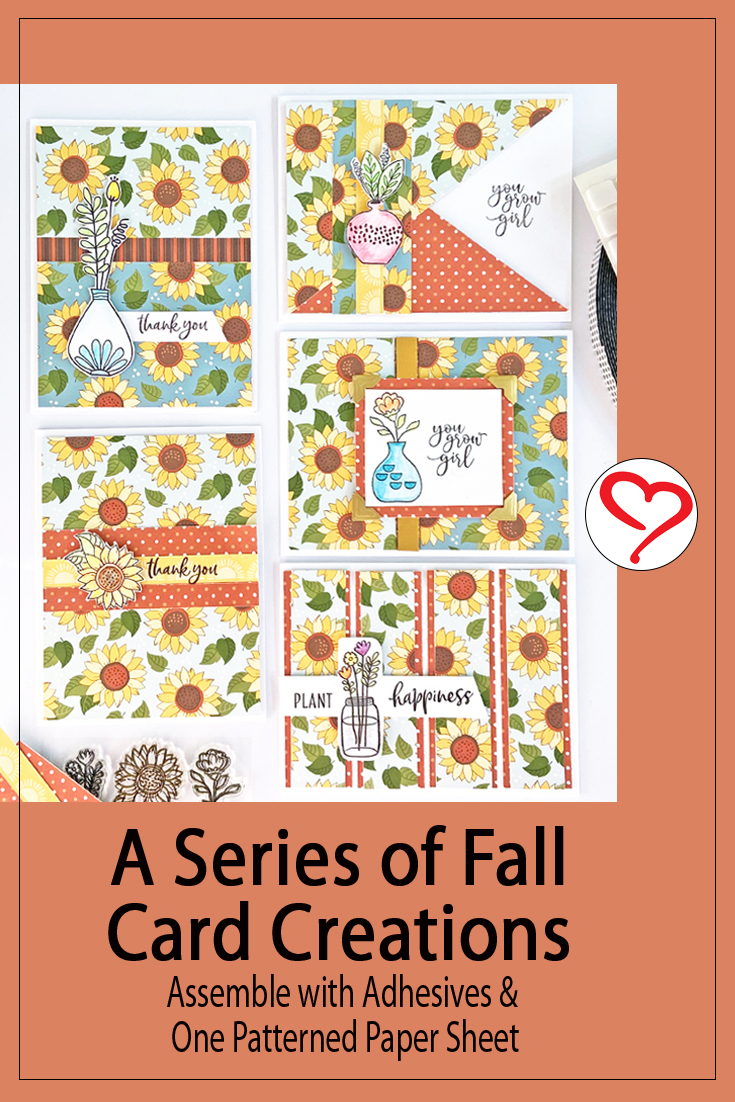
Hello, friends! I wanted to create a series of fall cards inspired by one 12 x 12-inch patterned paper. With a combination of the E-Z Runner® Permanent Strips Refillable Dispenser, Crafty Foam Tape Black 108ft., and more, let me take you through some of my cards!
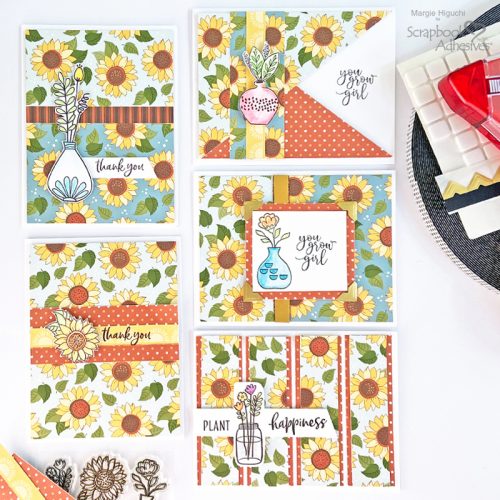
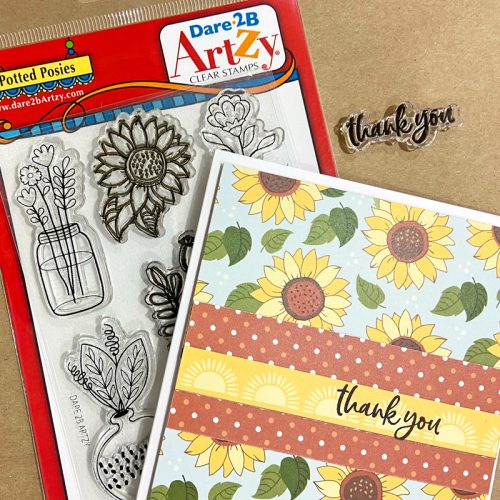
Fall Card Thank You Card
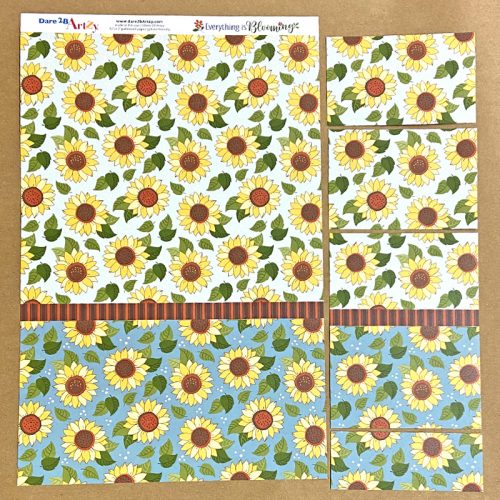
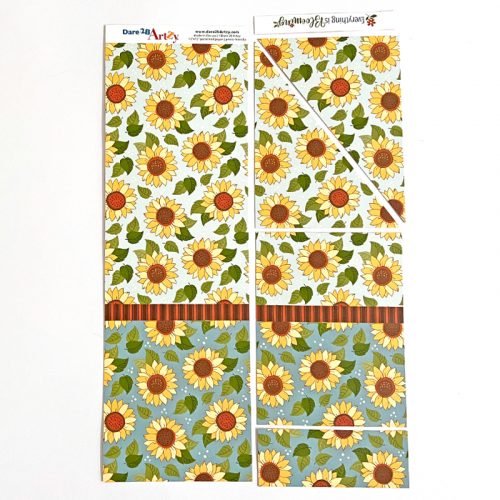
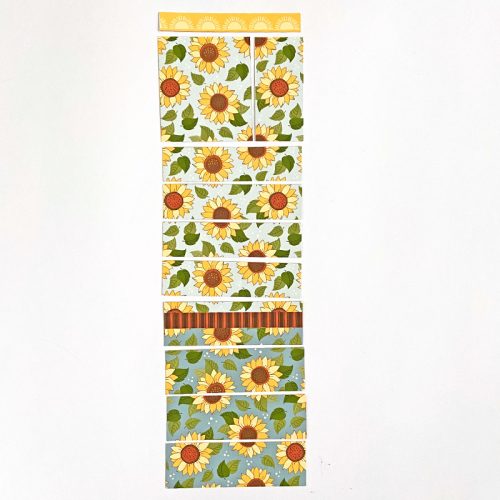
First, cut a 4 x 12-inch patterned paper strip. This strip will create two card fronts for an A2-size (4.25 x 5.5-inch) card.
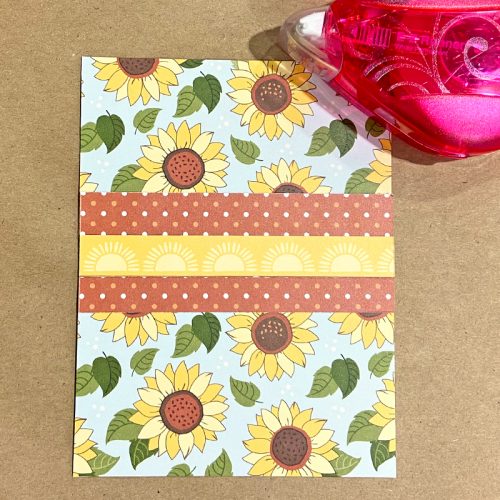
Take the top two pieces (4 x 2.5-inch and 4 x 2.75-inch) and the bottom piece (flip to the dotted pattern and use in the middle to cover the seams) to create my 4 x 5.25-inch card front. The yellow strip is the reverse of the product strip – cool! Adhere all pieces with the E-Z Runner® Permanent Strips Refillable Dispenser.
Designer’s Note: Cut a piece of 4 x 5.25-inch white cardstock panel to assemble your card front.
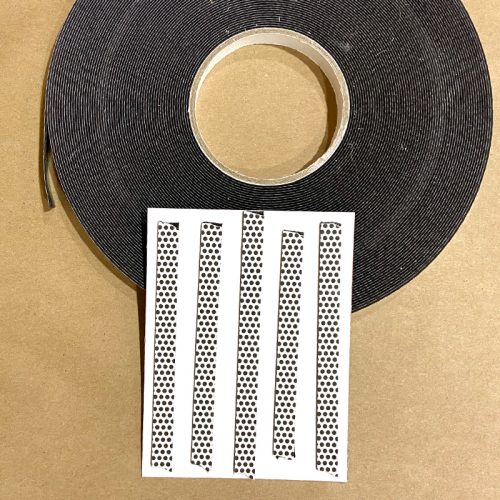
For a subtle lift, adhere the card panel to the white cardstock card base with the Crafty Foam Tape Black 108ft. (its height is 1/32 inch – half of 1/16 inch). Set aside to stamp image and sentiment.
Stamp Image and Sentiment
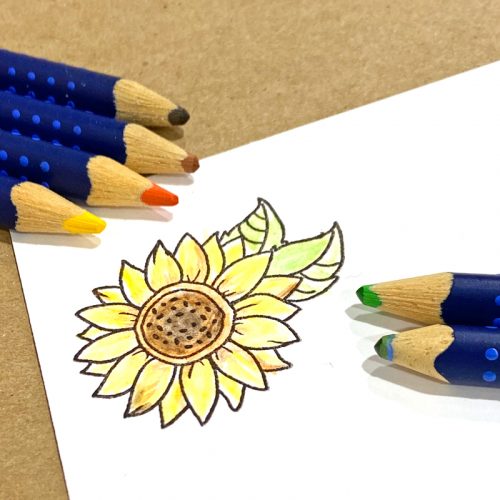
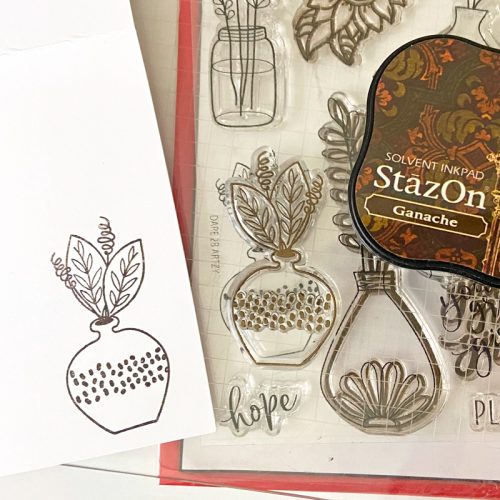
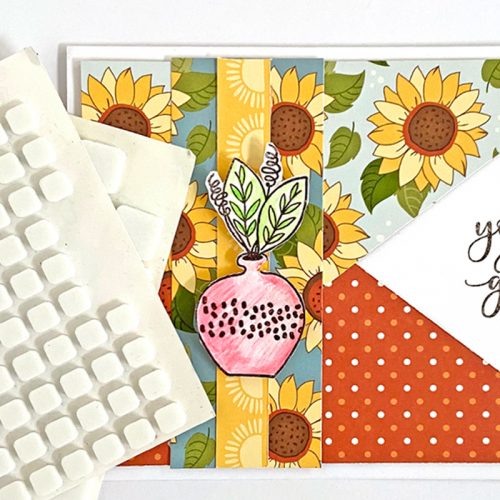
Stamp the sentiment on the yellow strip of the card front in dark brown ink. Next, stamp the sunflower image onto white cardstock and color it with watercolor pencils and a water brush. Fussy cut the image with detailed scissors and secure it with a regular size in 3D Foam Squares White Mix next to the sentiment.

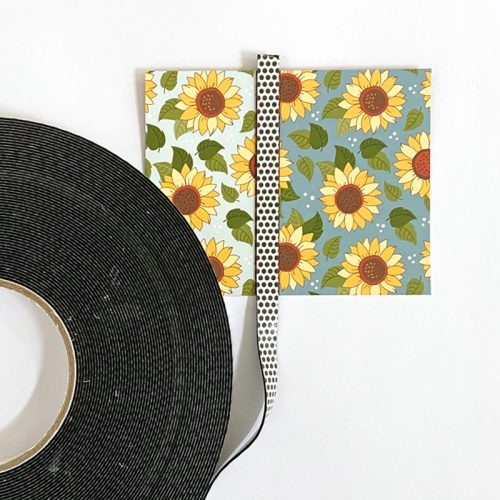
Fall Card You Grow Girl Card
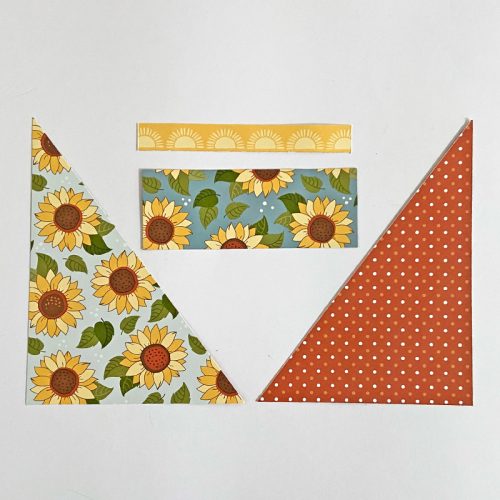
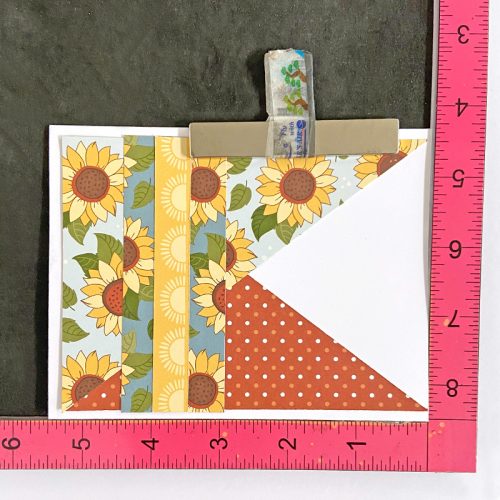
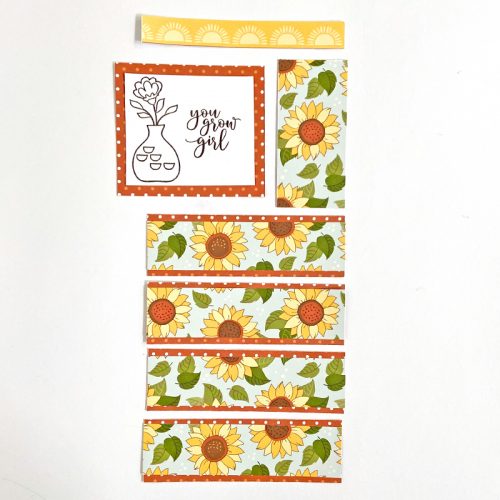
For the second 4 x 12-inch patterned paper strip, cut the product strip, 4 x 5.25-inch, 4 x 5.25-inch, and 4 x 1.5-inch pieces.
Take the top 4 x 5.25-inch patterned panel and cut it diagonally in half. Flip one to the dotted pattern. We will also be using the yellow product strip and the 4 x 1.5-inch piece. Assemble to create a V-shape card front as pictured and secure with the E-Z Runner® Grand Permanent Strips Refillable Dispenser.

Stamp the Elements and Coloring
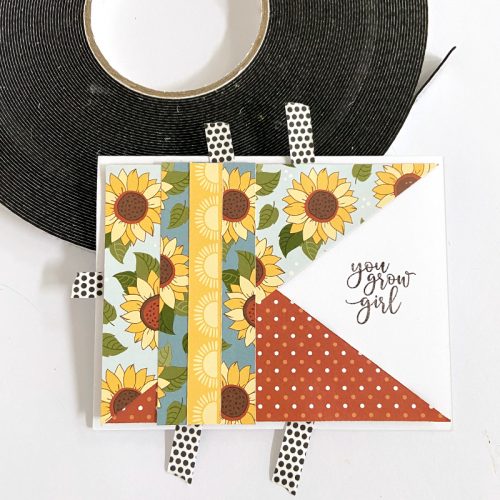
Use your card front as a guide to stamp sentiment. For a subtle lift, adhere the card panel to the top fold white cardstock card base with the Crafty Foam Tape Black 108ft.
Stamp the flowers and vase image onto white cardstock and color with watercolor pencils and water brush. Fussy cut the image and center with a combination of regular and small sizes of the 3D Foam Squares White Mix on the left side of the card front.

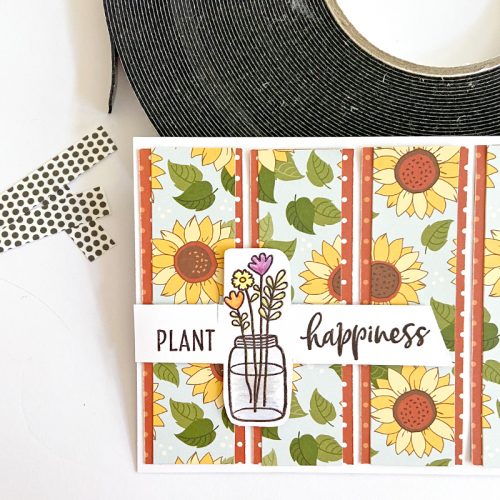
Fall Card Plant Happiness Card
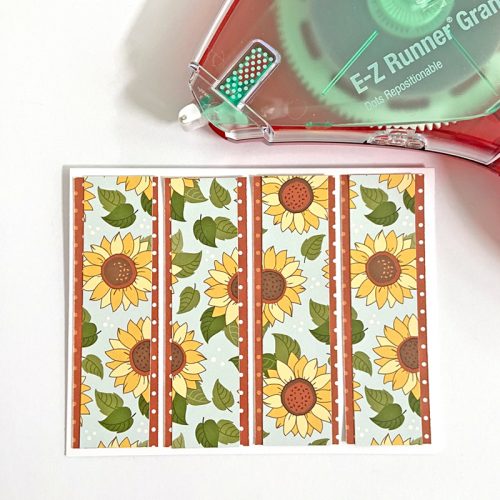
For the third and last 4 x 12-inch patterned paper strip, cut the product strip, 2 7/8 x 2 5/8-inch (to mat a stamped image), 1 3/8 x 3-inch, four 4 x 1-inch and four 4 x 1.25-inch pieces.
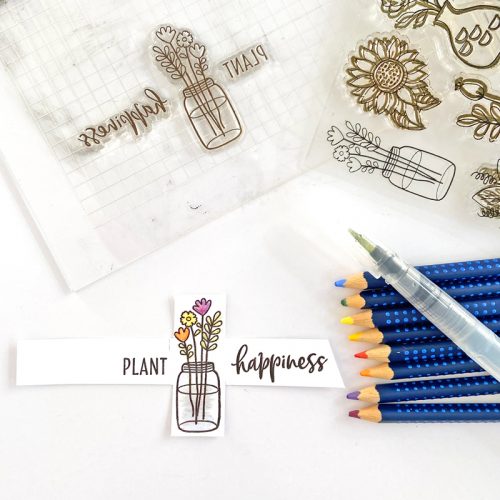
Stamp an image and sentiment on a 2.5 x 2.25-inch white cardstock piece. Mat on the 2 7/8 x 2 5/8-inch patterned paper piece using the E-Z Runner® Permanent Strips Refillable Dispenser. Watercolor with a water brush and set aside to dry for another card.
Stack the four 4 x 1-inch and four 4 x 1.25-inch pieces together and secure with the E-Z Runner® Permanent Strips Refillable Dispenser. Then adhere them equally spaced with the E-Z Runner® Grand Repositionable Dots Refillable Dispenser on the top-fold A2 size card base. This adhesive is perfect for this task…simply peel off and reposition the pieces.
Stamp an image and sentiment with dark brown ink on white cardstock. Cut around the images and color with watercolors. Secure on the card front with Crafty Foam Tape Black 108ft.
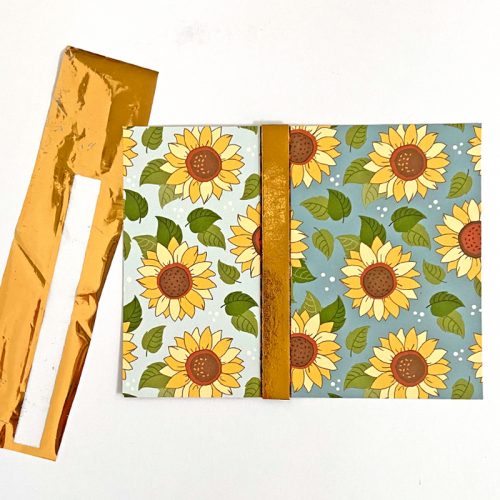
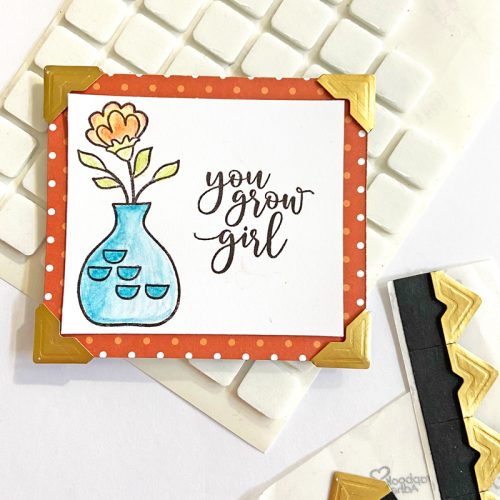
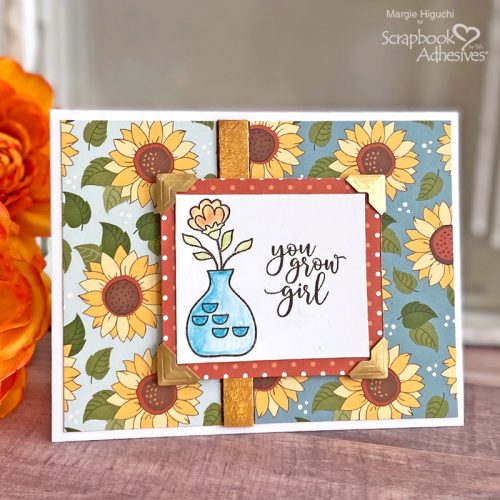
Fall Card You Grow Girl with Foil
Use the second 4 x 5.25-inch piece from the bottom of the second 4 x 12-inch patterned paper strip and place a piece of Crafty Foam Tape Black 108ft. on top of the border design.
Place a piece of bronze foil from the Metallic Transfer Foil Sheets Nature Colors with the color side up over the exposed adhesive and rub gently to transfer the color. Peel off to reveal the color. Reapply foil in missed areas. Secure the panel on a white top-fold card base with the E-Z Runner® Grand Permanent Strips Refillable Dispenser.

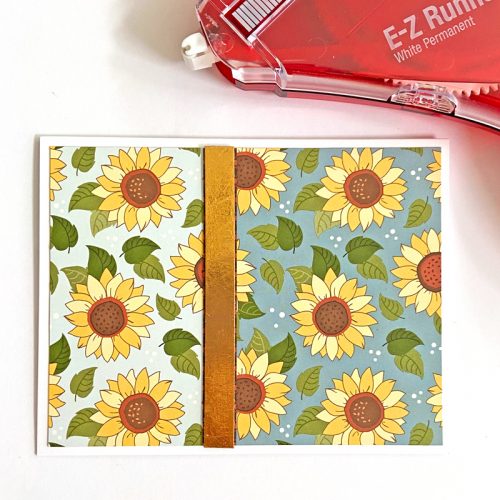
Add a Creative Photo Corners Gold on each corner of the stamped sentiment and secure it on the card front with several regular size in the 3D Foam Squares White Mix.
I hope this post encourages you to create a bunch of cards with 12 x 12-inch patterned paper and white cardstock. There were only two pieces left (the product strip and the 1 3/8 x 3-inch piece)…not bad! LOL!
Thanks for Stopping By!
Margie Higuchi
Creative Time: 90 mins
Skill Level: Beginner
Materials Needed:
Scrapbook Adhesives by 3L®
E-Z Runner® Permanent Strips Refillable Dispenser
E-Z Runner® Grand Permanent Strips Refillable Dispenser and E-Z Runner® Grand Repositionable Dots Refillable Dispenser
Metallic Transfer Foil Sheets Nature Colors
Other: Patterned Paper and Clear Stamp Set: Dare 2B Artzy (Field of Hope Patterned Paper/Everything is Blooming Collection and Potted Posies Clear Stamp Set); Stamp Platform: My Sweet Petunia (MISTI); Ink: Tsukineko (StazOn Ink in Ganache); Watercolor Pencils: Faber-Castell USA (Art Grip Aquarelle); White Cardstock; Scoreboard; Bone Folder; Watercolor Brush
Click Preferred Retailers List
Save to Pinterest!
Visit our Website and Blog!
Sign up for our Newsletter so you never miss a contest or giveaway!


