
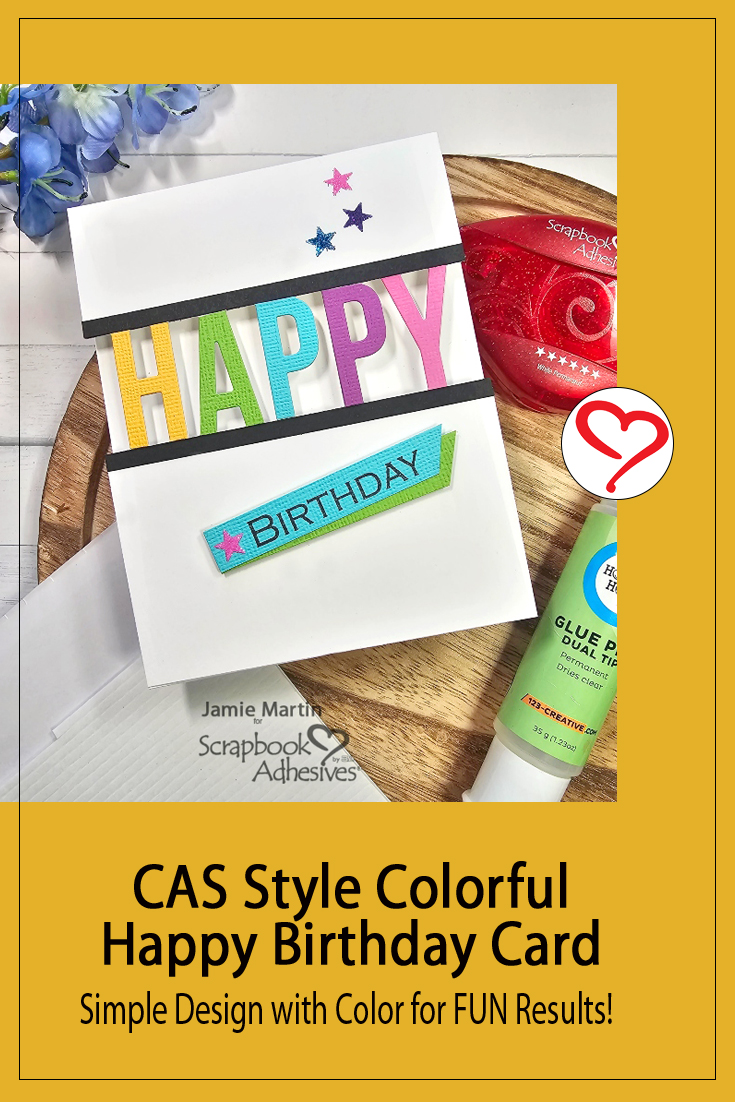
Hi, Jamie here today with a clean and simple (CAS) style Colorful Happy Birthday Card. I love how it turned out and want to share with you how I created this card.

Colorful Happy Birthday Words
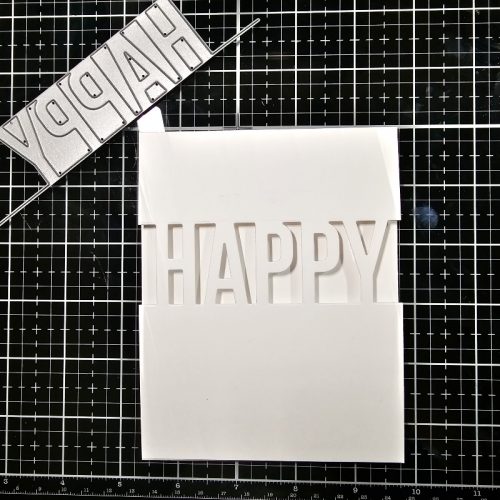
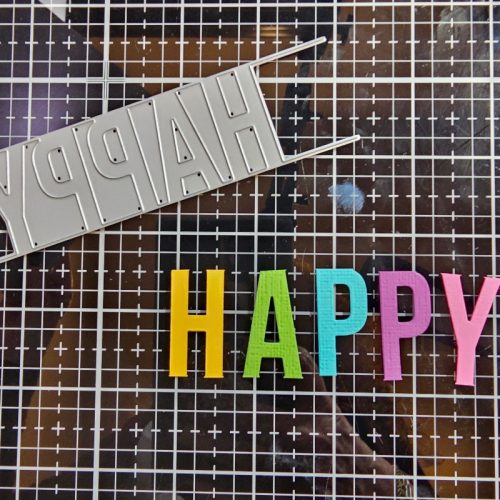
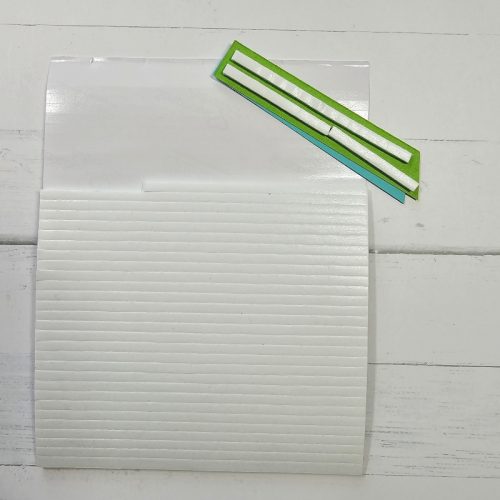
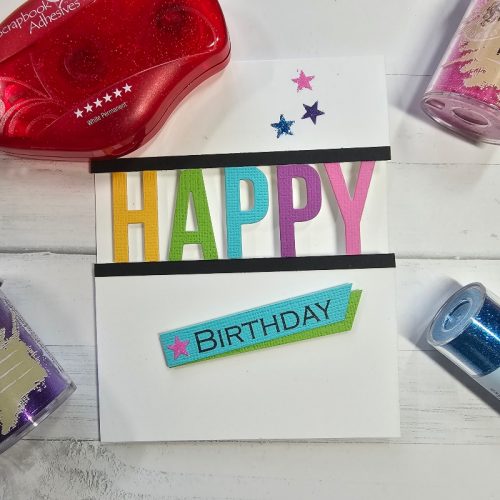
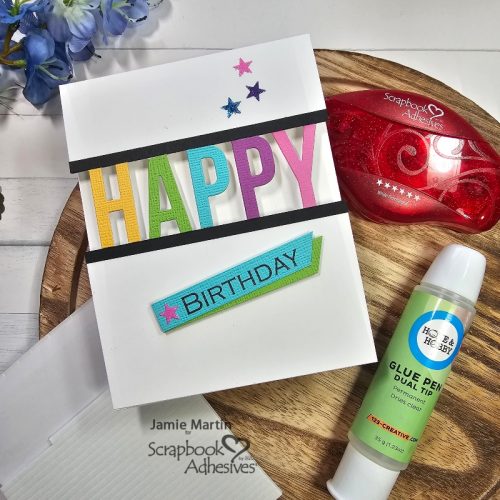
This Happy die cuts through the white cardstock card base and leaves the letters attached to the card. So cool! Next, strips of colored cardstock were die-cut with the Happy die. Then I cut off the letters from the strip it was attached to.
Add Color to Happy
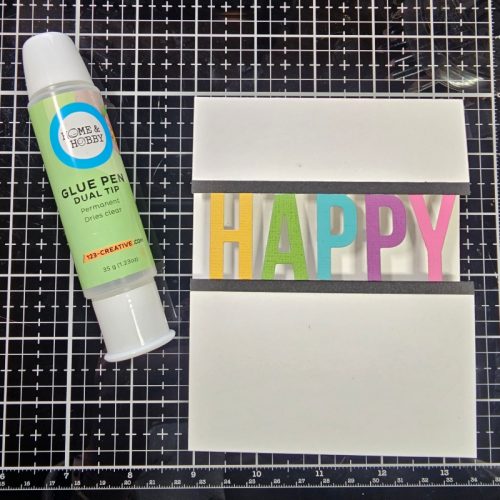
The colored letters were glued to the HAPPY letters on the card base with the Dual Tip Glue Pen. To anchor and frame the word, two thin strips were cut from black cardstock and secured on top and bottom of HAPPY using the Dual Tip Glue Pen.
Create the Sentiment
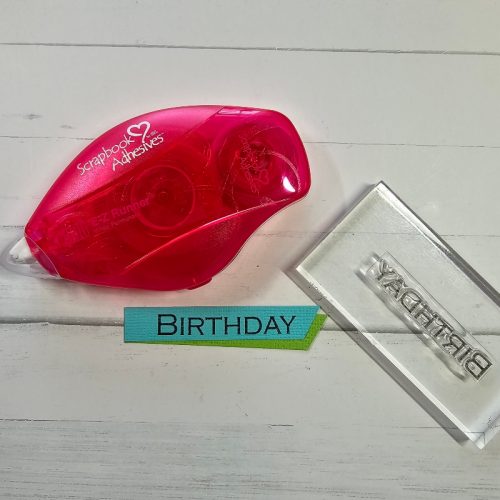
Stamp the Birthday sentiment on a strip of blue cardstock with black ink. Then layer onto a strip of green cardstock with E-Z Runner® Permanent Strips Refillable Dispenser. Place a couple of 3D Foam Strips on the back of the sentiment and lift up diagonally below the Happy.
Wear Your Adhesive on the Outside with Stars
Add a few stars from the E-Z Runner® Stars Refillable Dispenser on the card front as shown. Sprinkle a combination of purple, pink, and blue glitter on each of the stars. Rub the glitter into the star to secure and tap off excess. This makes a quick and easy accent on a card…instant gratification!
I hope you enjoyed my card-making tutorial and encourage you to try these techniques. Thanks for stopping by!
Jamie Martin
Creative Time: 30 mins
Skill Level: Intermediate
Materials Needed:
Scrapbook Adhesives by 3L®
E-Z Runner® Permanent Strips Refillable Dispenser and E-Z Runner® Stars Refillable Dispenser
3D Foam Strips
HomeHobby™ by 3L
Dual Tip Glue Pen
Other:
Thin Metal Cutting Die: My Favorite Things (Happy Die); Stamp: Rubbernecker Stamps (Birthday Stamp)
Click Preferred Retailers List
Save to Pinterest!
Visit our Website and Blog!
Sign up for our Newsletter so you never miss a contest or giveaway!


