Hi, everyone! Do you like to make your own backgrounds? Teri here with an easy masking technique to try next time you make an inked background for a card.
Cut Strips of Paper, Add Adhesive and Mask
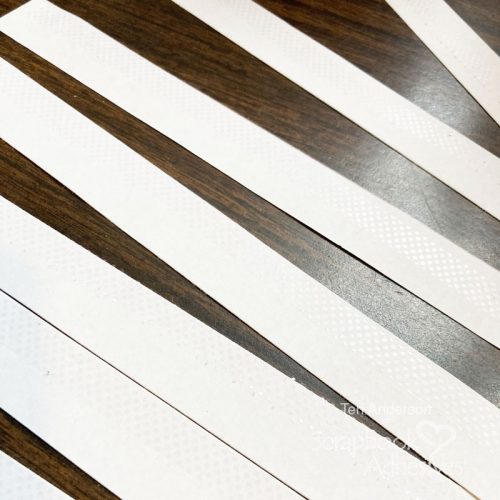
Start by cutting several strips of lightweight printer paper. Make all of them the same height. The length does not matter. Apply E-Z Dots® Repositionable adhesive on the back of them.
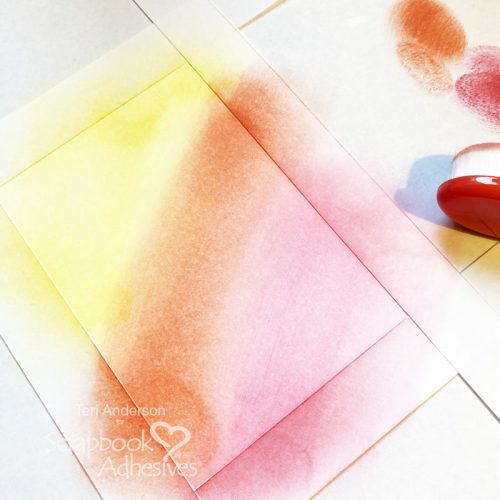
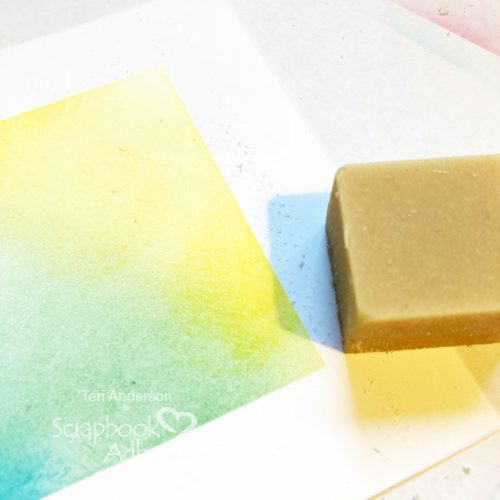
Adhere them to a panel of cardstock to create a frame of sorts, leaving the middle of the panel open. Blend ink onto the panel. Remove the strips. Designer’s Tip: Create several inked panels at one time by cutting several strips and using them to mask off several panels before inking!)
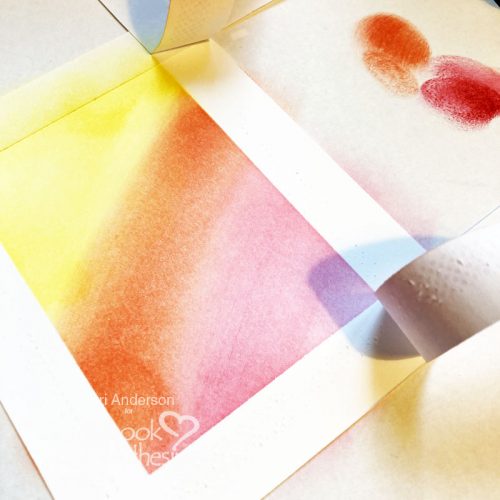
Use a gum eraser to remove any adhesive left on your paper panels. Be sure not to touch the inked up parts, in case your ink is not dry!
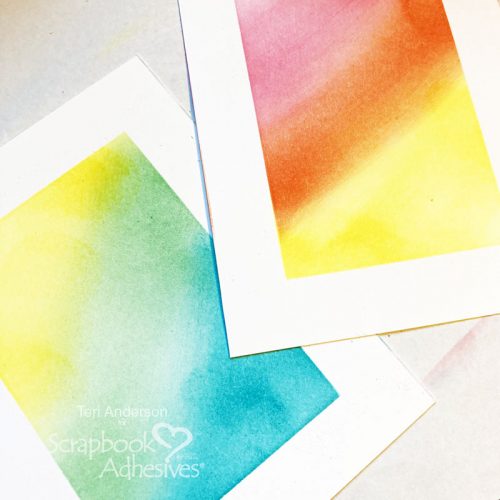
Turn Those Inked Panels Into Cards
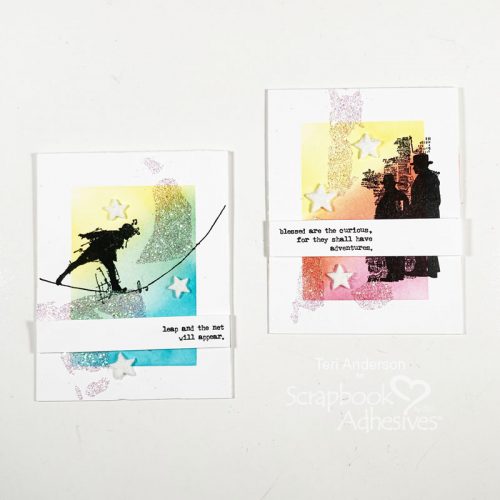
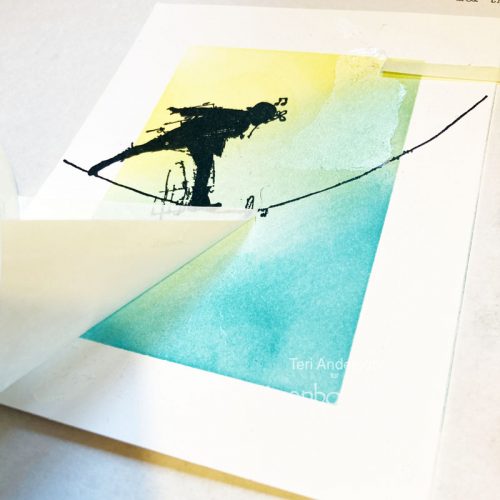
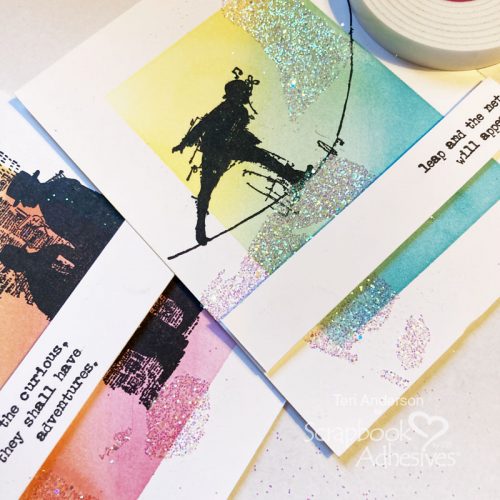
Turn the panels into cards by stamping images with black ink onto the panels. Take part of an Adhesive Sheet 4 x 6in. and randomly apply adhesive onto your inked panels.
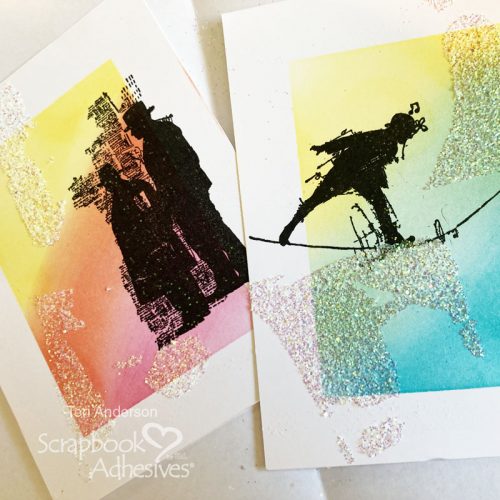
Cover the adhesive with glitter! (Creative tip! Not feeling like using glitter? Use Metallic Transfer Foil instead!)
Stamp sentiments on strips of cardstock. Adhere them to your panels with Crafty Foam Tape. Mount your panels onto card bases as well.
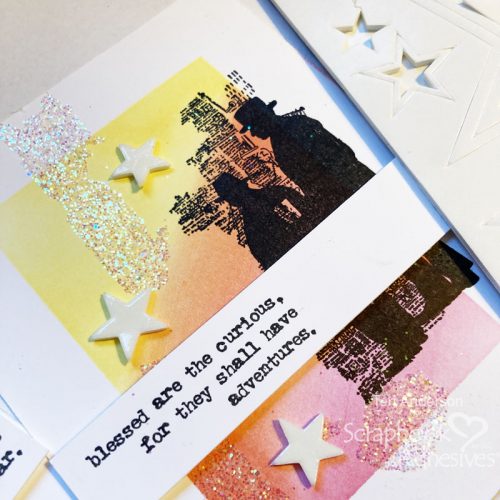
Complete your cards by adding some 3D Foam Stars on them. Cover them with flock.
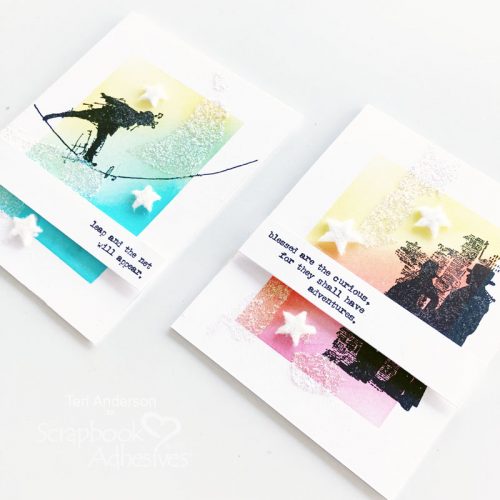
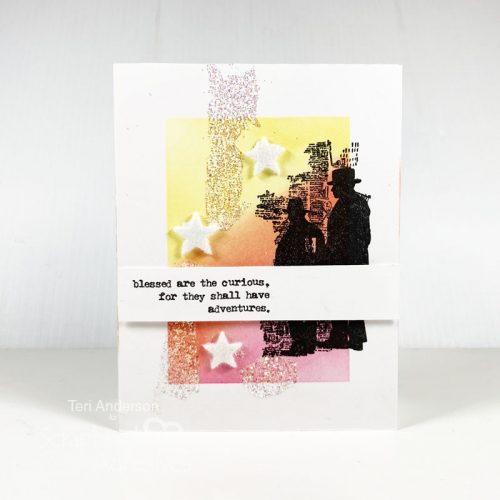
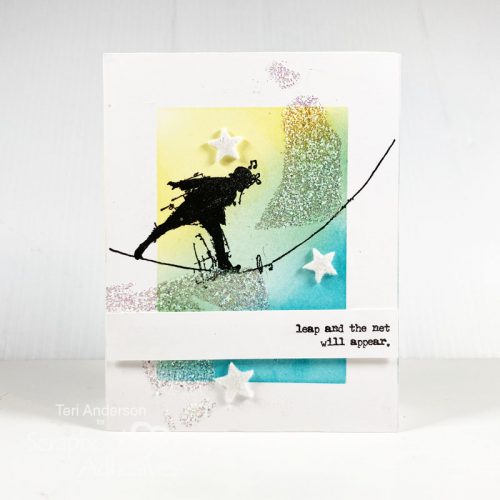
I hope might try making your own masking strips to create inked backgrounds next time you make some cards!
Happy Creating!
Creative Time: 45 minutes
Skill Level: Intermediate
Materials Needed:
Scrapbook Adhesives by 3L®
E-Z Dots® Repositionable Refillable Dispenser
E-Z Runner® Permanent Strips Refillable Dispenser
Other: Cardstock: Neenah; Lightweight Printer Paper: Georgia Pacific; Stamps: Tim Holtz for Stampers Anonymous (Theories Stamp Set); Inks: Ranger Ink (Black, Red, Orange, Yellow, Green, Blue); Flock: Stampendous; Glitter: American Crafts; Gum Eraser
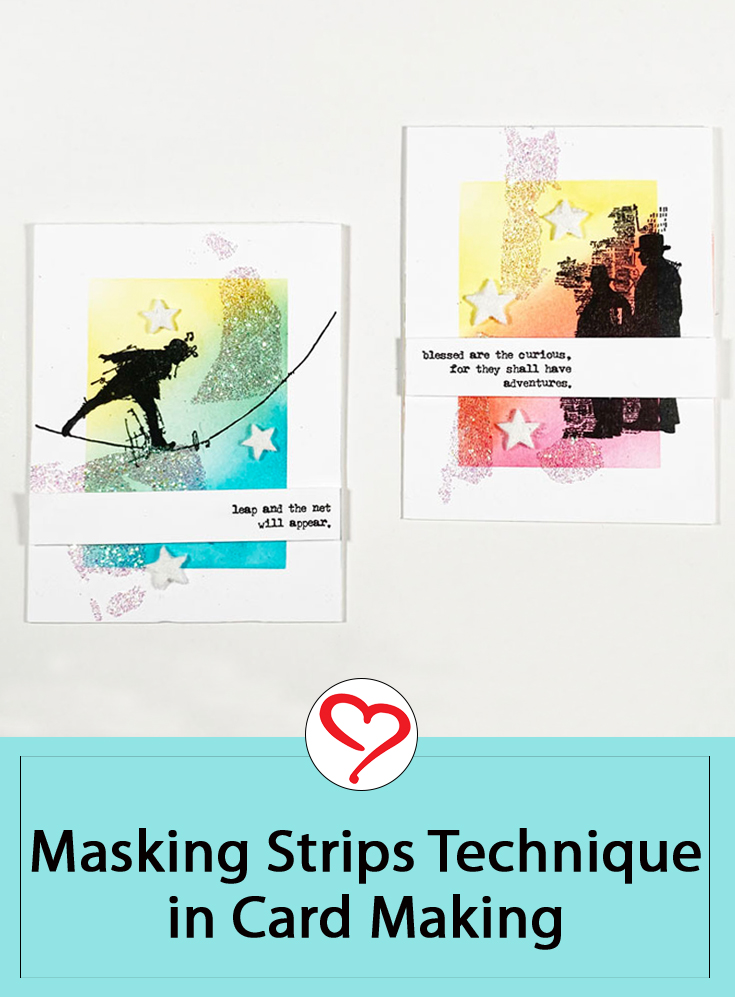
Save to Pinterest!
Visit our Website and Blog!
Sign up for our Newsletter so you never miss a contest or giveaway!


