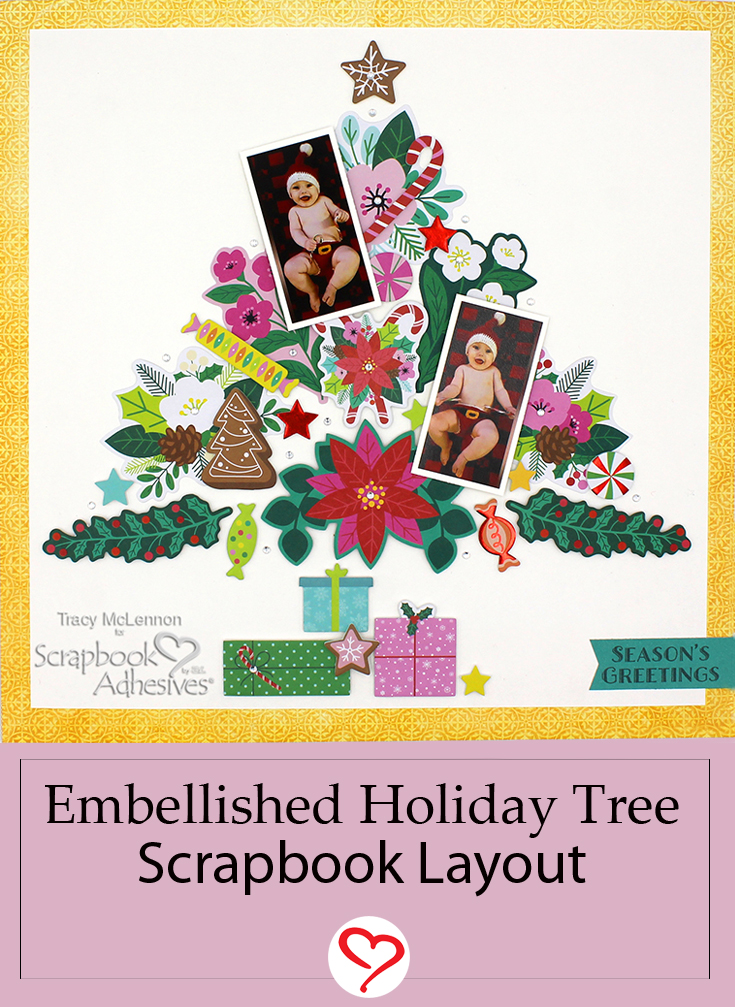
Hello crafty friends! Tracy here, and today I have a pretty little festive layout to share that is a great way to use up your leftover bits and pieces of your favourite collections. Here are all of the details on how I created this Embellishment Tree Layout.
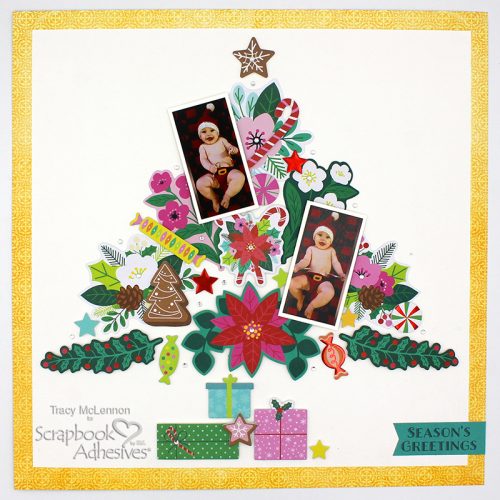
Let’s Get Festive!
Do you ever have a collection that you absolutely love? But have just bits and pieces left. I had 1 full sheet of patterned paper left, that is my 12×12 background. Then cut a piece of white cardstock to 11×11. Adhere the layers together using the E-Z Runner® Grand Refillable Dispenser.
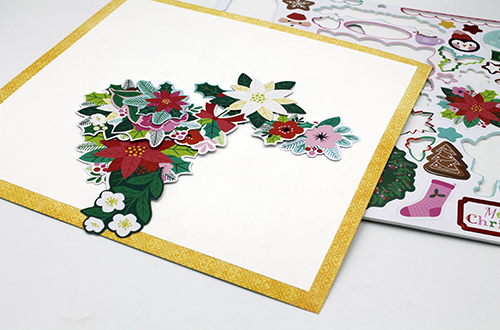
I added the gift foam stickers to the bottom of the layout to create the base of the tree. Use a scrap piece of cardstock to create a triangular template with the remaining space that will then be the tree.
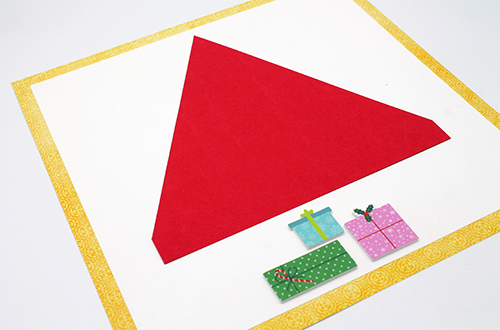
The next step to creating the Embellishment Tree Layout is to adhere the foam sticker embellishments to create the bottom layer of the tree, and the star foam sticker for the top of the tree.
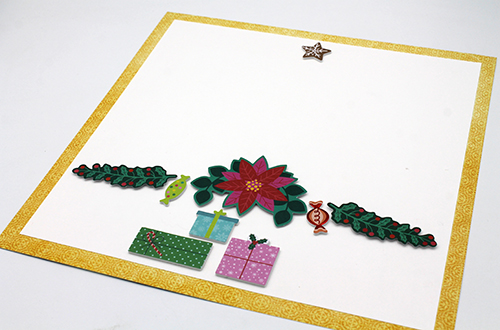
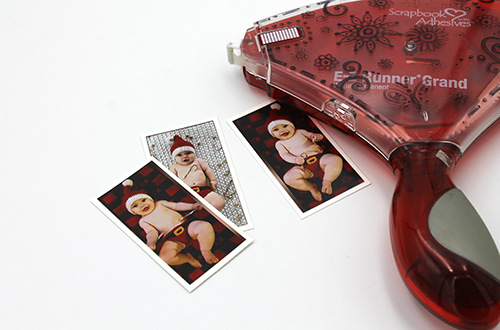
Mat the mini photos in white cardstock, adhering them with the E-Z Runner® Grand Refillable Dispenser. I ended up only using 2 of the mini photos that I matted.
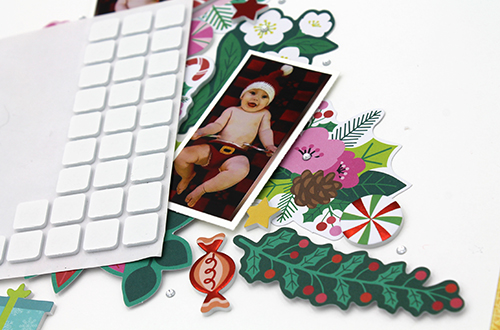
Lay the matted photos where you would like them to be within the Embellishment Tree. Add embellishments around the matted photos creating the rest of the tree image using the E-Z Runner® Grand Refillable Dispenser and 3D Foam Squares White Mix to create lots of dimension. Then add the matted mini photos to the layout using 3D Foam Squares White Mix.
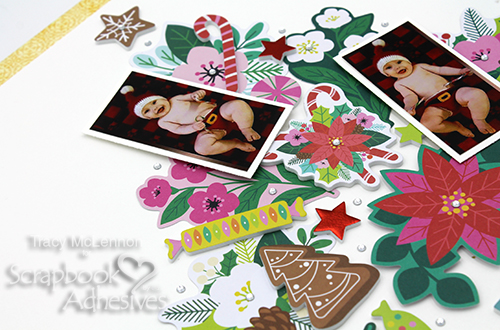
Finally, I added lots of gems in and around the Embellishment Tree for a little extra sparkle.
Thanks so much for stopping by!
Tracy
Creative Time: 45 mins
Skill Level: Intermediate
Materials Needed:
Scrapbook Adhesives by 3L®
E-Z Runner® Grand Refillable Dispenser
3D Foam Squares White Mix
Other:
Paige Evans – Sugarplum Collection; White Cardstock; Gems
Save to Pinterest!
Visit our Website and Blog!
Sign up for our Newsletter so you never miss a contest or giveaway!


