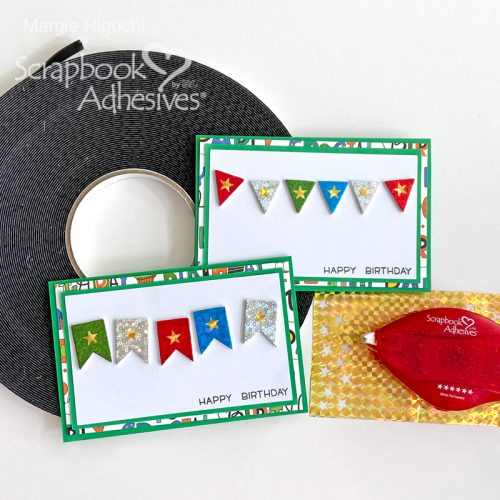
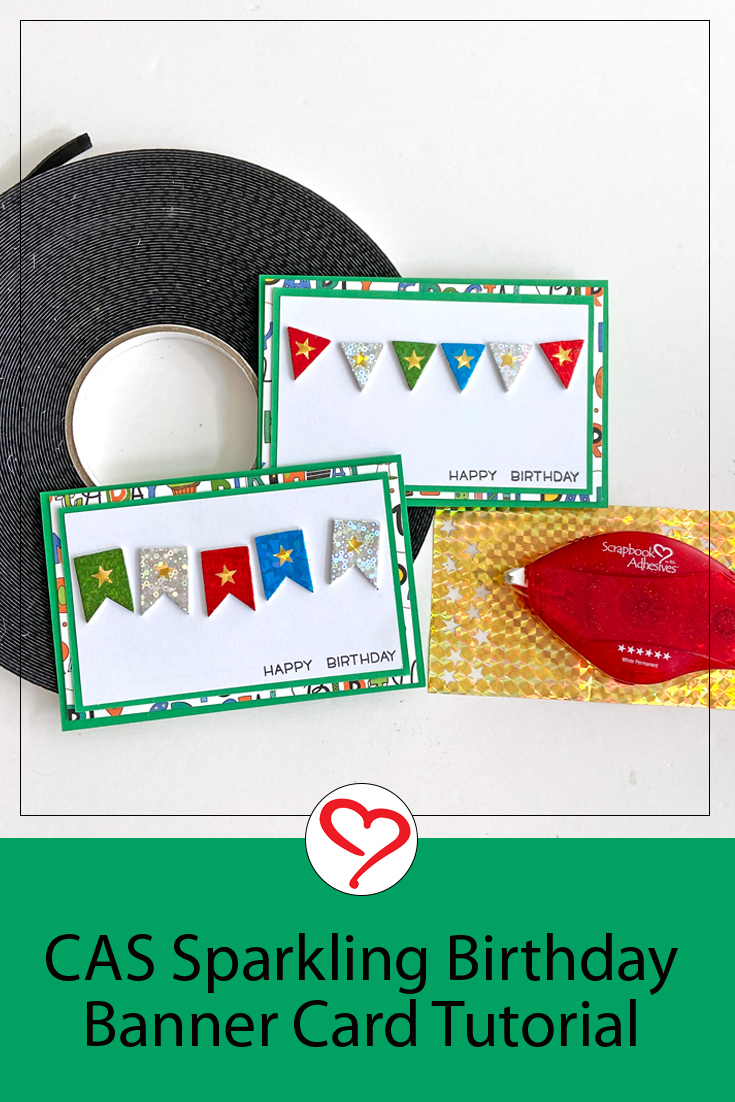
Hi, Margie here today! This super fun clean and simple (CAS) style Sparkling Birthday Banner Card is packed full of different cardmaking ideas that you can use in your cards. From foiling (no tools needed by the way), layering, and dimension, it will inspire you to try them too! Let me show you how.
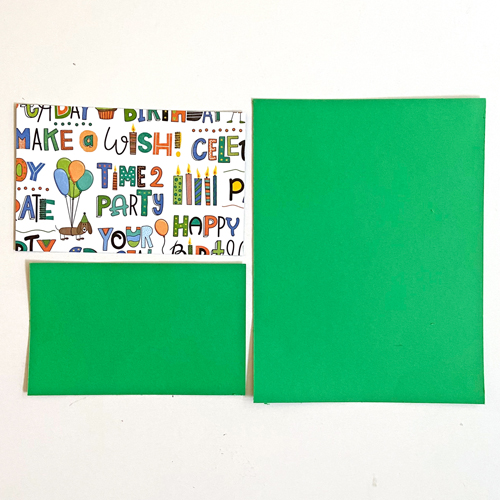
Birthday Banner Layers + Card Base
- Card Front Panel: 5 x 3-inch white cardstock (missing in the photo below).
- Panel Mat: 5.25 x 3.25-inch green cardstock.
- Panel Layer: 5.5 x 3.5-inch patterned paper.
- Card Base: 5.75 x 7.5-inch green cardstock and fold in half for a 5.5 x 3.75-inch top-fold card.
Prep the Card Front Panel
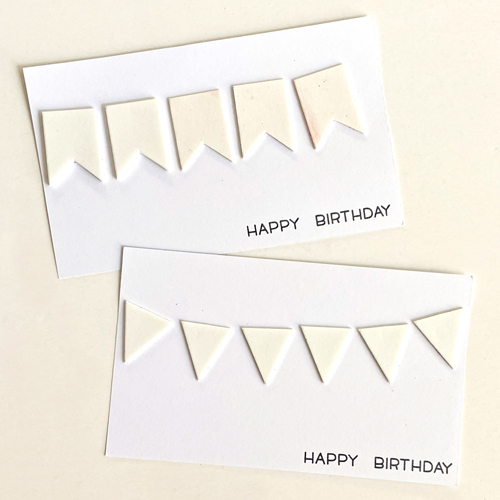
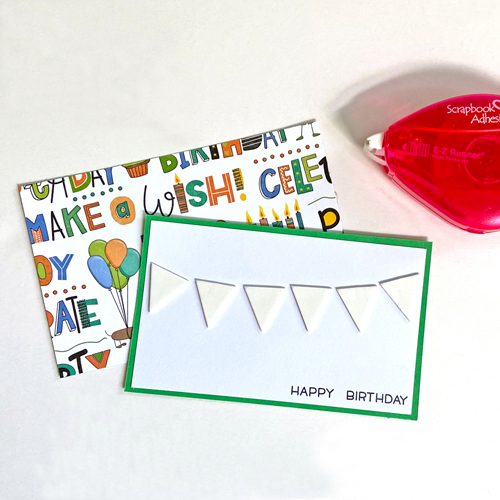
Stamp a sentiment on the lower right corner of the panel. Place five fishtail 3D Foam Pennants (or six triangle pennants) across the top of the panel (approx.. 0.75-inch from the top).
Adhere the white card front, green cardstock panel mat, and the patterned paper panel layers together with the E-Z Runner® Permanent Strips Refillable Dispenser.
Wear Your Adhesive on the Outside with 3D Foam Pennants + Foil
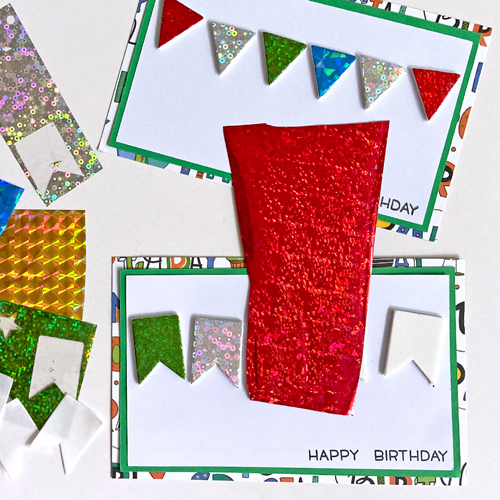
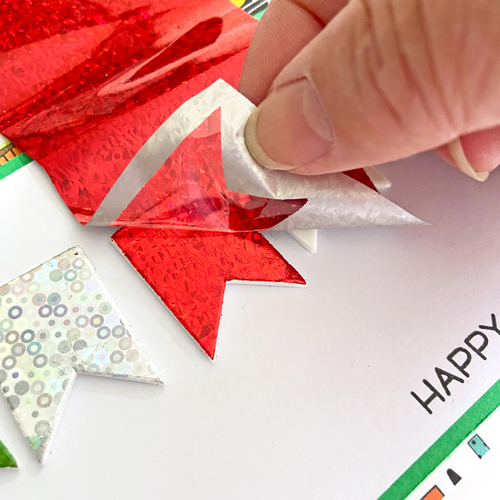
Remove the top liner of one of the 3D Foam Pennants. Apply a piece of the Metallic Transfer Foil Sheets Celebrate Colors on top of the exposed adhesive color side UP – the foil color is facing you. Gently rub the foil with your fingertips to transfer the color to the 3D Foam Pennants. Repeat the foiling step with the rest of the pennants.
I used all the color combinations in the Metallic Transfer Foil Sheets Celebrate Colors but you can use whatever color you like.
The Finishing Touches
Pull an E-Z Runner® Stars Shape with your tweezers or fingers and center on each of the foiled 3D Foam Pennant. Foil with a contrasting color for interest. I used beautiful gold from the Metallic Transfer Foil Sheets Celebrate Colors.
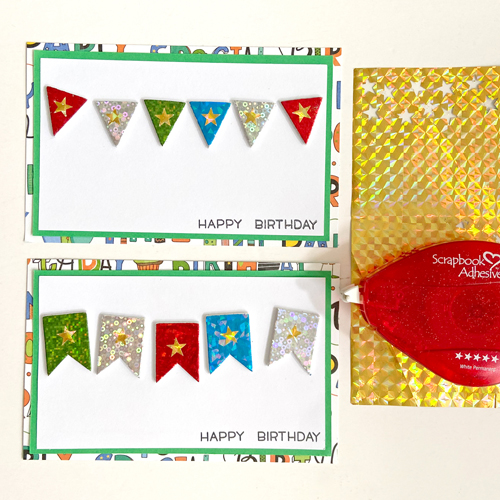
Assembling the Birthday Banner Card
Place strips of Crafty Foam Tape Black 108ft. on the back of the layered card front panel and secure it on the green card base. This gives the layers a subtle lift (1/32 inch which is half of 1/16 inch).
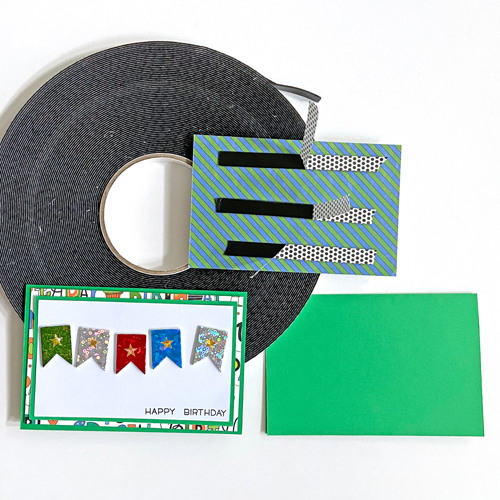
Design Option: depending on the design, add a piece of twine across the pennant tops and secure it with the Adhesive Lines. Stamp a word or personalize it with a name using a small letter stamp (or letter dies + Adhesive Sheets) on top of the foil pennants.
Hope you give this a try. Thanks for stopping in!
Margie Higuchi
Creative Time: 20 mins
Skill Level: Beginner
Materials Needed:
Scrapbook Adhesives by 3L®
E-Z Runner® Permanent Strips Refillable Dispenser
E-Z Runner® Stars Refillable Dispenser
Metallic Transfer Foil Sheets Celebrate Colors
Other: Patterned Paper: Photo Play Paper; Stamp: Lawn Fawn; Black Ink; White + Green Cardstock
Click Preferred Retailers List
Save to Pinterest!
Visit our Website and Blog!
Sign up for our Newsletter so you never miss a contest or giveaway!

