
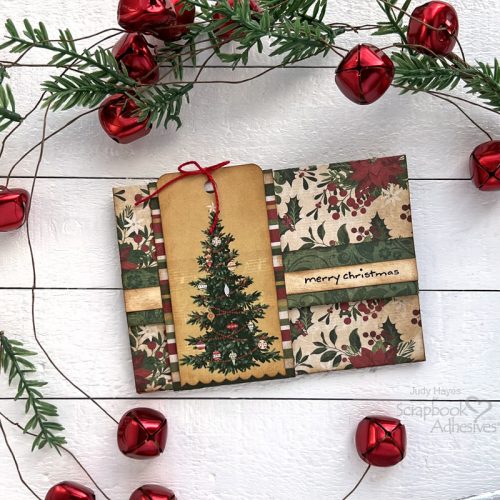
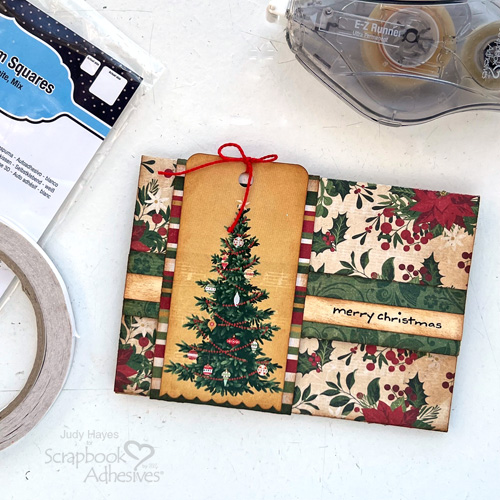
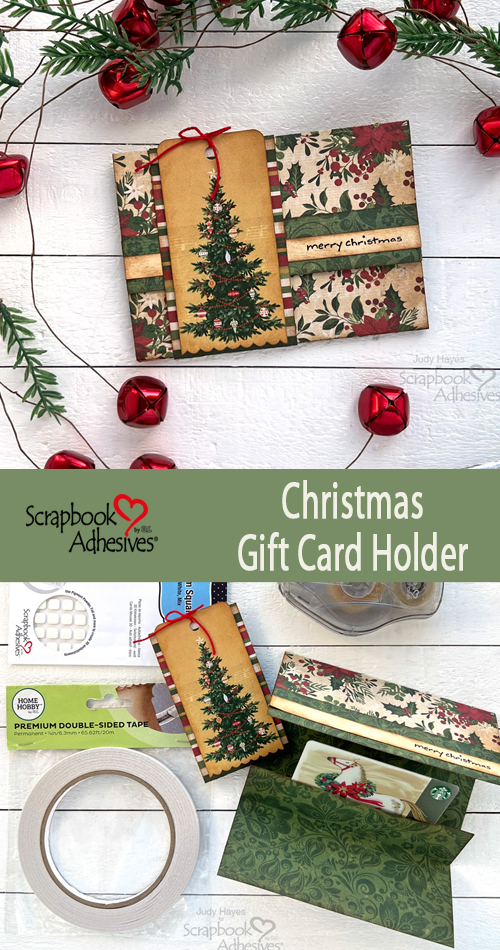
Hi, Judy here today! Here it is the end of November and I’m feeling the holiday pressure. As usual, I have far more ideas for things to make than time! With that in mind, I made an easy to make Christmas Gift Card Holder with patterned papers and printed tag fastened to a sleeve band that holds it closed.
Card and Score Card Base
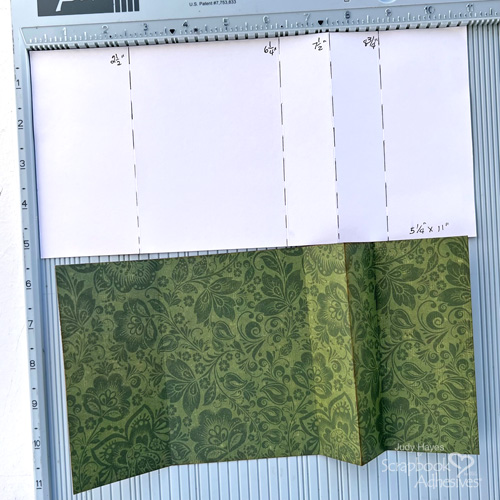
Cut a 5.25 x 11-inch piece of double-sided pattern paper. Use a scoring board to score at 2.5, 6.25, 7.5, and 8.75 inches
Assemble the Card Base
With the outer side of the paper face down, fold up at a 2.5-inch score line and 6.25-inch score line (valley folds). Fold back on a 7.5-inch scoreline (mountain fold) and then fold up on an 8.75-inch scoreline (valley fold).
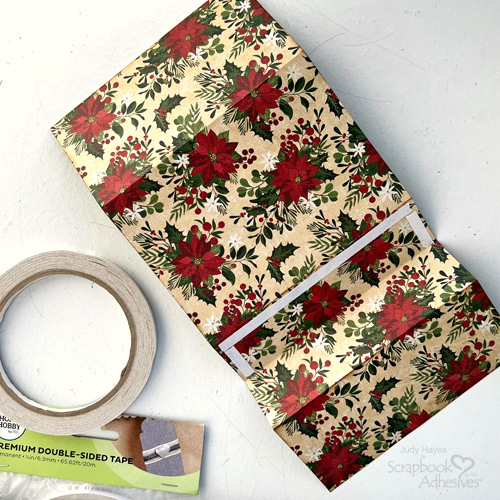
On the back side of the paper, apply Premium Double-Sided Tape 1/4in. along the 6.25-inch fold and at the ends between folds. This will form a stand-up pocket for the gift card.
Create a Card Pocket Opening

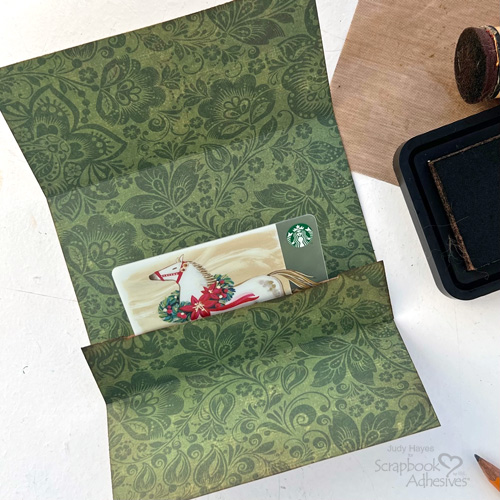
Measure and mark about .75 inches from each end of top edge of gift card holder. Use scissors to cut away a narrow strip along the folded edge between marks. This will open a pocket for the gift card. Rub Distress Vintage Photo ink along the edges of the pocket and all edges of the card.
Stamp Greeting
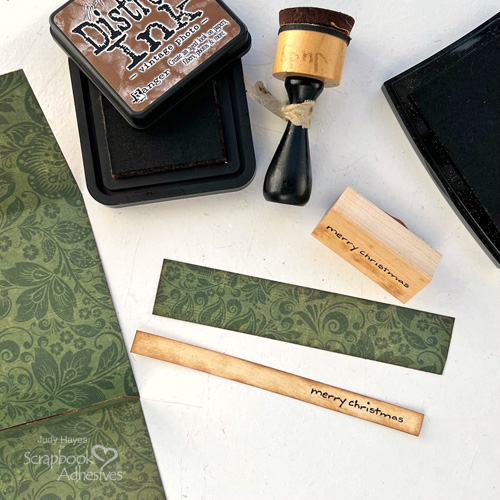
Cut a 0.375 x 5.25-inch strip of Balsa cardstock. Stamp Merry Christmas with black ink towards the right end. Apply Distress Vintage Photo ink along the edges and lightly over the strip.
Secure the Greeting and the Border
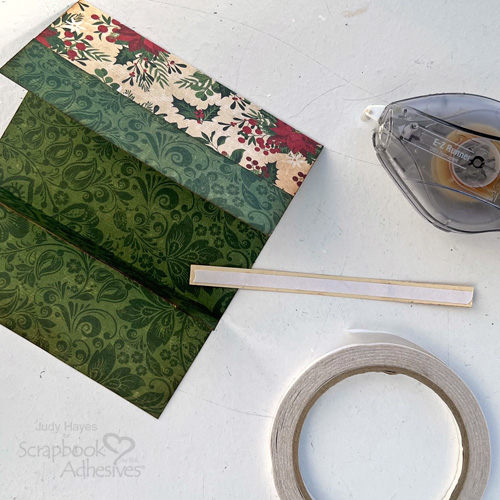
Cut 1 x 5.25 inch piece of green pattern paper. Apply adhesive to the back with E-Z Runner® Ultra Strong Refillable Dispenser and fasten along the front flap edge of the gift card holder. Apply Premium Double-Sided Tape 1/4in. to the back of the stamped greeting strip, peel the liner, and secure it across the green border.
A Sleeve Band
Cut a 2.25 x 8.25-inch piece of stripe paper. Rub Distress Vintage Photo ink on the edges.
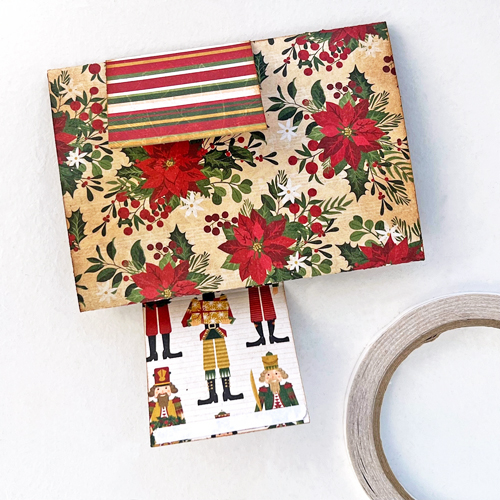
Place against closed card front and fold ends to back. Apply Premium Double-Sided Tape 1/4in. on the back of one edge, peel the liner, tape the ends, and press together.
Add Decorative Tag
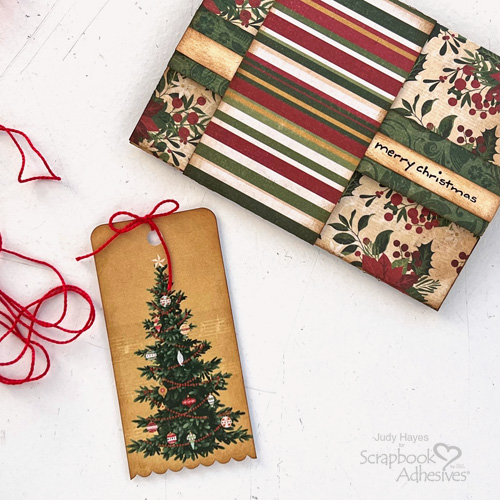
Ink edges of ephemera tag with Distress Vintage Photo ink. Thread red pearl cotton through the tag hole and tie a small bow.

Place Thin 3D Foam Squares White Mix on the back of the tag, peel the liners, and attach the tag to the sleeve band.
Simply slide the sleeve around the gift card holder to hold it closed and slide it off to open.
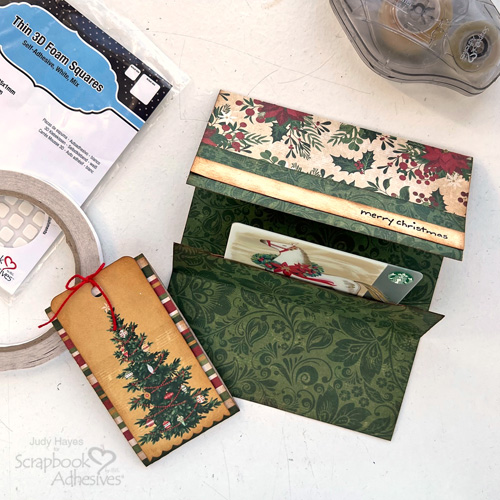
All ready to add a gift card for someone special!
Thanks for Visiting!
Judy Hayes
Creative Time: 20 mins
Skill Level: Beginner
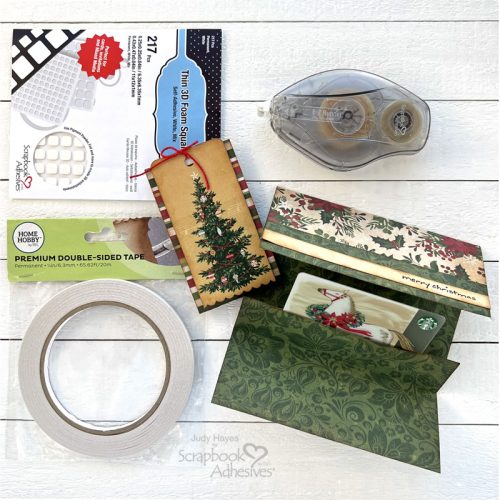
Materials Needed:
Scrapbook Adhesives by 3L®
E-Z Runner® Ultra Strong Refillable Dispenser
Thin 3D Foam Squares White Mix
HomeHobby™ by 3L
Premium Double-Sided Tape 1/4in.
Other: Papers, Stickers + Ephemera: PhotoPlay Christmas Memories (Poinsettia, Nutcracker, Die Cut Tags); Stamp: Rubber Soul (Merry Christmas); Ink: Ranger Ink (Distress Vintage Photo), Imagine Crafts/Tsukineko (Versafine Onyx Black Ink); Balsa Cardstock, Red Pearl Cotton
Click Preferred Retailers List
Save to Pinterest!
Visit our Website and Blog!
Sign up for our Newsletter so you never miss a contest or giveaway!


