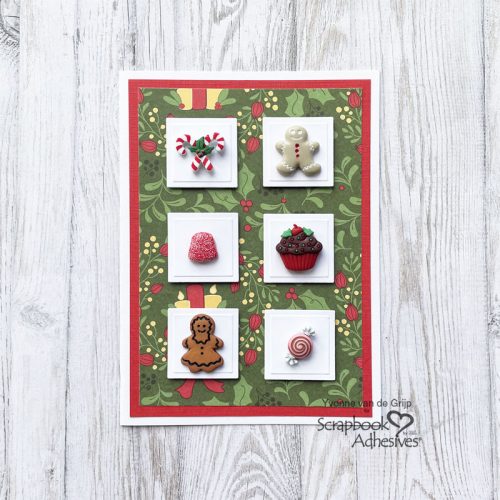
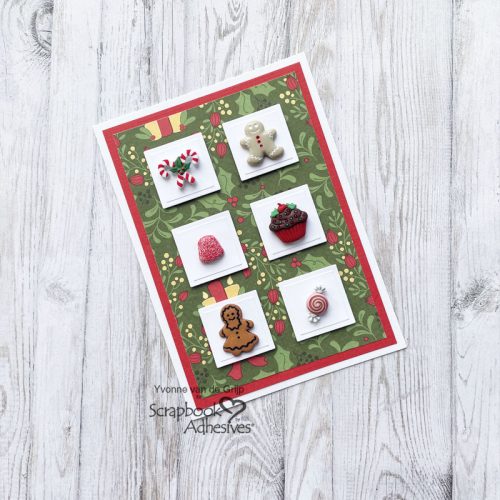
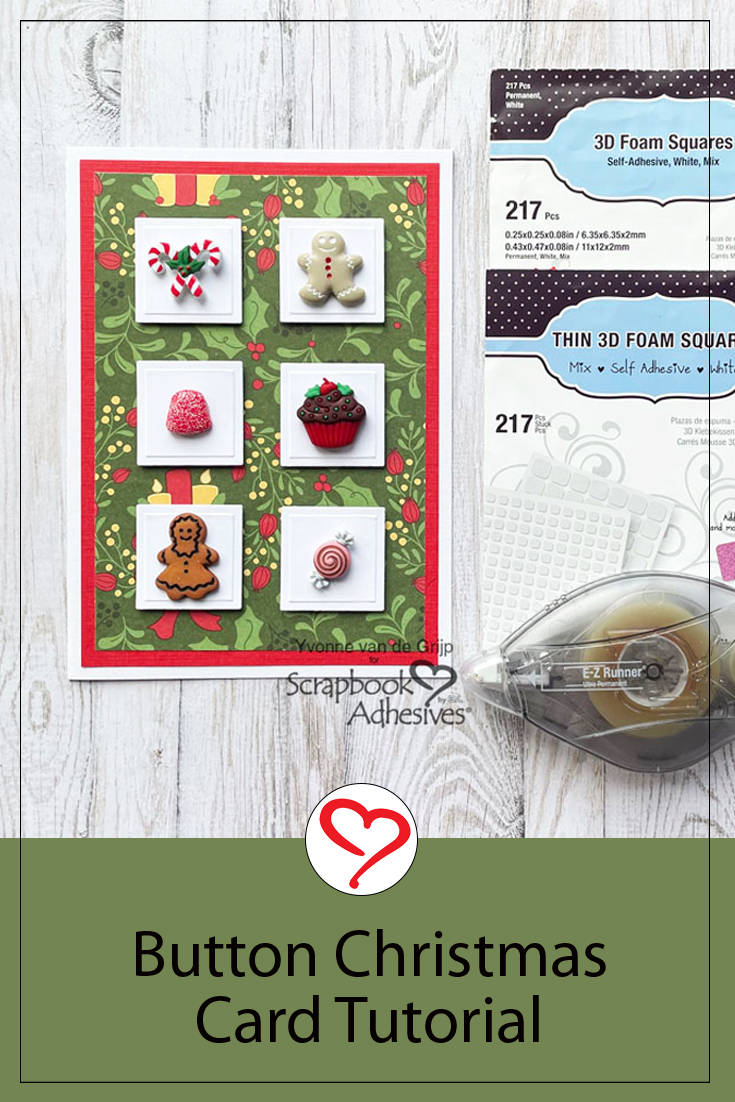
Hi everyone, with Christmas only a few days away, it’s time for some last-minute Christmas card inspiration so I made this Button Christmas Card. The great thing about this card is that it’s super easy and quick to create.
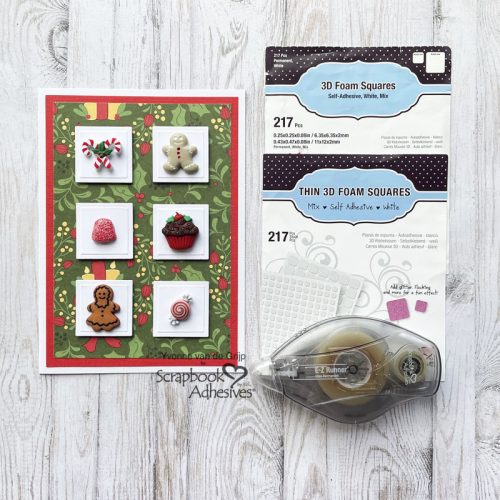
And… it’s so easy to create that it’s also suitable for beginning cardmakers. The eyecatcher of this card is….buttons! Shall we get started?
Top Card Panel
To create the top Card Panel of the Button Christmas Card start by die-cutting and embossing six small squares from white cardstock. Then adhere them to a piece of green patterned paper.
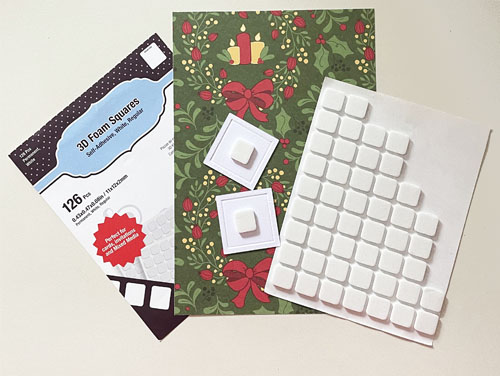
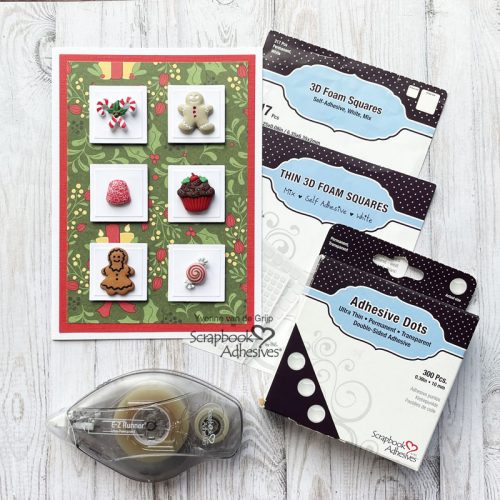
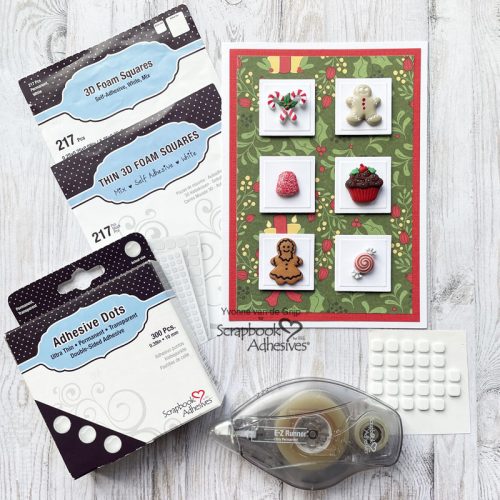
I used a ruler to line the squares perfectly. For a nice uplifting effect, I adhered the embossed squares onto the card panel using 3D Foam Squares White Mix.
Card Base
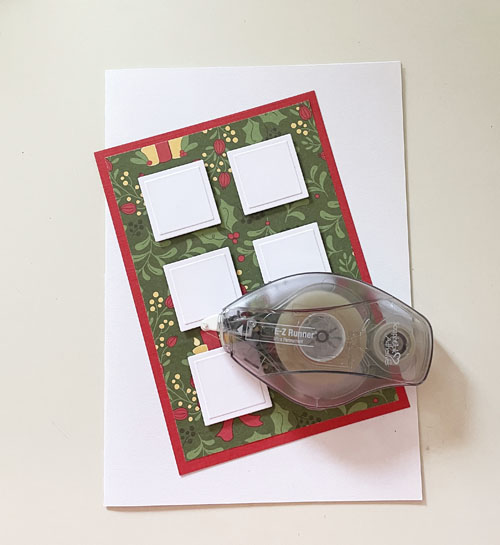
Adhere the top card panel onto a red card panel and next onto a white card base. To adhere the layers I used the E-Z Runner® Ultra Strong Refillable Dispenser.
Button Time
To dress the Button Christmas Card up I used….buttons! First I cut off the loops on the back using pliers and then adhered these gorgeous Christmas-themed buttons onto the white embossed squares using Adhesive Dots Medium Ultra Thin. Adhesive Dots is a great adhesive to adhere to all kinds of materials and it won’t leave any glue stains!
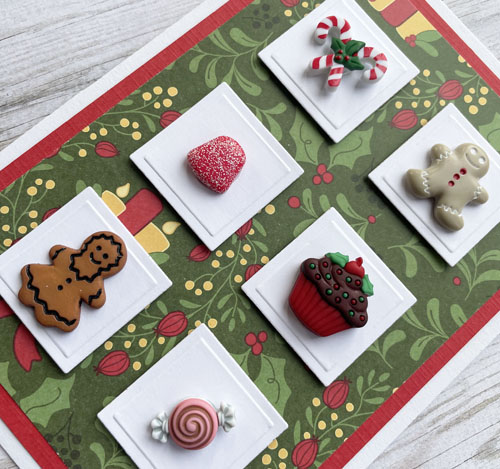
And voilá, your Button Christmas Card is ready. Super easy and quick to make! Wishing you a happy Christmas crafting!
Creative Time: 20 minutes
Skill Level: Beginner
Materials needed:
Scrapbook Adhesives by 3L®
E-Z Runner® Ultra Strong Refillable Dispenser
Adhesive Dots Medium Ultra Thin
Other
Etched Dies and Die-Cutting and Embossing Machine (Spellbinders Paper Arts®: Platinum 6 Machine; Nestabilities Classic Squares SM Etched Dies); Cardstock (White, Red); Patterned Paper (Dare2BeArtzy®: Home For the Holidays); Buttons (Buttons Galore & More: Gingerbread Novelty Button Assortment); Pliers; Scissors; Paper Trimmer
Save to Pinterest!
Visit our Website and Blog!
Sign up for our Newsletter so you never miss a contest or giveaway!


