
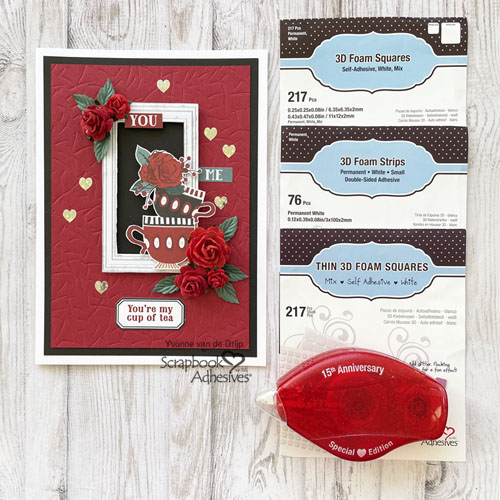
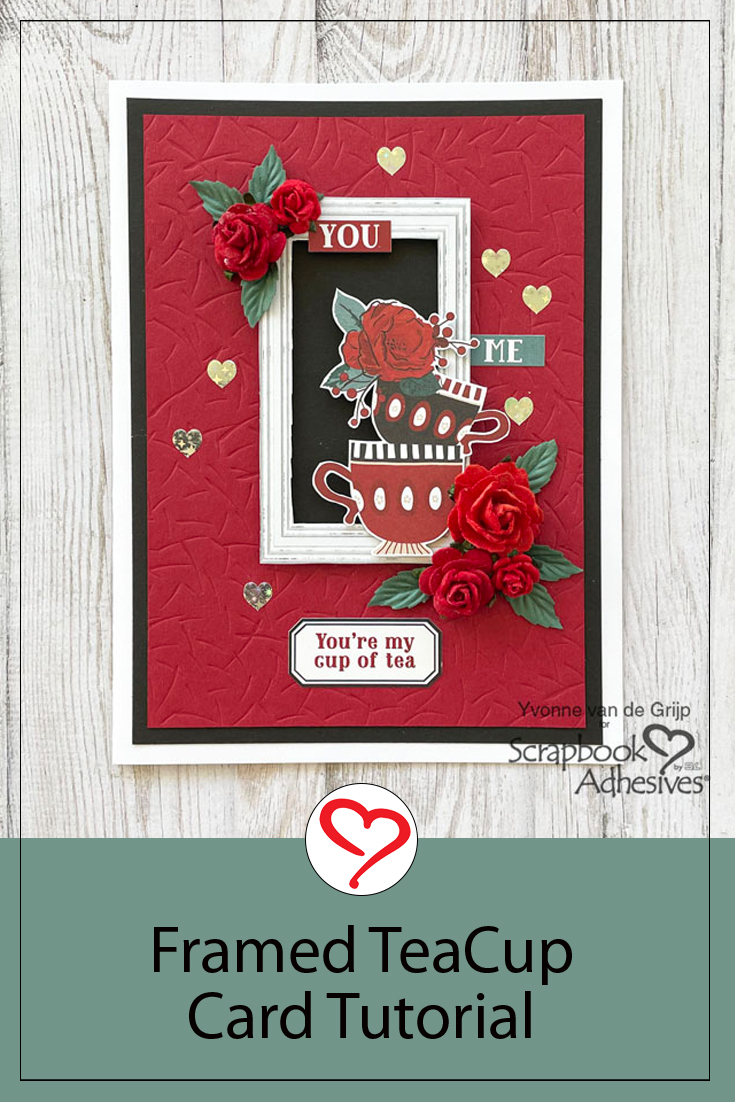
Hi everyone, Yvonne here with a Framed Teacup Card. The dimensional effect is easy to create with 3D Foam Strips and 3D Foam Squares White Mix.
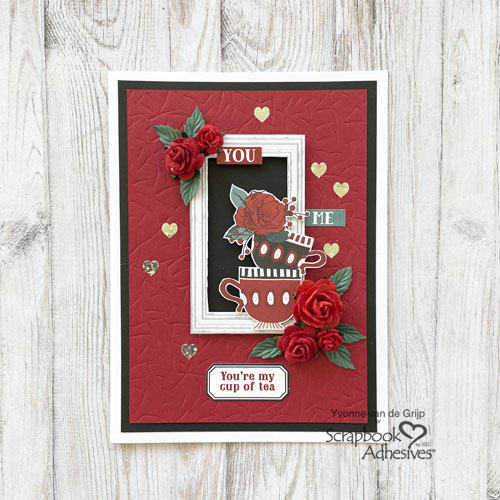
The cute little hearts add a lovely finishing touch to this card that expresses your appreciation for someone dear. Wanna join me?
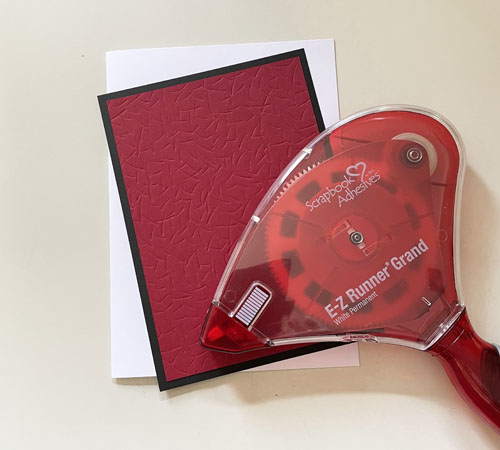
Framed Teacup Card Base
Create a white cardstock card base. Trim a piece of embossed burgundy cardstock and mat a black card panel. Next, add the layered card panel onto the card base using the E-Z Runner® Grand Refillable Dispenser.
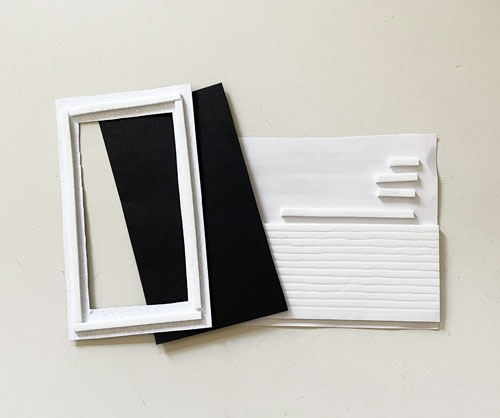
Dimensional Frame
Create a dimensional frame by cutting a frame design from a patterned paper, and placing 3D Foam Strips to the back of the frame. Center the frame on a black cardstock piece to fill the window.
Adhere the dimensional frame onto the layered card panel with the E-Z Runner® Grand Refillable Dispenser.
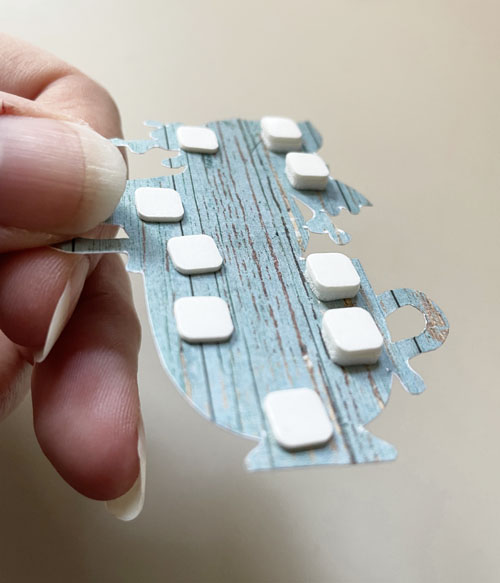
Teacups and Roses
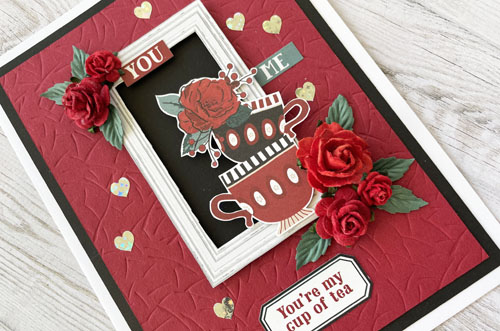
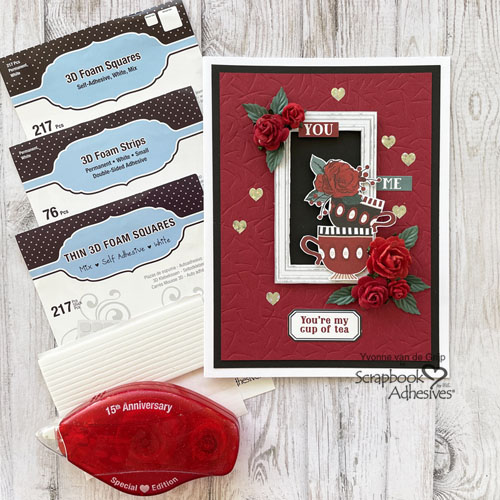
Cut the teacup designs from a patterned paper and adhere them to the dimensional frame. I stacked 3D Foam Squares White Mix and Thin 3D Foam Squares White Mix – see how pictured below.
Adhere some mulberry roses and leaves on the card using the Adhesive Dots Medium.
Wear Your Adhesive on the Outside with E-Z Runner Hearts
I created shiny heart accents using the Wear Your Adhesive on the Outside technique. This means taking adhesive from between layers and bringing them out as embellishments.
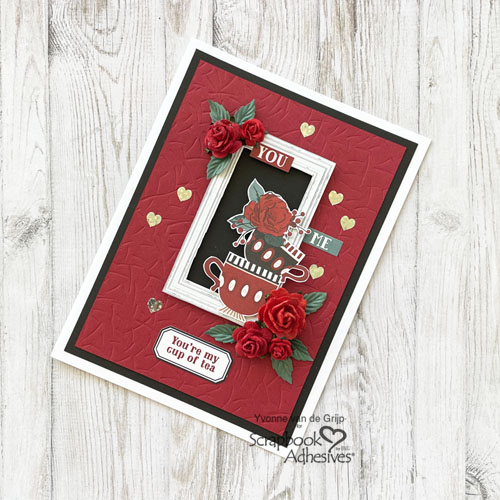
First, adhere some hearts from the E-Z Runner® Hearts Refillable Dispenser to the card front, and rub Metallic Transfer Foil Sheets Holographic over the hearts (foil color side facing you).
Lastly, I adhered a sticker sentiment and added other words to the card. And voilá, your Framed Teacup Card is ready. I hope you enjoyed this tutorial and wish you happy crafting!
Creative Time: 40 minutes
Skill Level: Intermediate
Materials needed:
Scrapbook Adhesives by 3L®
E-Z Runner® Grand Refillable Dispenser
Thin 3D Foam Squares White Mix
E-Z Runner® Hearts Refillable Dispenser
Metallic Transfer Foil Sheets Holographic
Other: Patterned Papers: Photoplay Paper (Our Friendship Collection Pack); Mulberry Flowers and Leaves; White, Black and Burgundy Cardstock; Tweezers; Scissors; Paper Trimmer
Save to Pinterest!
Visit our Website and Blog!
Sign up for our Newsletter so you never miss a contest or giveaway!


