
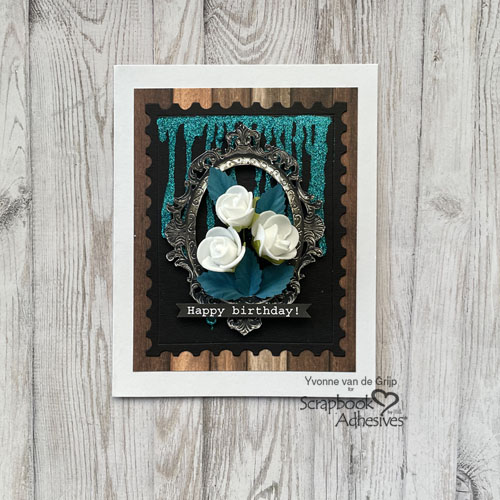
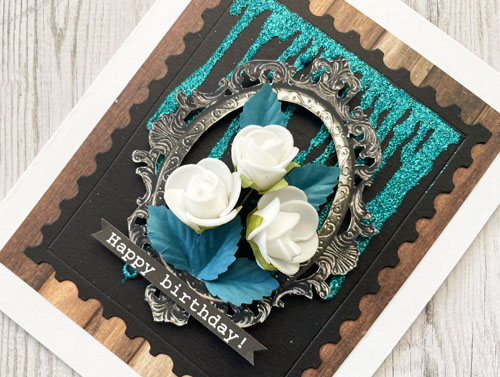
Hi everyone, Yvonne here sharing a Glitter Drip Birthday Card. I made this glitter drip element using the Wear Your Adhesive on the Outside technique.
Wanna join me in creating the card? Let’s get started!
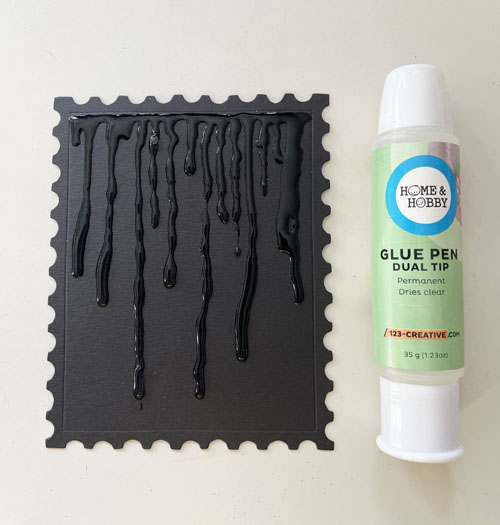
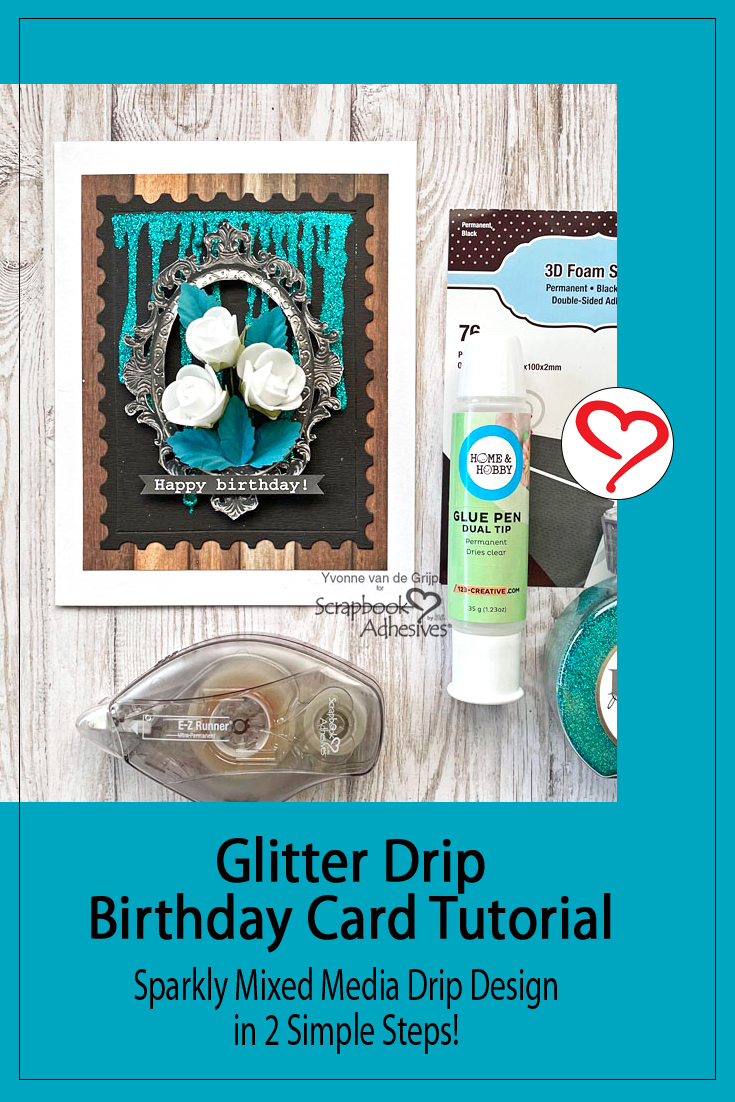
Glittered Drip Card Panel
Die-cut a postage-shaped card panel from black cardstock. Hold it upright and apply the Dual Tip Glue Pen from the panel’s top. Let the glue run down to create the drip effect.
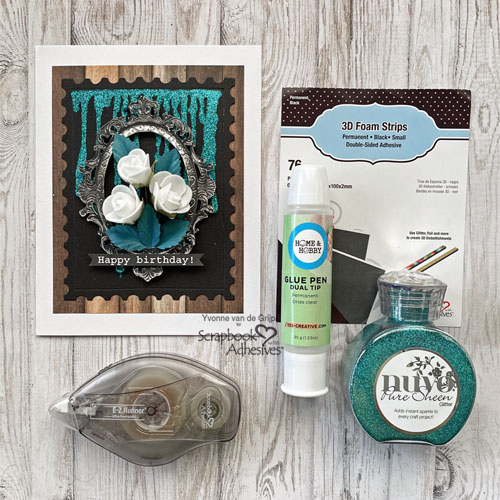
Next, cover the drip with sea blue glitter, and tap off the excess.
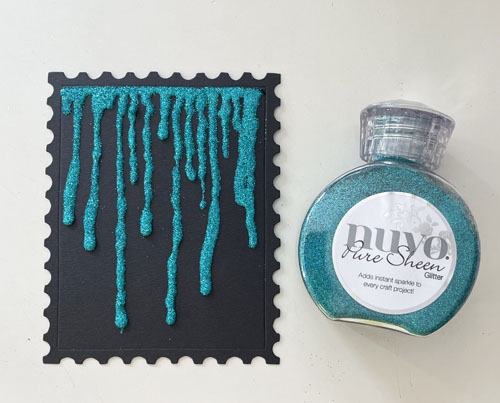
Set it aside to dry thoroughly. This technique of making your adhesive shine is called Wear Your Adhesive on the Outside.
Card Base
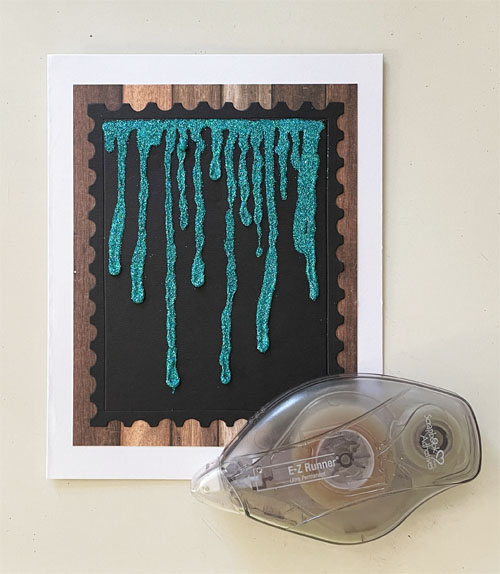
Once dried, mat the Glitter Drip card panel onto a piece of patterned paper using the E-Z Runner® Ultra Strong Refillable Dispenser. Using the same runner, adhere onto a white card base.
Add the Embellishments
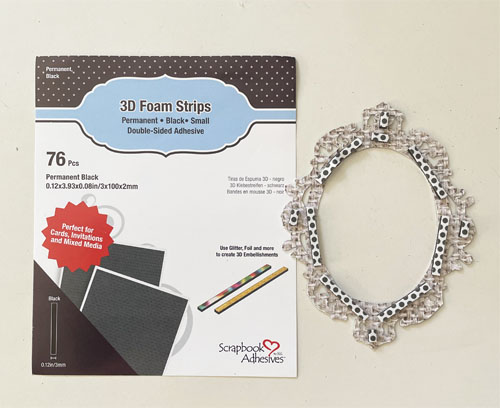
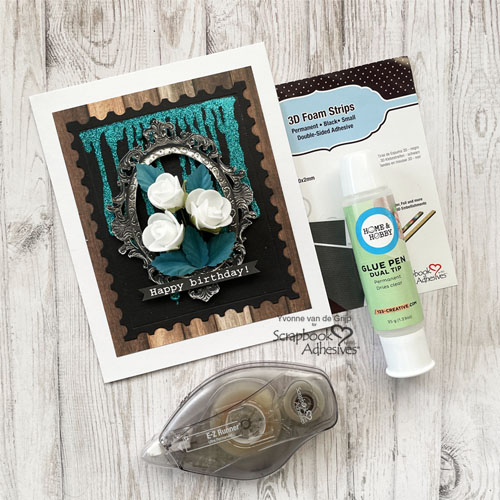
To anchor the embellishments, I used a beautiful frame. Using 3D Foam Strips Black, I lifted the frame on the card front. These strips are 1/8″ in width and are perfect for those narrow areas of an element.
The Dual Tip Glue Pen was used to adhere foam flowers and mulberry leaves inside the frame. Finally, I secured a sentiment banner with 3D Foam Strips Black.
Voilá, your Glitter Drip Birthday Card is ready. Wishing you happy crafting!
Creative Time: 40 minutes
Skill Level: Intermediate
Materials needed:
Scrapbook Adhesives by 3L®
E-Z Runner® Ultra Strong Refillable Dispenser
HomeHobby™ by 3L
Other
Cardstock (White, Black); Die-Cutting and Embossing Machine (Spellbinders® Paper Arts: Platinum 6 Machine); Etched Dies (Sizzix: Tim Holtz Bigz: Postage Stamp Frame); Patterned Paper (Piatek: Soul Mate Paper Pad); Frame (Mintay Papers: Frame Book); Glitter (Nuvo®: Pure Sheen Glitter Turquoise); Foam Flowers, Mulberry Leaves; Printed Sentiment; Scissors; Paper Trimmer
Save to Pinterest!
Visit our Website and Blog!
Sign up for our Newsletter so you never miss a contest or giveaway!


