Hi, everyone! Do you like to make your inky background papers for handmade cards? Teri here to show you how to pull off a fun DIY Ink Resist Technique with the Dual Tip Glue Pen!
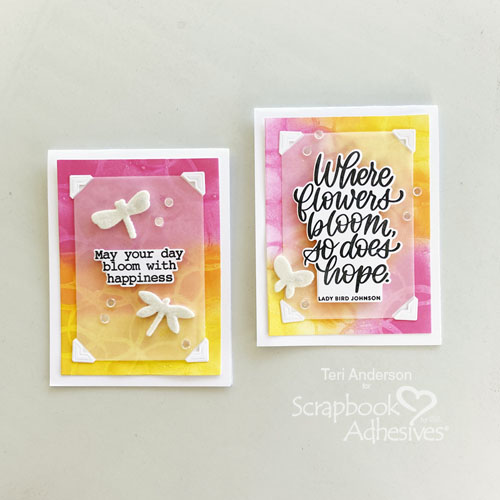
Ink Resist Technique Starts with Glue Circles
You’ll want to start with a card panel of cardstock. I suggest creating a couple of panels so you can make multiple backgrounds at one time.
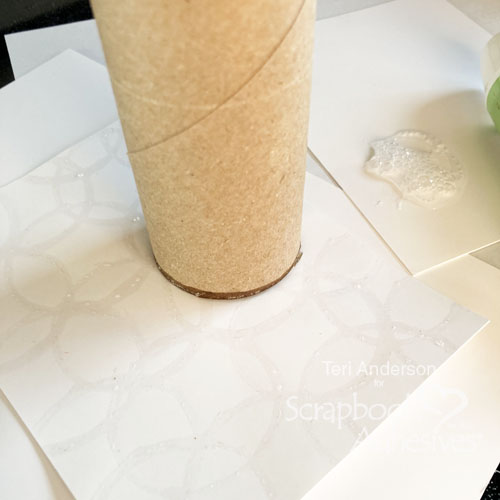
Squirt Dual Tip Glue Pen onto a scrap piece of paper. Use the end of a paper towel core to pick up the glue and stamp it on the card panel. Repeat this process until you get the desired pattern. Let the panel dry overnight.
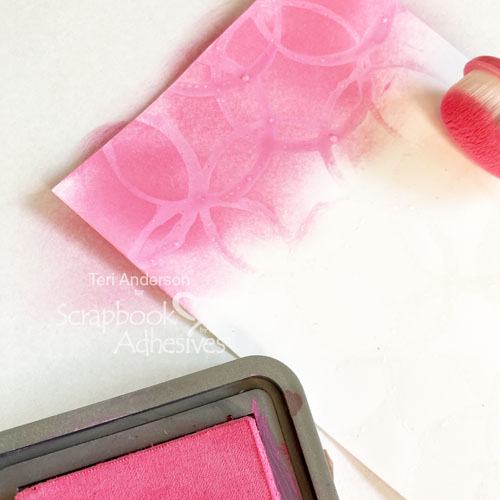
Adding Inks
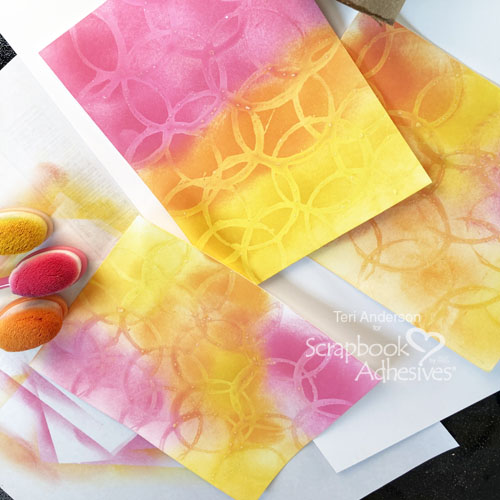
Once the panel is dry, blend ink onto it. You can add as many ink colors as you want. Be sure to apply a lot of ink so your stamping shows up.
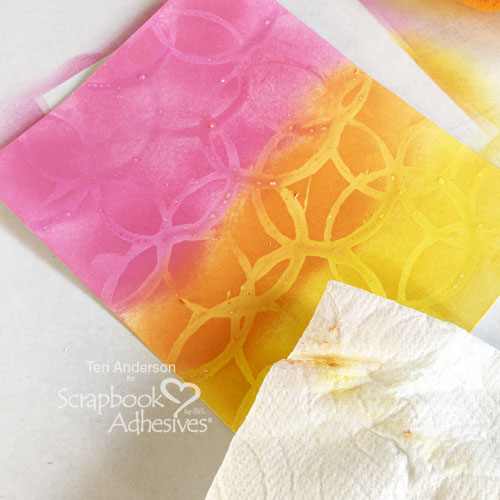
When your panel is covered with ink, take a paper towel or dry rag and rub over the panel. Buff off any ink that is left on the glue design!
Layers for The Card Front
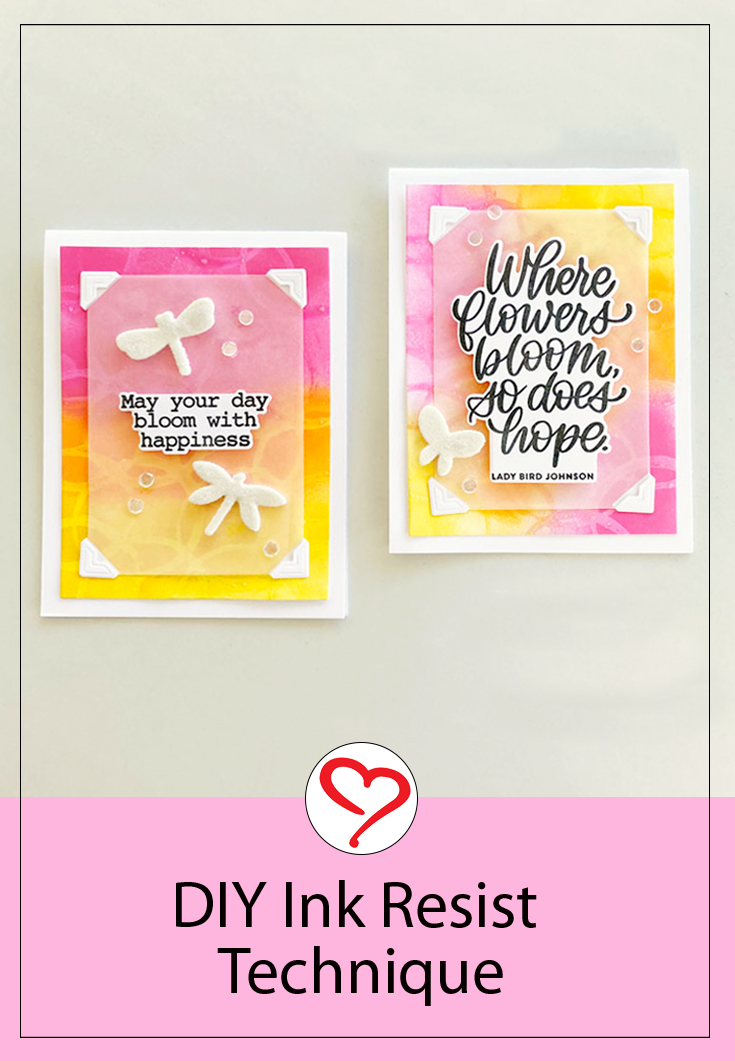
Adhere the ink resist card panel to the card base with the E-Z Runner® Permanent Strips Refillable Dispenser. Next, cut a panel of vellum to fit onto the card front. For accent, we are using the Creative Photo Corners White. First, snip off the bottom of four Creative Photo Corners with scissors and place the corners on each corner of the vellum panel.
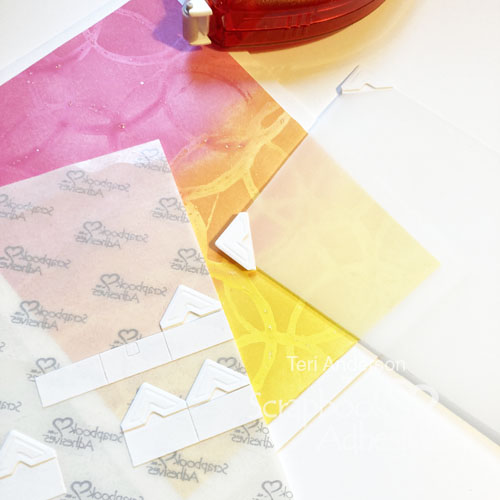
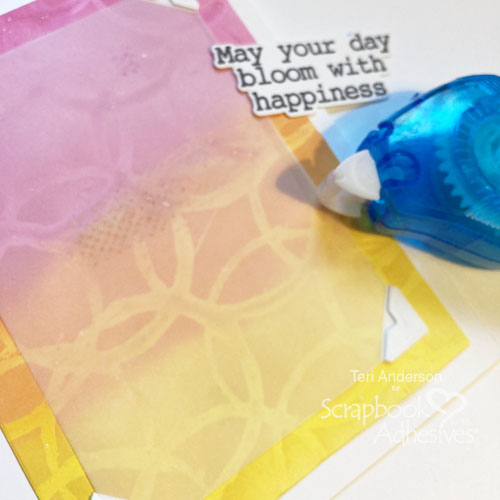
Apply E-Z Runner® Petite Permanent Dots Refillable Dispenser onto your card front so the vellum stays put. Then add the vellum to the card front.
The Sentiment
Stamp and die-cut a sentiment from cardstock. I like to apply 3D Foam to the back of my sentiments for interest and to stand out. I used the 3D Foam Strips for this Ink Resist Card because they are long and thin. Use one or several at a time, and you can cut them with scissors to make them smaller.
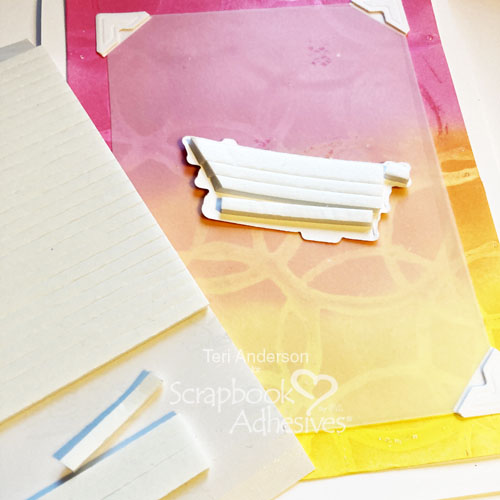
Embellish your card by adding a 3D Foam Shape (or two) and cover them with foil like our Metallic Transfer Foil, flock, glitter, and others. I used flock material for a soft look. Remove the top liner, cover with the flock, press to secure, and tap off excess. Done!
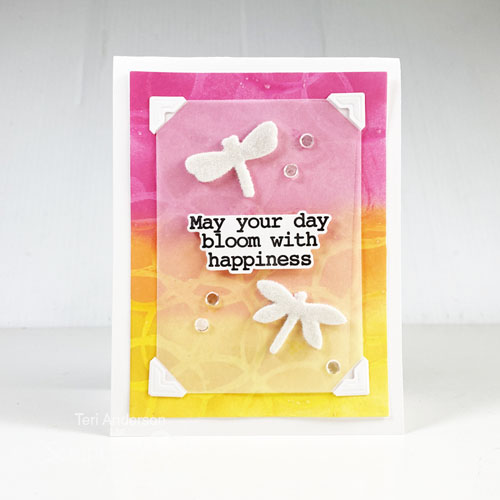
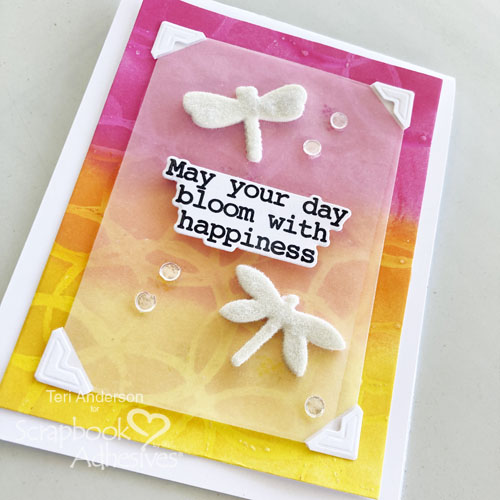
Complete your card by adding a few sequins or gems to it.
Variation From the First Card
Using this resist technique, you can make all kinds of backgrounds. Each one can be used to create a unique card. This card was made the same way as the first. The only difference is I applied the ink more randomly over the stamped circle.
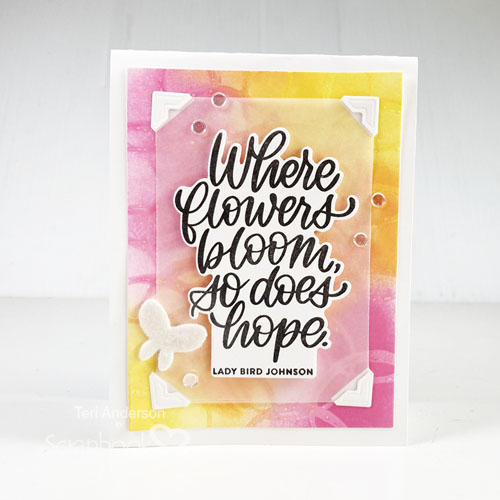
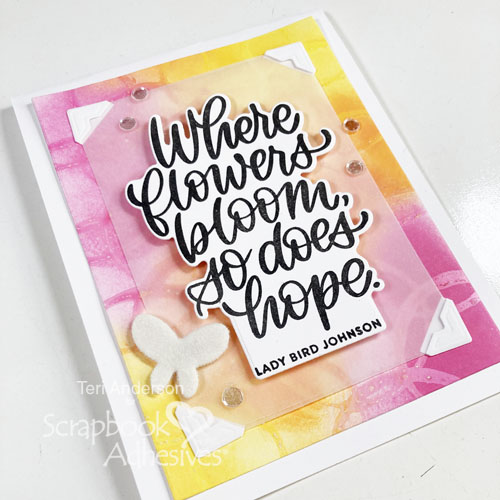
I hope you are inspired to give this Ink Resist technique a try! Let me know if you do!
Happy Creating!
Creative Time: 60 mins
Skill Level: Intermediate
Materials Needed:
Scrapbook Adhesives by 3L®
E-Z Runner® Permanent Strips Refillable Dispenser
E-Z Runner® Petite Permanent Dots Refillable Dispenser
Home Hobby by 3L®
Dual Tip Glue Pen
Other: Cardstock and Vellum: Neenah; Stamps: Simon Says Stamp (XL Spring Greetings Stamp Set); Dies: Hero Arts (Infinity Rectangles); Ink: Ranger Ink (Black, Pink, Orange, Yellow); Sequins: Pretty Pink Posh; Flock: Stampendous; Paper Towel Tube
Save to Pinterest!
Visit our Website and Blog!
Sign up for our Newsletter so you never miss a contest or giveaway!


