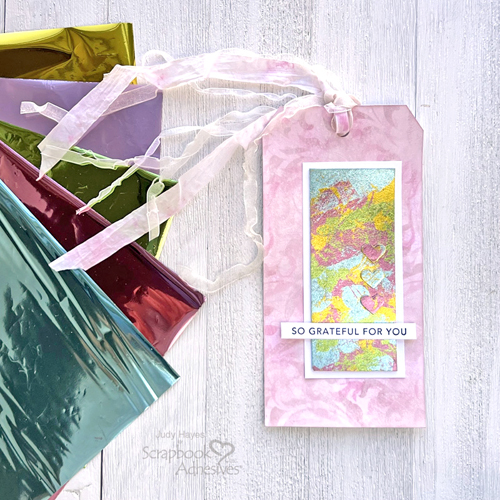
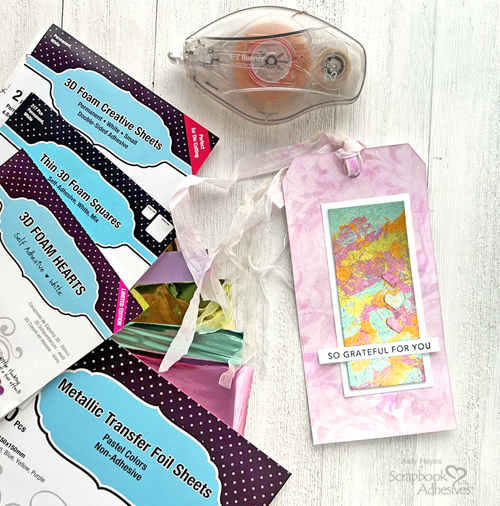
Hi, Judy here today! I had fun using leftover Metallic Foil Sheets from Metallic Transfer Foil Sheets Pastel Colors and 3D Foam Creative Sheets Small White to make a Grateful Tag with Metallic Panel. No two backgrounds turn out the same! A similar effect can also be created with fresh foil sheets by dabbing assorted foils in random areas until the panel is covered.
Grateful Tag Inked Background
Lightly apply Distress Oxide Kitsch Flamingo ink through a flourish stencil with a sponge applicator. Move the stencil and repeat until you get your desired look. Next, repeat the step in a few areas with Distress Oxide ink Victorian Velvet.
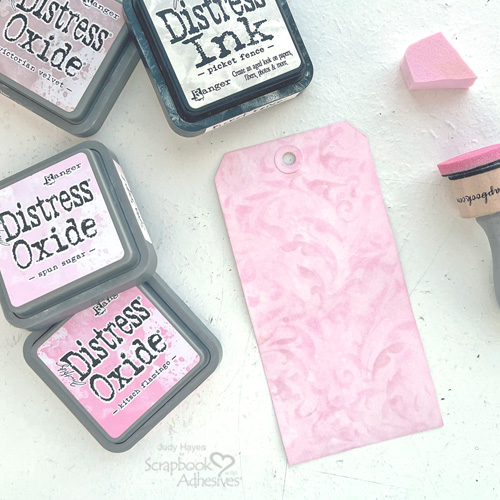
Remove the stencil and rub Distress Oxide Spun Sugar ink over the entire tag. Use a sponge applicator to apply Distress Picket Fence ink over areas of the tag. Lightly mist with water and set aside.
Make the Metallic Panel
Cut a piece of white cardstock to 1.875 x 4.25 inches. Next, cut a piece of 3D Foam Creative Sheets Small White to 1.625 X 3.875 inches, peel the liner off, and attach it centered on the white cardstock.
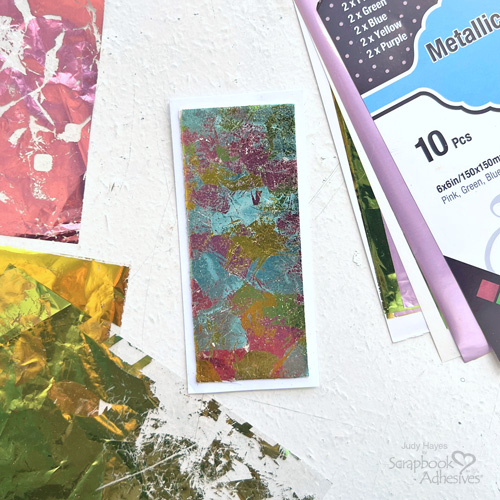
Gather used pieces of Metallic Transfer Foil Sheets Pastel Colors. Partially peel back the liner on the 3D Foam Creative Sheets Small White, lightly press the foil on the adhesive, and peel off. Then apply another color overlapping previously foiled areas to fill all spaces. Repeat with different colors until the entire panel is covered. Lastly, apply adhesive on the back with the E-Z Runner® Ultra Strong Refillable Dispenser and attach it to the tag front.
Stamp and Place the Verse
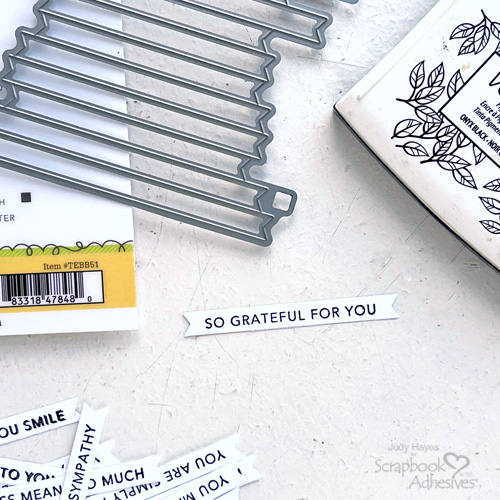
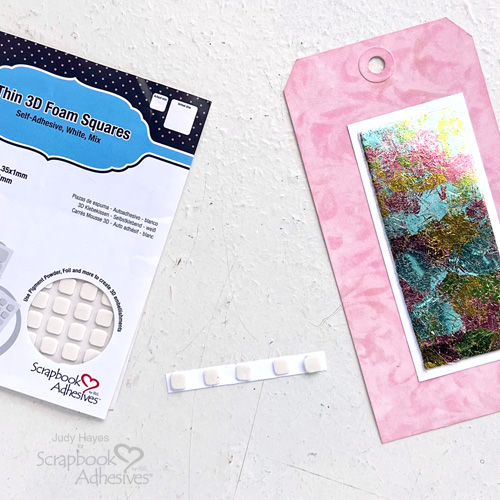
Stamp verse with black ink and die-cut into a strip with its coordinating die. Cut off points at the ends. Place the smaller squares from the Thin 3D Foam Squares White Mix on the back of the verse strip. At each end of the strip, stack two of the smaller squares from the Thin 3D Foam Squares White Mix. Peel off the liners and secure the verse across the foil background.
Add 3D Foam Heart Accents
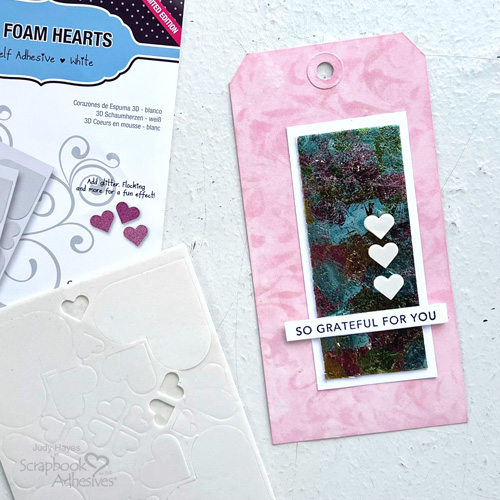
Attach three small hearts from the 3D Foam Hearts vertically above the verse.
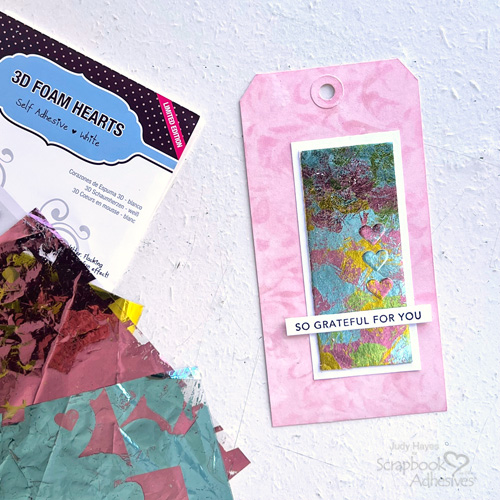
Peel off the liner from one heart and apply assorted colors from the leftover Metallic Foil. Repeat the same process for each of the hearts.
Prepping and Adding the Ribbons
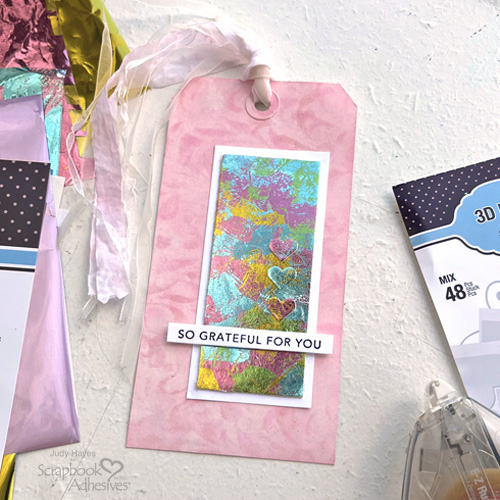
Randomly sponge on Distress Oxide Spun Sugar ink on white seam binding (or ribbon), and mist with water. Crumple and roll in your hands. Allow to dry or dry with a heating tool. Also, use a heating tool to make sheer ribbons crinkle. Loop the ribbons and thread through the opening of the tag. Trim ends.
Thanks for stopping by!
Judy Hayes
Creative Time: 30 mins
Skill Level: Beginner
Materials Needed:
Scrapbook Adhesives by 3L®
E-Z Runner® Ultra Strong Refillable Dispenser
Thin 3D Foam Squares White Mix
3D Foam Creative Sheets Small White
Metallic Transfer Foil Sheets Pastel Colors
Other: Stamp and Dies: Taylored Expressions (Simple Strips Background Stamp and Simple Strips Die); Inks: Tsukineko (Versafine Onyx Black) and Ranger Ink (Distress Oxide Ink in Spun Sugar, Kitsch Flamingo, and Victorian Velvet, and Distress Ink in Picket Fence); #8 White Tag; White Cardstock; Assorted Ribbons
Click Preferred Retailers List
Save to Pinterest!
Visit our Website and Blog!
Sign up for our Newsletter so you never miss a contest or giveaway!


