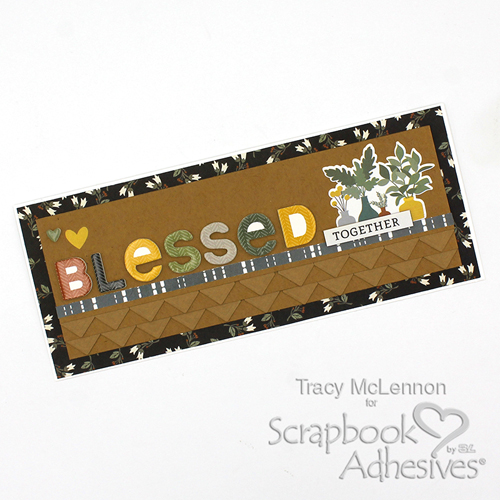
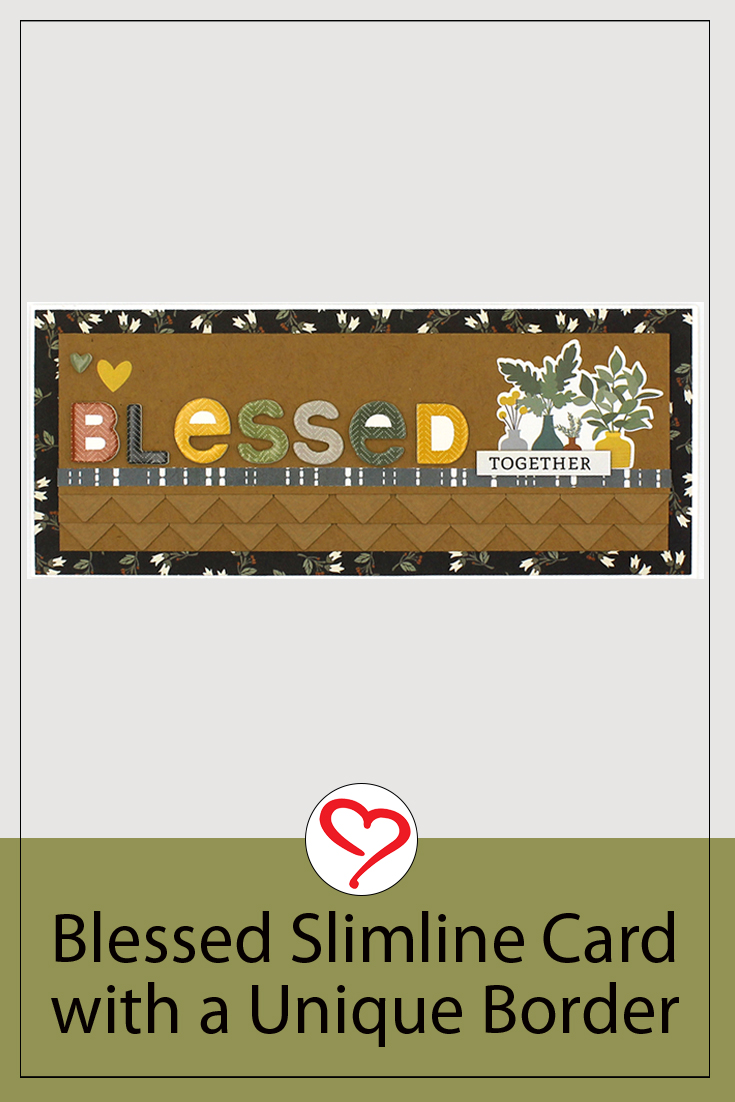
Hello crafty friends! Tracy here and today I have a fun yet simple little tutorial to share on how to create this photo corner border. This layered border adds dimension without too much thickness to your project. Here are all of the crafty details.

Photo Corner Border Layers and Design
Firstly, cut your layers to create this photo corner border slimline card. The card base is a piece of 7 x 8.5-inch white cardstock folded in half. The next layer is a piece of patterned paper cut to 3.25 x 8.25 inches. Then a layer of kraft cardstock was cut to 2.75 x 7.75 inches.

Cut additional layers of kraft cardstock that are 2.25 x 7.75 inches and 1.75 x 7.75 inches. Add Creative Photo Corners Kraft along the bottom edge of both larger pieces of kraft cardstock. Leaving the top smallest layer of kraft cardstock blank for now.

Add a nice little narrow strip of the blue patterned paper to that top layer of the photo corner border card using the E-Z Runner® Micro Refillable Dispenser. Adhere all the card layers so far together also using the E-Z Runner® Micro Refillable Dispenser. Add the foam sticker sentiment above the border strip.

Add a few more simple embellishments to the card. Stickers directly to the background and the “together” sentiment using Thin 3D Foam Squares Black Mix for a subtle dimension. The thin foam squares have a height of 1/32″ (half of 1/16″ which is the height of our regular foam squares).


I hope you enjoyed the Photo Corner Border ideas. Give it a try on your next card creation. Thanks so much for stopping by!
Tracy
Creative Time: 30 mins
Skill Level: Beginner
Materials Needed:
Scrapbook Adhesives by 3L®
Thin 3D Foam Squares Black Mix
Creative Photo Corners Kraft
E-Z Runner® Micro Refillable Dispenser
Other: Cardstock (White; Kraft); Simple Stories Hearth and Home Collection
Save to Pinterest!

Visit our Website and Blog!
Sign up for our Newsletter so you never miss a contest or giveaway!


