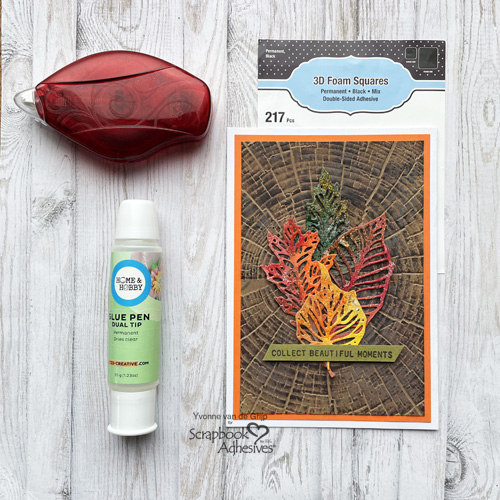
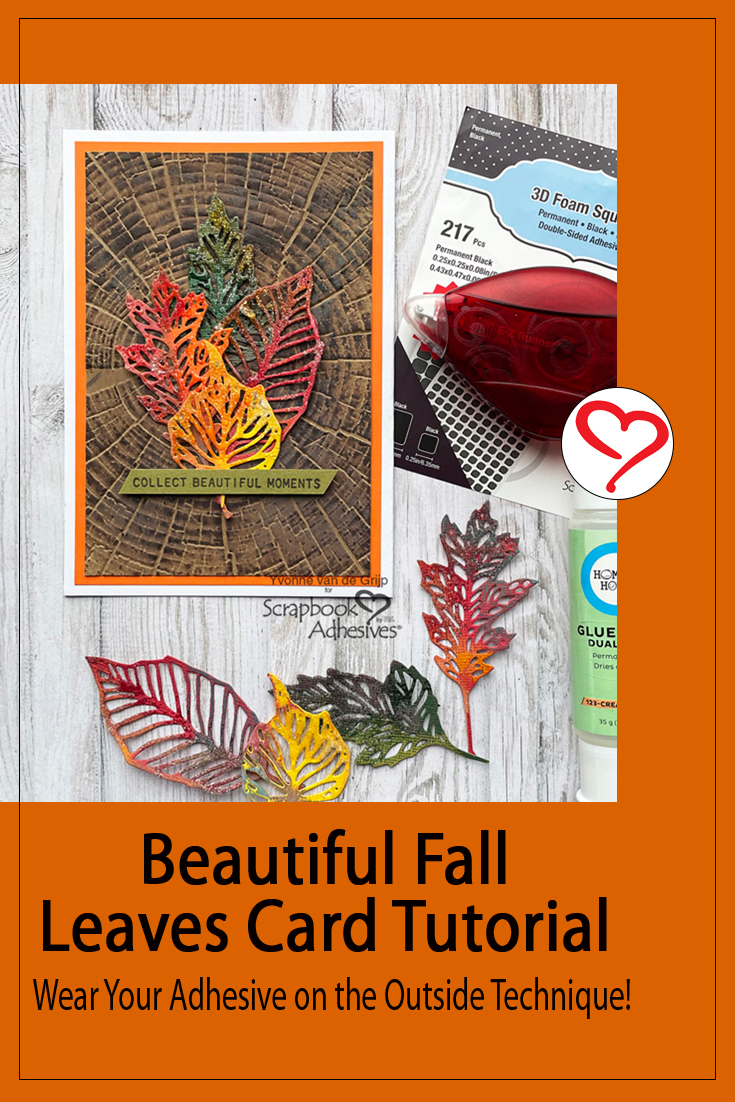
Hi everyone, Yvonne here is a seasonal card. Days are getting colder and the trees start falling leaves in beautiful autumn colors. This was the inspiration for my Beautiful Fall Leaves Card.
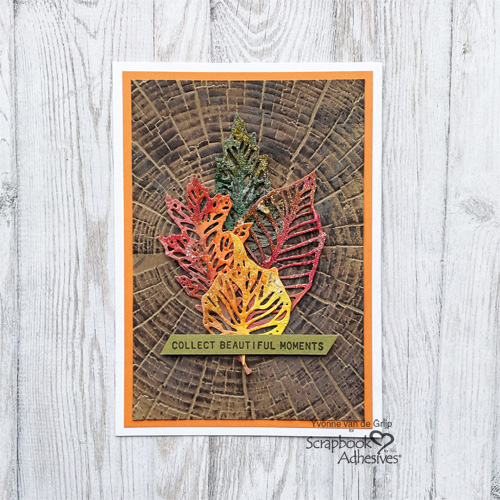
To make the leaves look frosty, I used a technique called Wear Your Adhesive on the Outside. I would love to share how I made my card with you. Would you like to join me?
Fall Leaves Card Panel
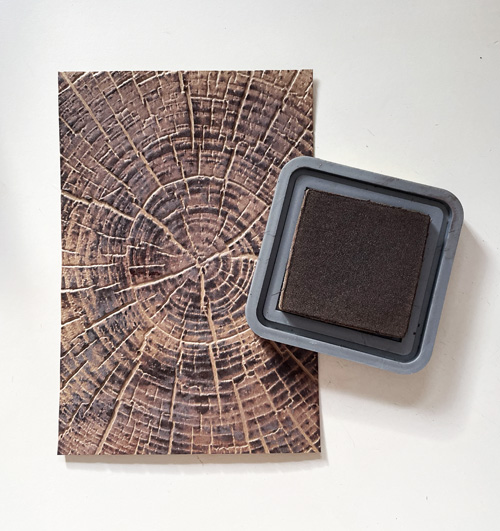
Start by putting a piece of kraft cardstock between an embossing folder with a tree ring pattern and then running it through your die-cut embossing machine. Then, trim the embossed cardstock to a rectangular size. Next, use a dark brown inkpad and gently rub it over the embossed pattern.
Card Base Layers
To create the card base for the Frosty Fall Card adhere the embossed top card panel onto an orange card panel using the E-Z Runner® Permanent Strips Refillable Dispenser.
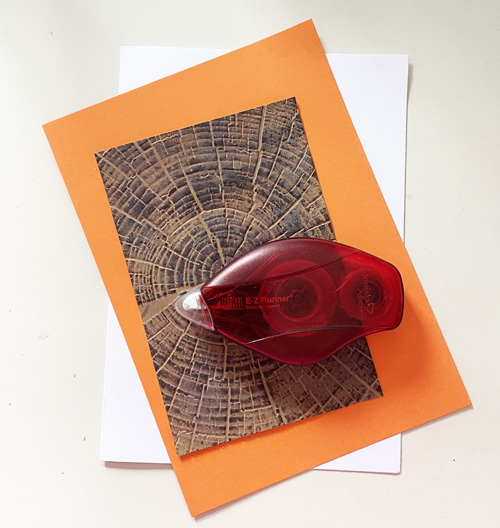
Next, adhere to a white card base and use the E-Z Runner® Permanent Strips Refillable Dispenser to affix.
Creating Frosty Leaves
First die-cut some leaves from green, orange, and red cardstock. To add fading colors to the leaves for your Frosty Fall card I colored the leaves in multiple shades with inkpads by simply rubbing red, dark yellow, brown, and olive green inkpads over the parts of the embossed leaves.
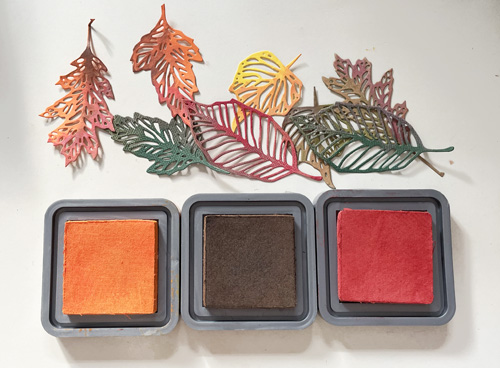
Let the ink dry. Next, apply some glue from the Dual Tip Glue Pen onto a piece of soft foam and dab the glue onto parts of the embossed leaves.
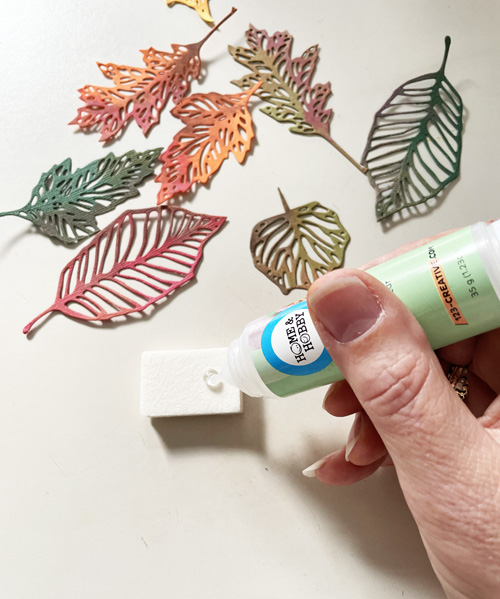
Then dip the leaves in a mix of clear embossing powder and transparent glitter while the glue is still wet. Next heat using a heating tool. This way the embossing powder melts and bonds the glitter. The result is a beautiful frosty effect. The technique for making your adhesive shine is called Wear Your Adhesive on the Outside.
Finishing the Card
Adhere the frosted leaves onto the card base using Adhesive Dots Micro for invisible adhering. For a finishing touch, I stamped a sentiment onto a piece of olive cardstock using a black ink pad. Then cut a banner from it using scissors. Then adhere the sentiment onto the card using 3D Foam Squares Black Mix.
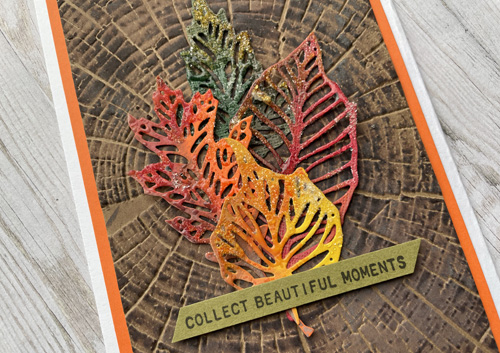
And voilá, your Frosty Fall Card is ready! I hope you enjoyed this tutorial and wish you a happy fall crafting!
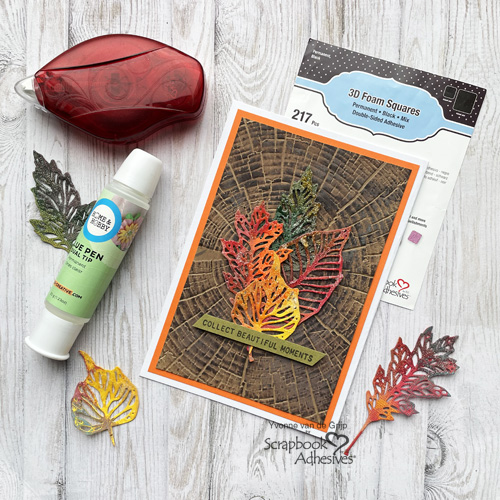
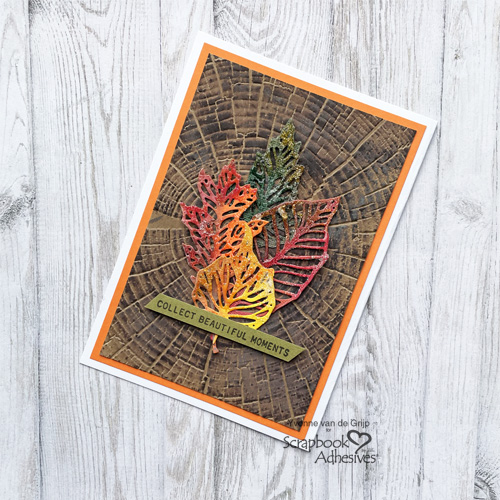
Creative Time: 45 minutes
Skill Level: Intermediate
Materials needed:
Scrapbook Adhesives by 3L®:
E-Z Runner® Permanent Strips Refillable Dispenser
HomeHobby™ by 3L:
Other:
Cardstock (White, Kraft, Dark Green, Olive Green, Red, Orange, Yellow); Die-Cutting and Embossing Machine (Spellbinders Paper Arts®: Platinum 6 Machine); Embossing Folder (Sizzix: 3-D Texture Fades™ Tim Holtz®: Tree Rings); Inkpads (Ranger: Distress® Oxide®: Ground Espresso, Spiced Marmalade, Lumberjack Plaid; Archival Ink™: Jet Black); Embossing powder and Glitter: Ranger: Ultra Thick Embossing Powder Clear; Tim Holtz® Distress Stickles™ Dry Glitter – Clear Rock Candy); Stamp (Stampers Anonymous: Tim Holtz®: Simple Sayings); Heat Tool; Paper Trimmer; Scissors
Save to Pinterest!
Visit our Website and Blog!
Sign up for our Newsletter so you never miss a contest or giveaway!


