
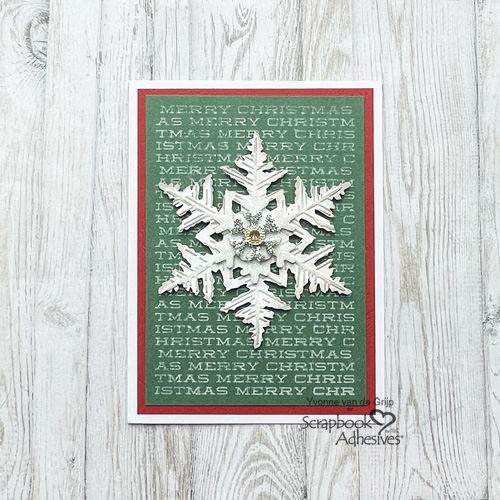
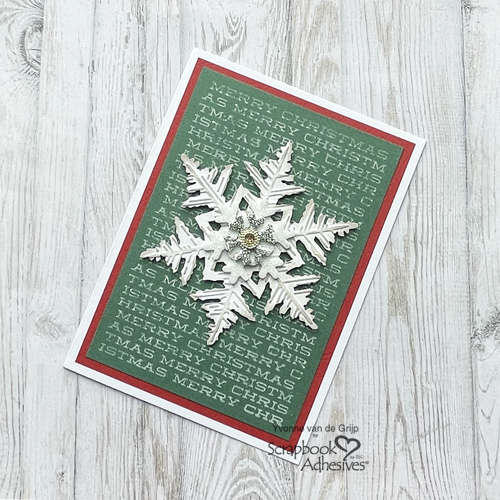
Hi everyone, Yvonne here with a Snowflake Christmas Card which can also be used as a menu card on your Christmas dinner table. I love making my adhesive shine using the Wear Your Adhesive on the Outside technique.
It’s such a quick and easy way to add that extra sparkle to your project. Would you like to join me in making this card? Let’s get started!
Christmas Snowflake Top Card Panel
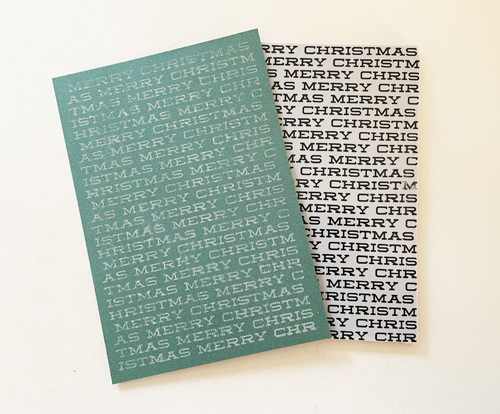
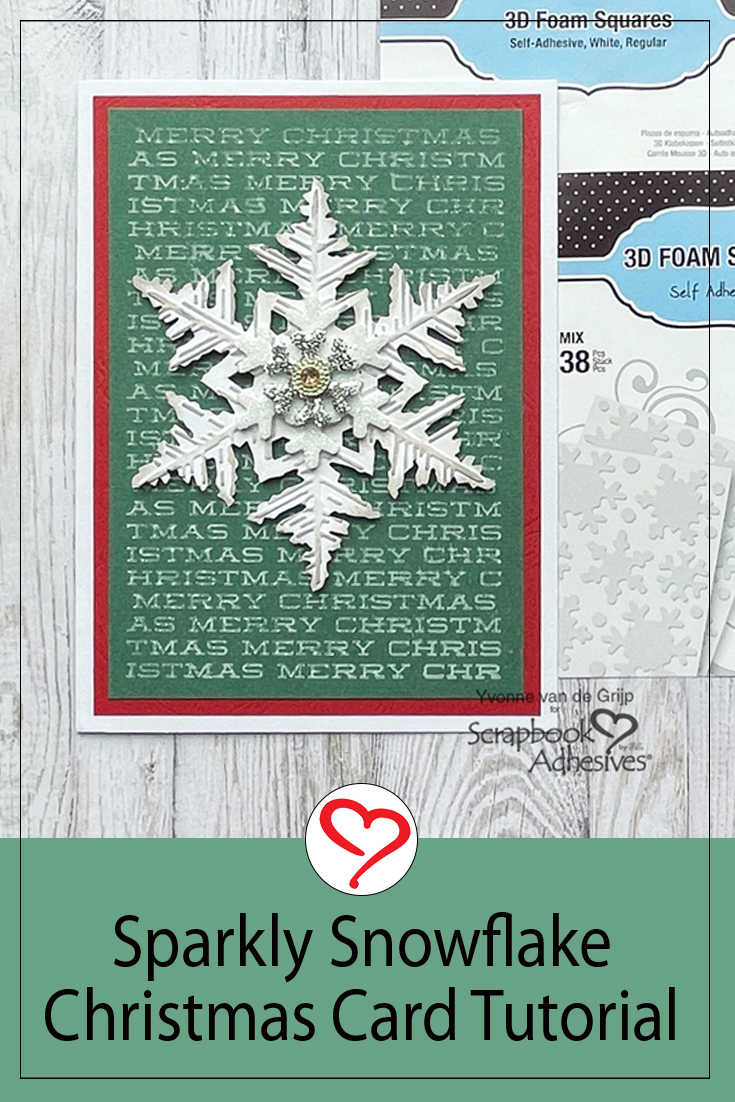
To make the top card panel, stamp a background text on dark green cardstock, using a chalk-soft green ink pad. I picked out this Merry Christmas text for a great background design! The ink color brings a soft and subtle look even with a bold stamp design. Let the ink dry.
Card Base
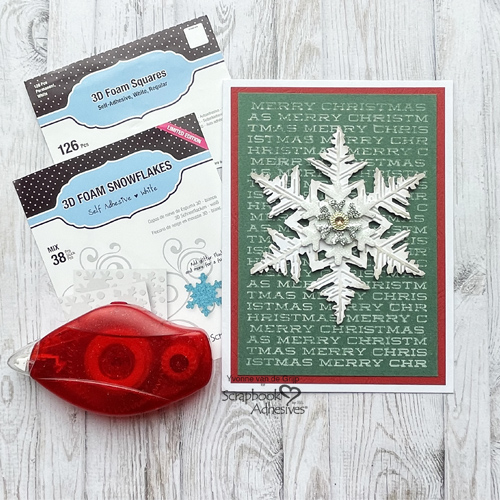
Trim the stamped card panel to a rectangular size. The stamp I used is slightly smaller than the trimmed card panel, but it leaves a nice plain border around it. Mat to a red card panel and then to a white card base. I used the E-Z Runner® Permanent Strips Refillable Dispenser to affix the layers of the Christmas Snowflake Card.
Snowflake fun
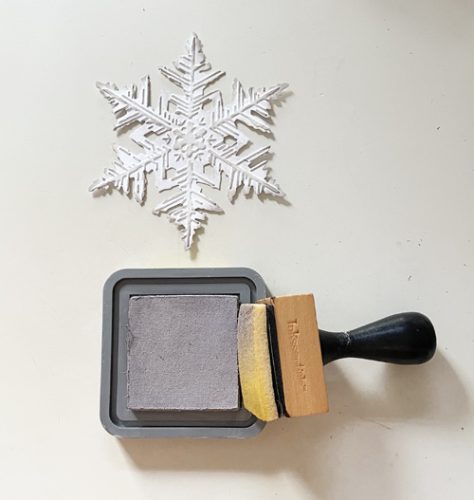
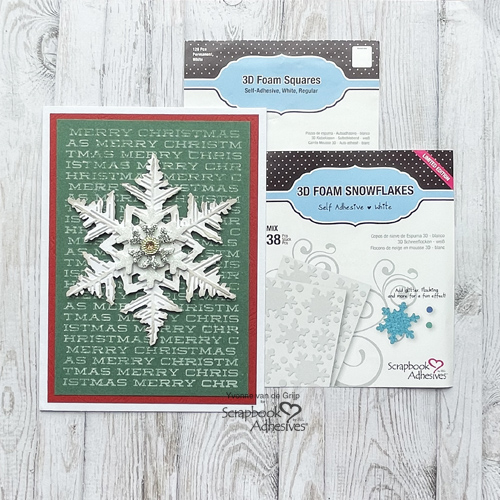
For the large snowflake, I used a die and embossing folder from white cardstock and highlighted the embossed areas with grey ink and an ink blending tool. Secure the snowflake to the card front of the Christmas Snowflake Card with 3D Foam Squares White Mix.
Wear Your Adhesive on the Outside
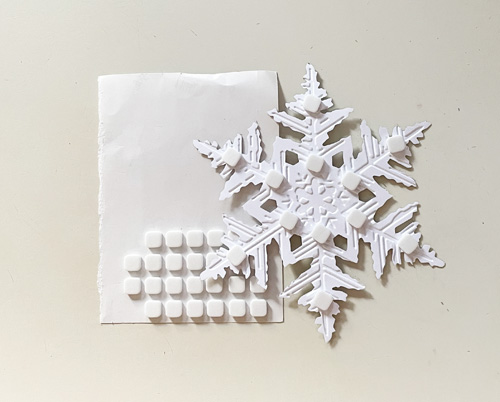
For a beautiful detail on the Snowflake Christmas Card, I centered a medium snowflake from the 3D Foam Snowflakes to the embossed snowflake. After removing the top liner, I covered it with white glitter, pressed into it to secure it, and tapped off the excess.
Next, I placed a small foam snowflake on top of the medium snowflake and repeated the glittering steps with silver glitter. The Wear Your Adhesive on the Outside technique brings your adhesives out between the layers and uses them as embellishments. It’s easy and fun to do!
For the finishing touch, add a self-adhesive rhinestone onto the centre of the snowflake. Tip: if you don’t have a nice rhinestone, you can also use a pretty button that can be attached to the snowflake using Adhesive Dots Medium.
And voilá, the Christmas Snowflake card is ready. I wish you a happy holiday crafting!
Creative Time: 25 minutes
Skill Level: Intermediate
Materials needed:
Scrapbook Adhesives by 3L®:
E-Z Runner® Permanent Strips Refillable Dispenser
Other: White, Red and Dark Green Cardstock; Die-Cutting and Embossing Machine (Spellbinders Paper Arts®: Platinum 6 Machine); Die & Embossing Folder (Sizzix®: Tim Holtz® Alterations: Layered Snowflake); Inks: Ranger Ink (Distress® Oxide®: Old Paper, Hickory Smoke); Ink Blending Tool; White and Silver Glitter; Rhinestone (Jolee’s Boutique®: Dual Tone Prizm Spinel); Paper Trimmer; Scissors
Save to Pinterest!
Visit our Website and Blog!
Sign up for our Newsletter so you never miss a contest or giveaway!


