
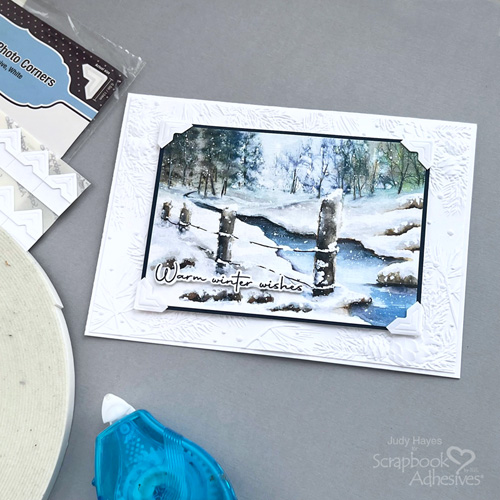
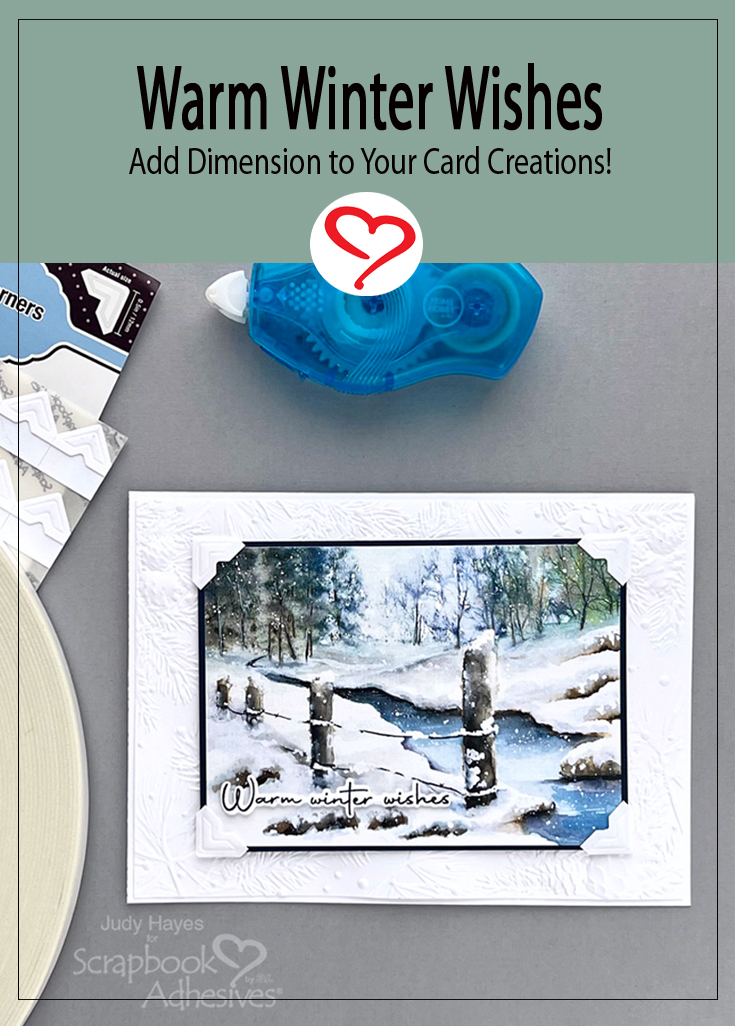
Hi, Judy here today! I used a printed winter scene card as inspiration to create this Textured Warm Winter Wishes Card. A simple white embossed background adds interest without taking away from the image. It’s a simple design that’s easy and quick to put together.

Card Parts
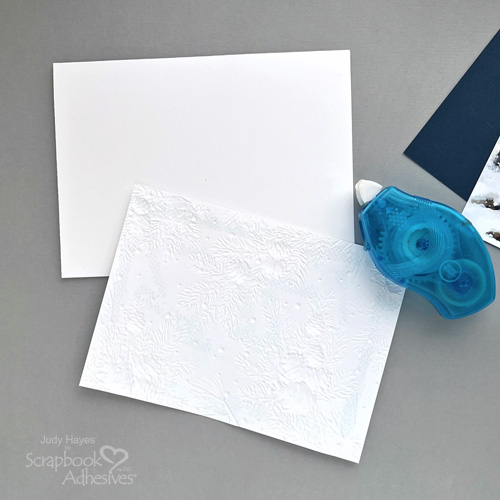
Cut white cardstock 6.25 x 9 inches, score and fold to form 4.5 x 6.25 inch card.
Cut navy cardstock 3.375 x 4.625 to use as mat for image card.
From white cardstock, cut 4.5 x 6.25 inch piece, place in embossing folder and use die cutting machine to emboss it. Then trim to 4.25 x 6 inches.
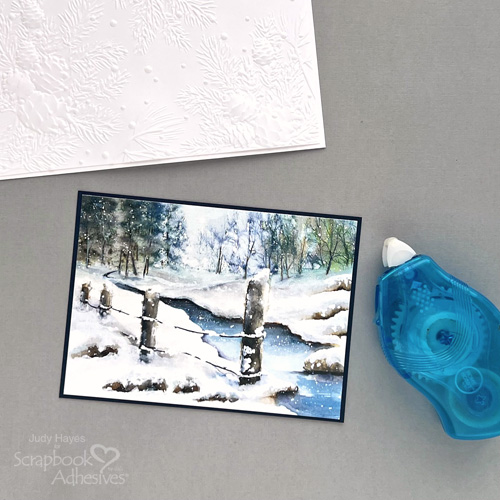
Fasten Embossed Panel
Use E-Z Runner® Petite Permanent Dots Refillable Dispenser to apply adhesive to the back of the embossed panel and place it to the card front.
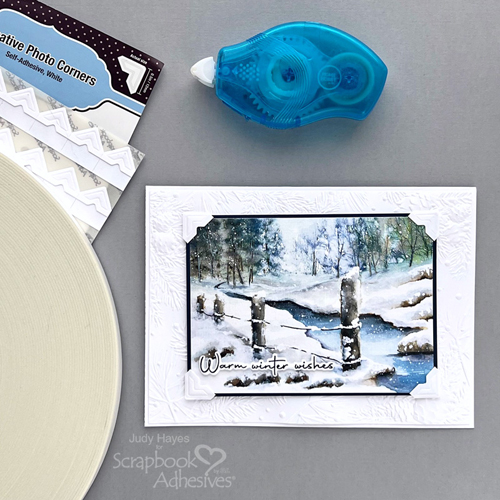
Assemble Image Panel
Secure the image card to a navy mat by applying adhesive to the back with E-Z Runner® Petite Permanent Dots Refillable Dispenser.
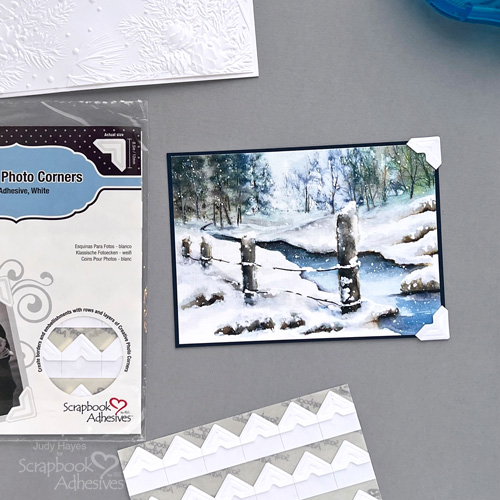
Place Creative Photo Corners White on each corner.
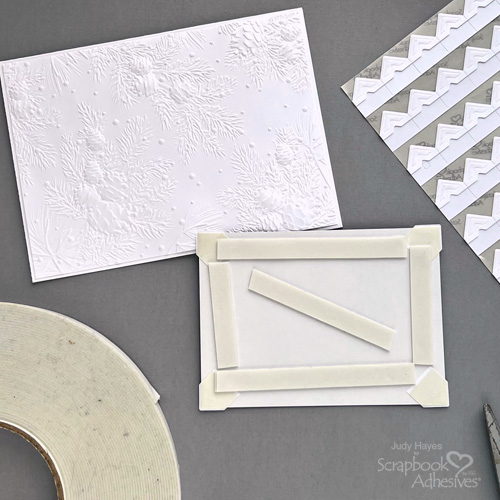
Place face down on the work surface and apply pieces of Crafty Foam Tape White 108ft. along all edges and in center. Peel the liners, adhere the image panel to the card front, and press in place.
Add Greeting
Stamp greeting with black ink on white cardstock. Use a coordinating die to cut around it.
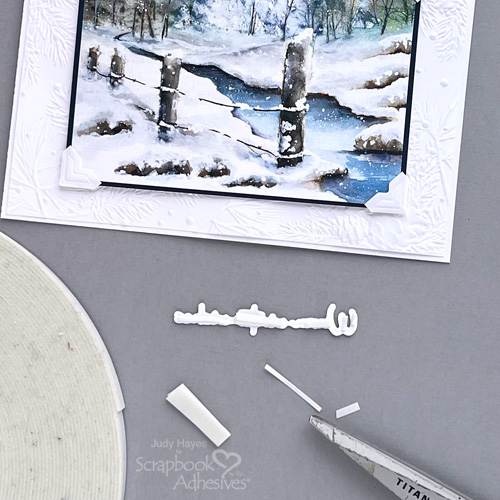
Cut narrow strips of Crafty Foam Tape White 108ft. and place them on the back of the greeting. Peel the liners and fasten the greeting on the card.
Thanks for visiting!
Judy Hayes
Creative Time: 20 mins
Skill Level: Beginner
Materials Needed:
Scrapbook Adhesives by 3L®
E-Z Runner® Petite Permanent Dots Refillable Dispenser
Other: Papers, Stickers + Ephemera: Penny Black Inc (`Across the Miles Printed Card); Stamp: Gina K. Designs (Stay Cozy Stamp Set); Ink: Tsukineko (Versafine Onyx Black); Craft Dies: Simon Says Stamp (Gina K. Designs Stay Cozy Messages); White and Navy Cardstock
Click Preferred Retailers List
Save to Pinterest!
Visit our Website and Blog!
Sign up for our Newsletter so you never miss a contest or giveaway!


