
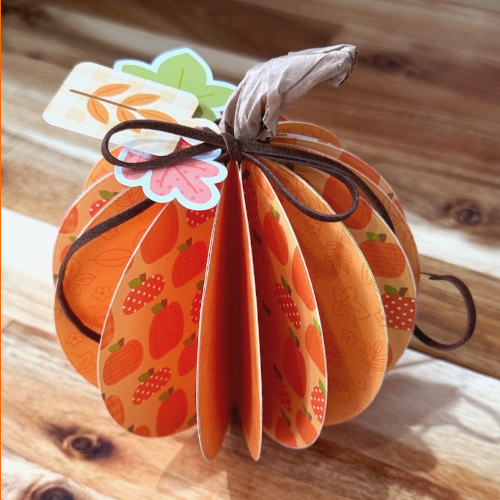
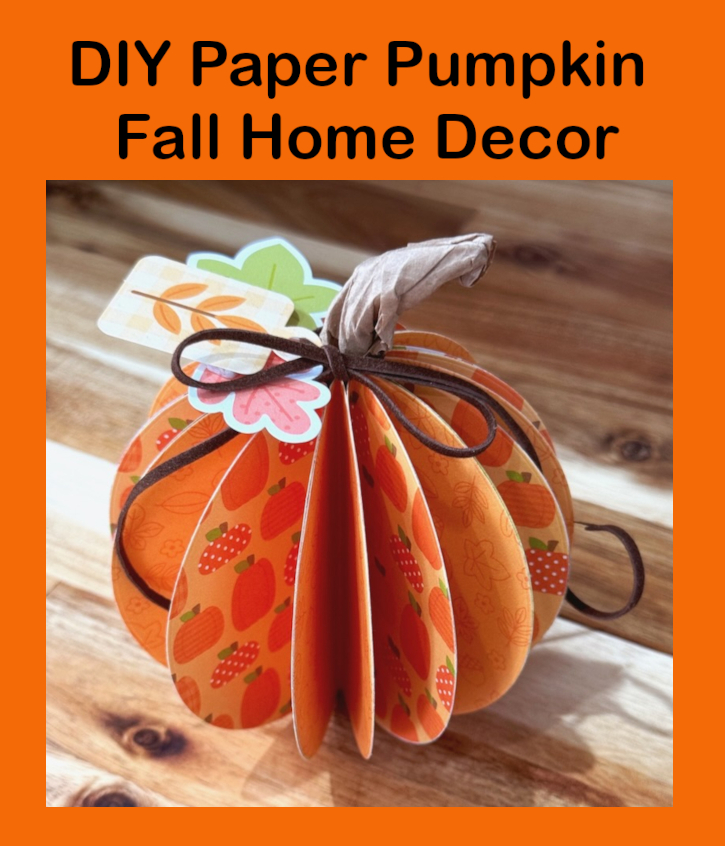
Hi friends, Jingle here with you today to share a super fun decor project perfect for your fall table settings! This little Paper Pumpkin Decor is so much fun to create and you can change it up to create several with each one having it’s own fun design!
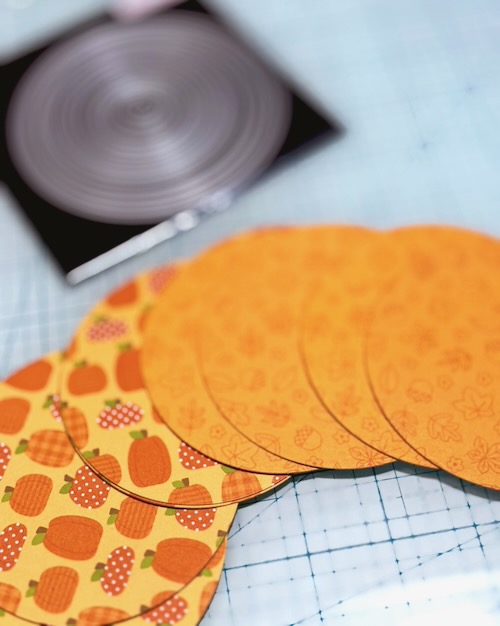
Let’s get started! To begin, die cut 16 circles from patterned paper. I used 8 each of two different designs. The size you choose will determine the size of your pumpkin. Mine are just under 4 inches.
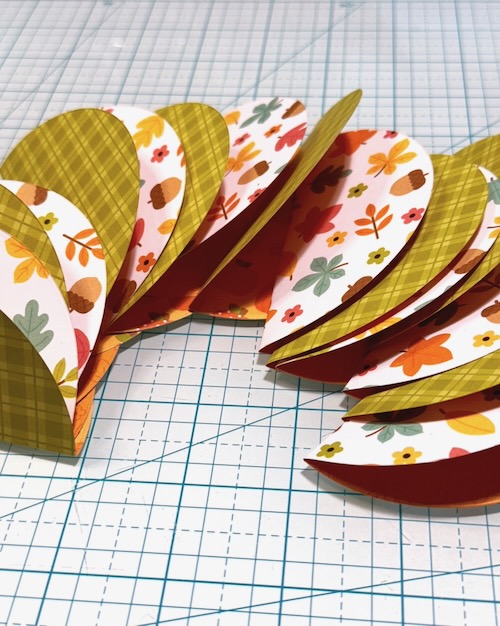
Next, you need to fold each circle exactly in half, like a taco, with the side you want showing on the inside of your ‘taco’.
Assembling the Pumpkin
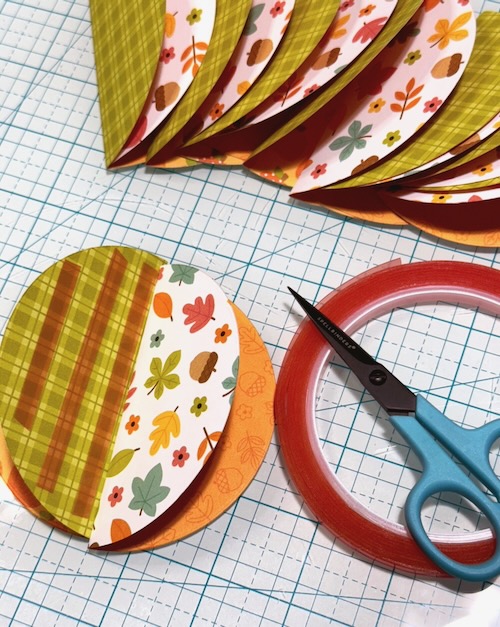
Now we can begin putting the pumpkin together. Using a very strong adhesive, I chose Extreme Double-Sided Tape 1/4in because I knew I could depend on it to hold the entire project together nicely, we are going to adhere the back of one ‘taco’ to the back of the other design as shown in the photo below.
Be sure to carefully align your half circles to maintain the spherical shape when it is completed.
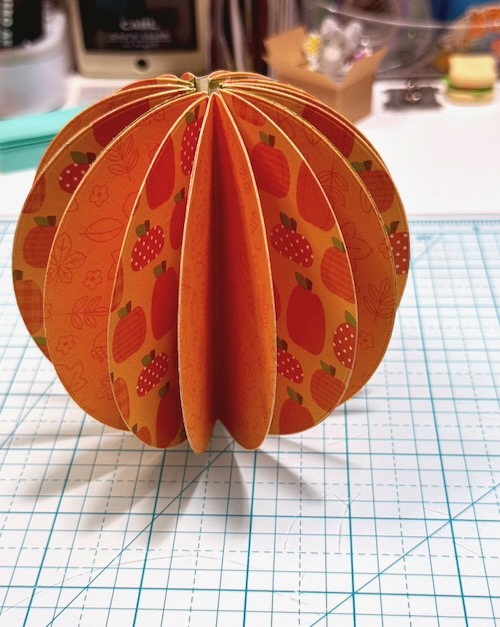
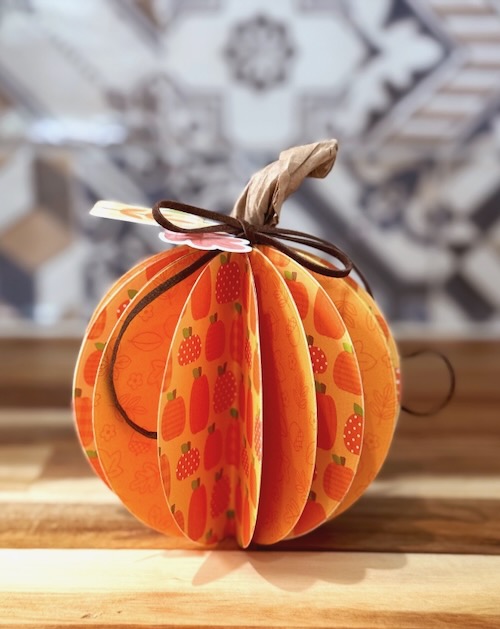
Adhere all of your ‘tacos’ until the final one. With that one, you will adhere it directly to the two final exposed ‘wrong sides’ in your pumpkin. You should have a completed sphere as shown below. If you would like a fuller pumpkin or a simpler one, you may adjust the number of circles used to create different looks.
Adding the Stem and Decor
Now that the pumpkin is complete let’s add the stem and a bit of fun decoration to it!
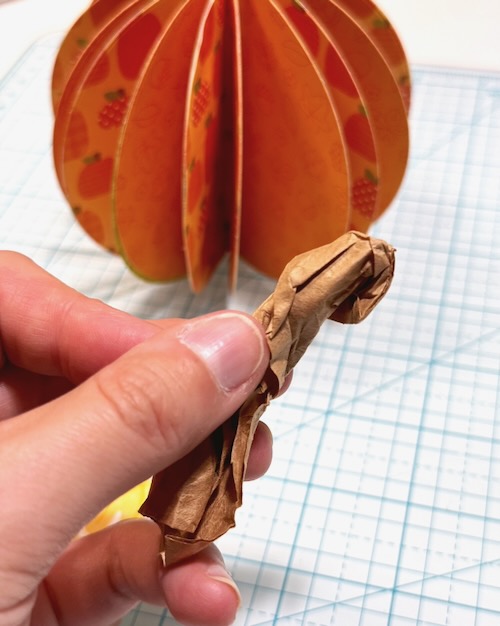
To create the stem, cut a piece of brown paper lunch bag and crumple into a stem like shape.
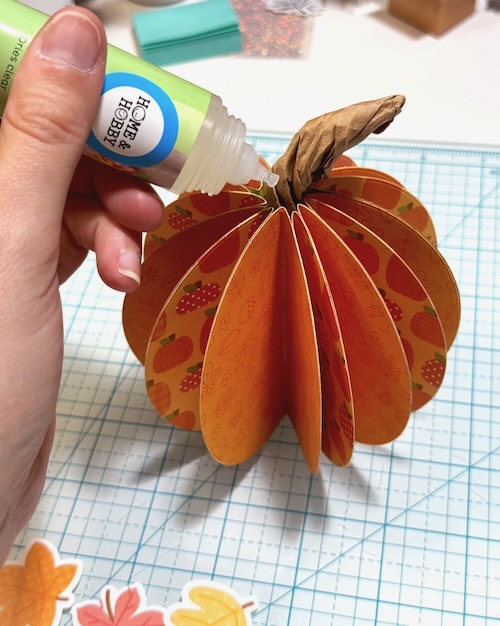
Position the stem in the hole at the top of the pumpkin. this is pretty easy to do, so you can tuck it in there and adjust to the height and look you want. Then you want to use the Dual Tip Glue Pen in the hole around the stem to ensure it stays in place.
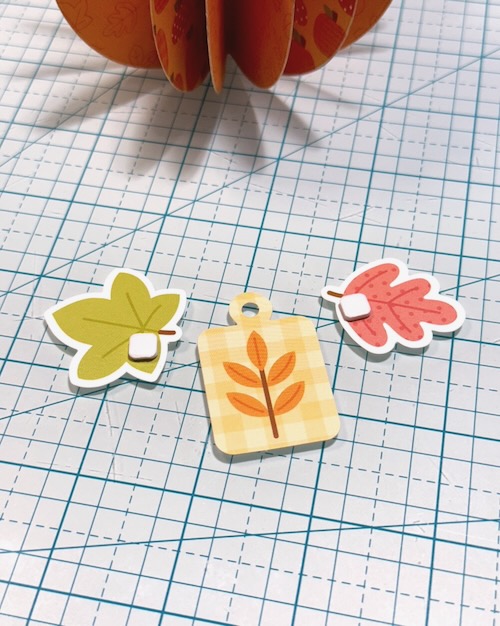
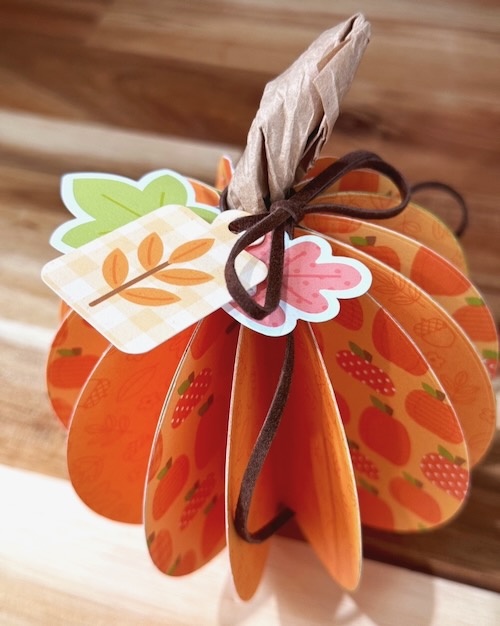
Select three die cut pieces to accent the top of the pumpkin. Using 3D Foam Creative Sheets Small White, adhere the leaf pieces to the tag. This will keep the whole arrangement in place. Next, you will tie the tag to the stem with a length of faux leather ribbon.

Take a few moments to shape and position your faux leather where you want it and there you have it! Your beautiful completed decor piece!
Thank you so much for joining me today! I hope you create a pumpkin or two for your own table! This is a great one to adapt for the kiddos, too. My six year old made one using only 8 circles and he loved the process. Make it a family craft night and show us what you made!
Have a great day,
Jennifer Ingle (aka Jingle)
Creative Time: 45 mins
Skill Level: Intermediate
Materials Needed:
Scrapbook Adhesives by 3L®
HomeHobby™ by 3L
Extreme Double-Sided Tape 1/4in., Dual Tip Glue Pen,
Other: Papers, Stickers + Ephemera: Doodlebug Design (Farmhouse Collection); Faux Leather Ribbon: May Arts; Brown Paper Bag
Click Preferred Retailers List
Save to Pinterest!
Visit our Website and Blog!
Sign up for our Newsletter so you never miss a contest or giveaway!


