
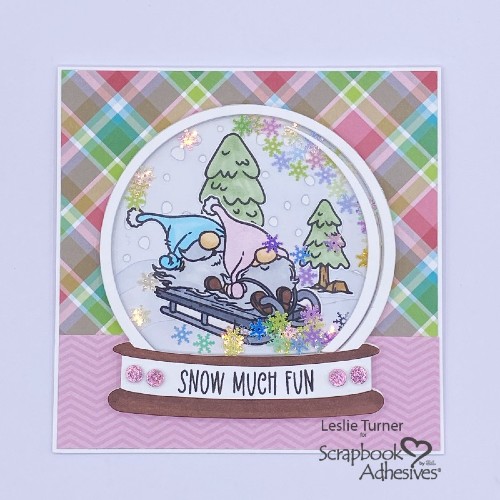
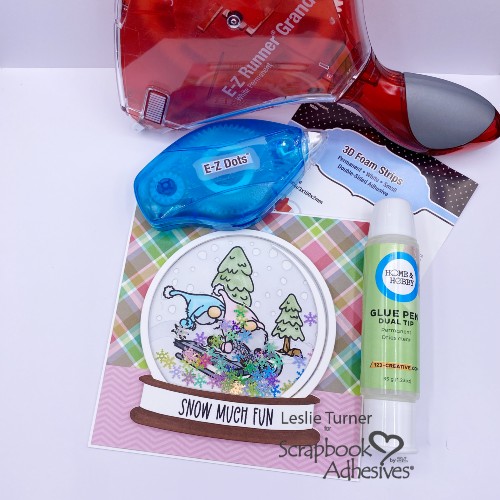
Hey everybody – happy Friday to you! Are you a fan of shaker cards? Which do you like more… to make them or to receive them? For me, a big bold YES to all of the above, lol! I’m a huge fan and I like to make them as much as I like receiving them! Leslie here, sharing a tutorial for creating a Winter/Christmas-themed snowglobe shaker card in non-traditional pastel colors. I used Trinity Stamps dies/stamps and of course, lots of amazing Scrapbook Adhesives products to put it all together! So let’s make a shaker card!
Snowglobe Base & Layers
WHITE HEAVYWEIGHT CARDSTOCK:
Card base: 5-1/4″ x 10-1/2″, scored at 5-1/4
PATTERNED PAPER:
Front layering panel (pastel plaid): 5-1/8″ x 5-1/8″
Bottom strip (pink chevron stripe): 1-1/2″ x 5-1/8″
Inside embellishing strip (pastel plaid): 5/8″ x 4-5/8″
PINK CARDSTOCK:
inside layering panel: 4-7/8″ x 4-7/8″
WHITE CARDSTOCK:
Inside layering panel: 4-3/4″ x 4-3/4″
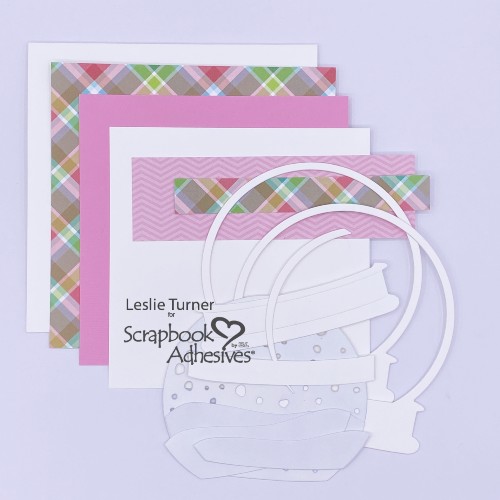
Snowglobe Pieces
Die cut all the snowglobe pieces from white cardstock using the Trinity Stamps Snowglobe Card dies.
–Cut two stand pieces and trim the top and bottom off the second one to add as a band with the sentiment.
–Also cut five of the main snowglobe frame and hang onto three of the snowglobe center pieces. They are not all shown in the photo below.
–Next, cut the snowflake background and two snowbanks (one slightly higher than the other) from those extra pieces.
–Use a blending brush to apply very light blue ink to the background and both snowbank pieces.
–Finally, glue two of the frames together and set aside. Glue two more frames together and set them aside. You’ll have one frame left over.
Adhere the Layers
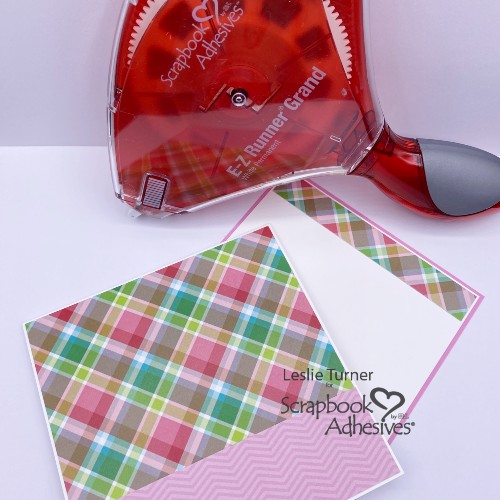
Using the E-Z Runner® Grand Permanent Strips Refillable Dispenser, adhere the pastel plaid panel to the front of the card base. Add the pink chevron stripe across the bottom. Similarly, adhere the pastel plaid embellishing strip to the white inside layering panel, then adhere that to the pink cardstock panel.
Build Scene Snowglobe Shaker Card Scene
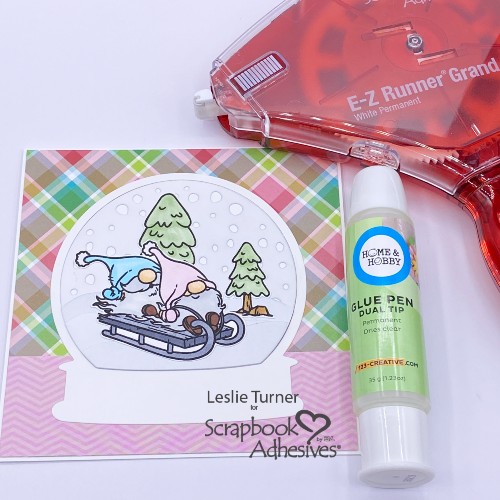
Firstly, adhere the single frame to the card front using the Dual Tip Glue Pen. Secondly, glue the background and both snowbanks flat inside the frame, once again using the Dual Tip Glue Pen. Don’t use foam inside the shaker because the shaker bits will get hung up.
Stamp the gnomes and trees from the Trinity Stamps Sledding Fun stamp set in black ink on white cardstock. Color them, fussy cut them, and adhere them flat to the background using the Dual Tip Glue Pen as well.
Assemble Shaker
Cut a piece of acetate from packaging for the shaker front. I’ve always used stiff acetate made for shakers but decided to try packaging this time. I actually prefer this method as it’s easier to work with and it’s easier to photograph. Use the E-Z Dots® Permanent Dispenser to apply adhesive to the back of one of the frame sections and the front of the other frame section. Sandwich the acetate between the frame pieces and press together to adhere.
Color the whole stand piece with a brown marker and adhere the white band using the E-Z Runner® Grand Permanent Strips Refillable Dispenser. Additionally, stamp a sentiment from the Trinity Stamps Sledding Fun stamp set in black ink, centering it on the band, and glue the stand to the frame.
Glue the reflection piece to the right side, on top of the acetate. using the Dual Tip Glue Pen.
Now it’s time to add the 3D Foam Strips around the globe frame. In addition, use Crafty Foam Tape White 54ft. at the bottom behind the stand portion. Lay some shaker bits inside the snowglobe. I used iridescent snowflakes that pulled in all the colors in my paper. Pull the release paper off the strips and tape, and secure the frame in place.
Complete Snowglobe Shaker Card
Employ the ‘Wear Your Adhesive on the Outside’ technique using 3D Foam Circles White Mix and pink foil from the Metallic Transfer Foil Sheets Pastel Colors. The smaller circles fit perfectly on both sides of the sentiment. When applying the foil on the foam circles, remember to face the coloring to you and rub the foil to transfer the color.
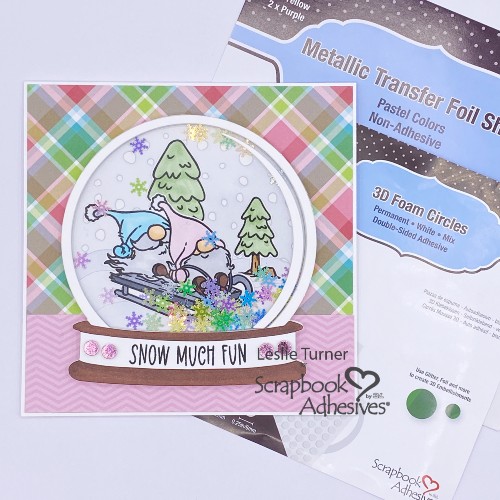
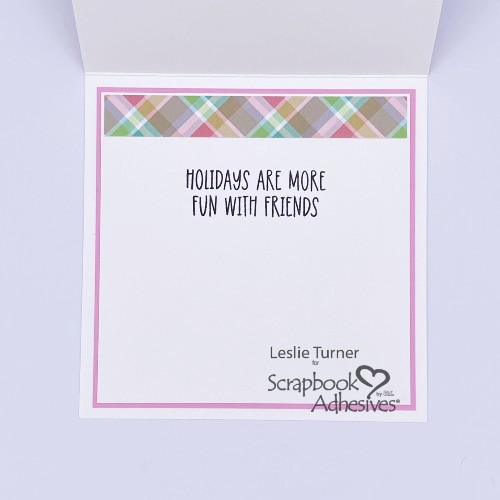
Lastly, stamp a sentiment (from the same Trinity Stamps Sledding Fun stamp set) in black ink on the inside sentiment panel. Once again using the E-Z Runner® Grand Permanent Strips Refillable Dispenser, adhere it to the card base. That’s it… easy peasy! This fun snowglobe shaker card is complete!
Thanks so much for visiting – we’ll see you next time!
Leslie
Creative Time: 60 mins
Skill Level: Intermediate
Materials Needed:
Scrapbook Adhesives by 3L®
E-Z Runner® Grand Permanent Strips Refillable Dispenser
E-Z Dots® Permanent Dispenser
3D Foam Strips
Crafty Foam Tape White 54ft.
3D Foam Circles White Mix
Metallic Transfer Foil Sheets Pastel Colors
HomeHobby™ by 3L
Dual Tip Glue Pen
Cardstock: Neenah Classic Crest Solar White, CutCardStock Pink Tutu
Paper: My Favorite Things Cheerful Plaid and Sweet Celebration 6×6 paper pads
Acetate: Packaging
Stamps: Trinity Stamps Sledding Fun stamp set
Ink: Memento Tuxedo Black ink, Versafine Onyx Black ink, Catherine Pooler Tranquil ink, assorted Copic Ciao alcohol markers
Dies: Trinity Stamps Snowglobe Card die set
Accessories: Mini MISTI, Eyelet Outlet Snowflake Sequins
Click Preferred Retailers List
Save to Pinterest!

Visit our Website and Blog!
Sign up for our Newsletter so you never miss a contest or giveaway!


