
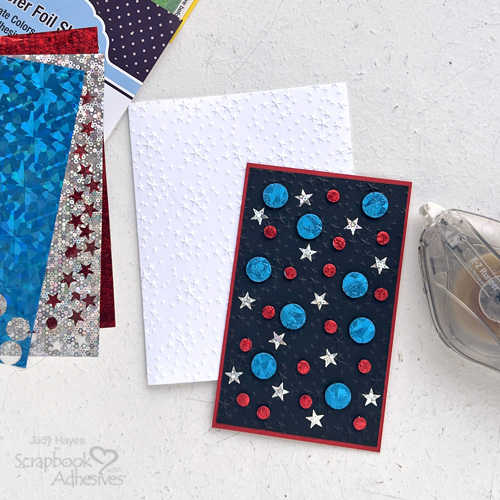
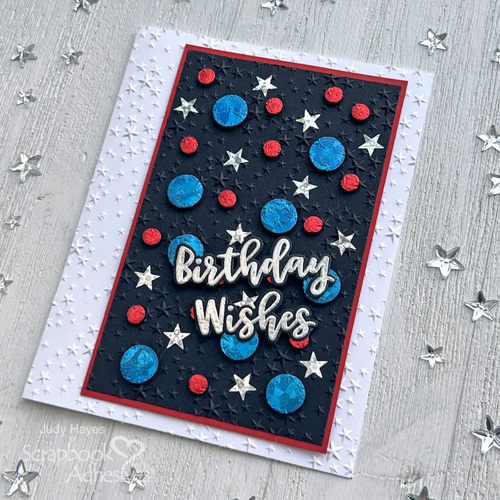
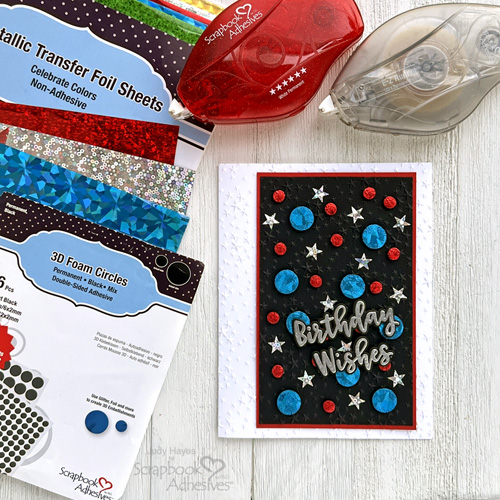
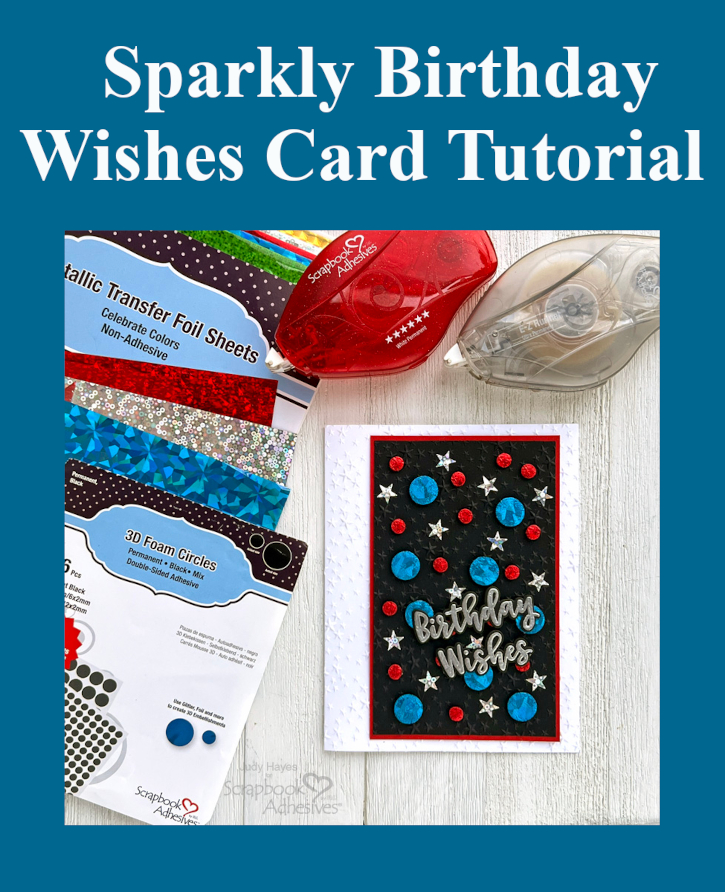
This Sparkly Birthday Wishes Card features stars covered with sparkly silver foil from Metallic Transfer Foil Sheets Celebrate Colors and circles from 3D Foam Circles Black Mix covered with red and blue foils. Embossed stars on panel and card front add texture interest. It’s a fun sparkly card!
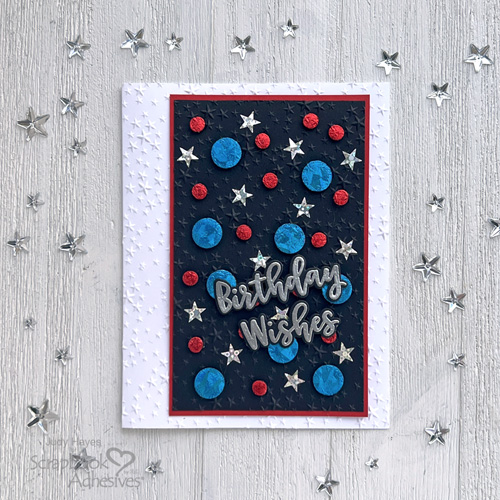
Prepare Sparkly Birthday Wishes Layers
For the card base, cut white cardstock to 5.5 x 8.5 inches, score and fold to form 4.25 x 5.5 inch side fold card. We need card panels in 3 x 4.875 inch black cardstock rectangle and 3.125 x 5 inch red cardstock (for mat).
Emboss the Card Base Front
Use embossing folder and die cutting machine to emboss front of card with stars. Set aside
Stars Card Panel
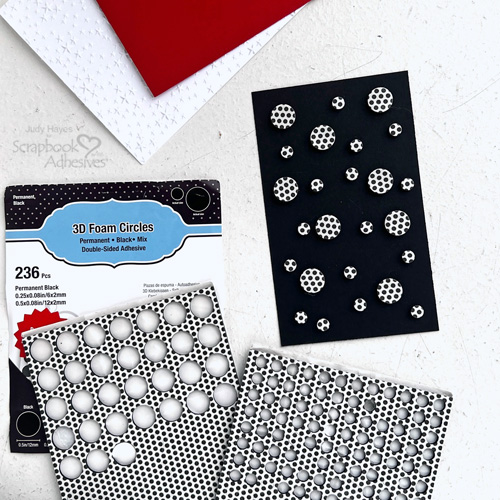
On black cardstock panel, randomly fasten large circles from 3D Foam Circles Black Mix. Then add small circles of 3D Foam Circles Black Mix.
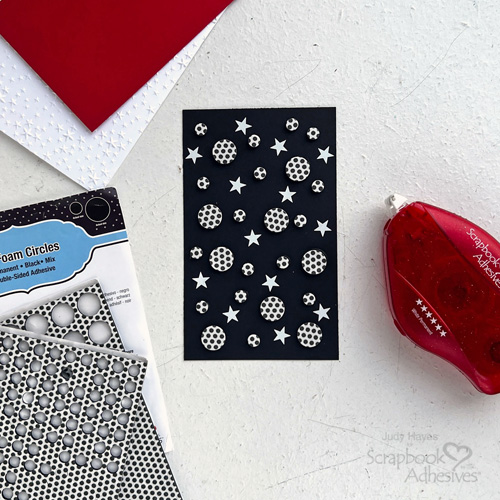
Next use E-Z Runner® Stars Refillable Dispenser to add stars between and around circles (Designer Tip: I used my fingers to rotate applicator dial so a star was at end. That way I could just press it in place.)
Apply Foil
Take silver foil sheet from Metallic Transfer Foil Sheets Celebrate Colors, press on each star with the color side facing you. Peel off to reveal the color. Reapply the foil in missed areas.
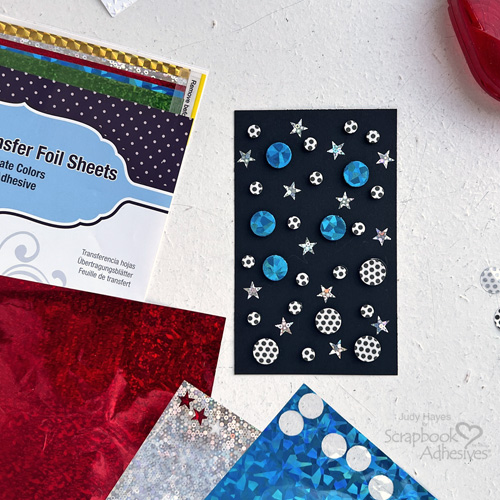
Repeat the foiling steps with large 3D Foam Circles and blue foil from the Metallic Transfer Foil Sheets Celebrate Colors onto each one. Also, to the small 3D Foam Circles with the red foil.
Emboss Stars Panel
Place the embellished panel in the Shimmering Starfall embossing folder so that back of panel is on raised star side of embossing folder. Pass through machine to emboss. Reapply foil to any areas that feel sticky on large and small dots.
Fasten Panel to Card
Apply the E-Z Runner® Ultra Strong Refillable Dispenser to the back of the embellished panel and fasten it on red cardstock mat. Then on to the card front.
Birthday Wishes Greeting
Stamp Birthday Wishes on black cardstock with Versamark ink. Then cover it with silver embossing powder, tap off excess and melt with a heating tool. Use coordinating die to cut out each word.
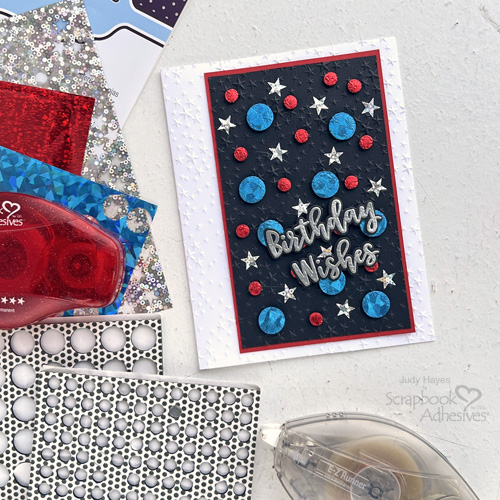
Place Birthday Wishes on the card. Apply adhesive with E-Z Runner® Ultra Strong Refillable Dispenser or a small circle from 3D Foam Circles Black Mix on back of each word and fasten on the card.
Thanks for visiting!
Judy Hayes
Creative Time: 20 mins
Skill Level: Intermediate
Materials Needed:
Scrapbook Adhesives by 3L®
E-Z Runner® Ultra Strong Refillable Dispenser
E-Z Runner® Stars Refillable Dispenser
Metallic Transfer Foil Sheets Celebrate Colors
Other: Stamp: Simon Says Stamp (Basic Brushstroke Greetings); Ink: Tsukineko (Versamark); Embossing Folder: Simon Says Stamp (Shimmering Starfall); Embossing Powder: Ranger Ink (Silver); Craft Dies: Simon Says Stamp (Basic Brushstroke Greetings); Black, Red + White Cardstock
Click Preferred Retailers List
Save to Pinterest!
Visit our Website and Blog!
Sign up for our Newsletter so you never miss a contest or giveaway!





