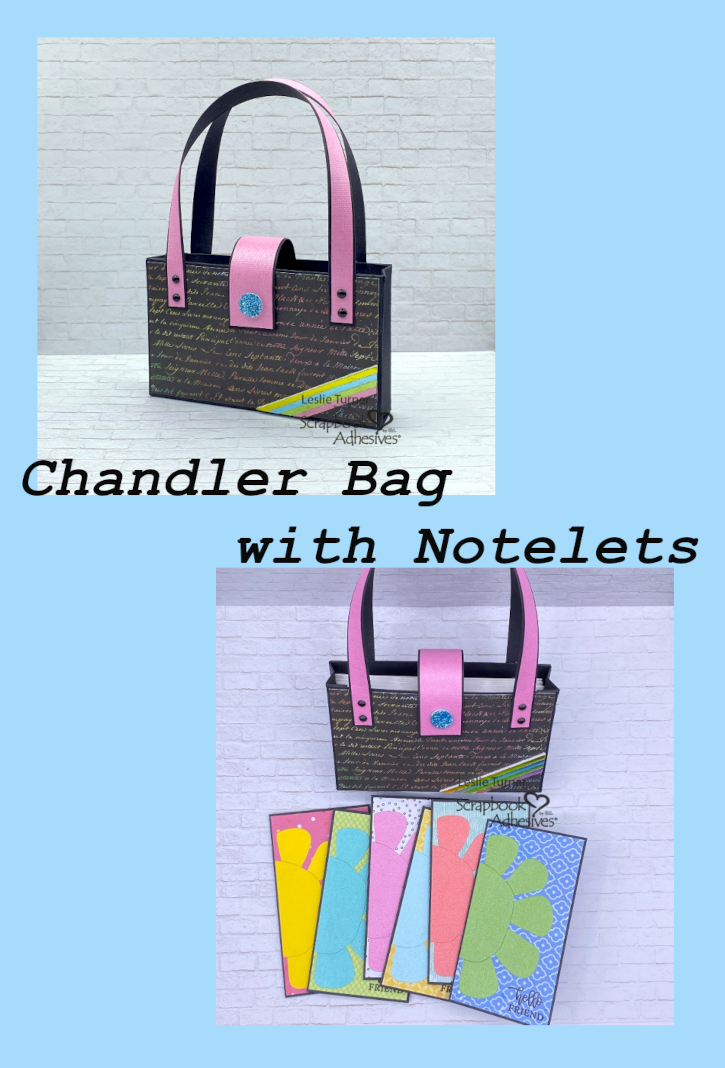
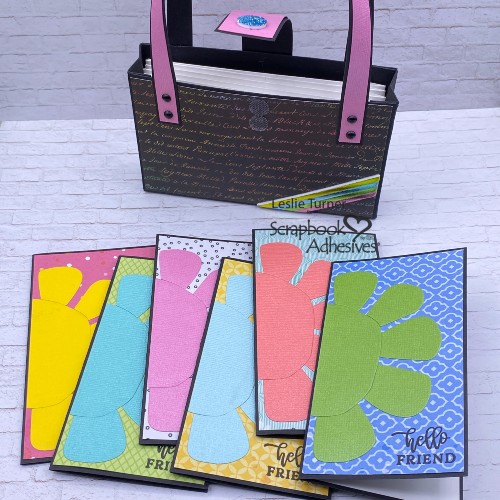
Hey everybody – I hope you’ve had a great week… it’s Friday! Are you a fan of pretty purses? I sure am, especially those made of paper! Leslie here with you today, sharing a Chandler Purse with Notelets tucked inside. The Chandler purse is actually one of my favorites to make and it’s always fun to add something extra! Notelets, small note pad, jewelry, candy, or whatever you’d like! I used lots of pretty paper and cardstock in my stash along with a nice variety of Scrapbook Adhesives products to bring this project to life.
Cut the Pieces
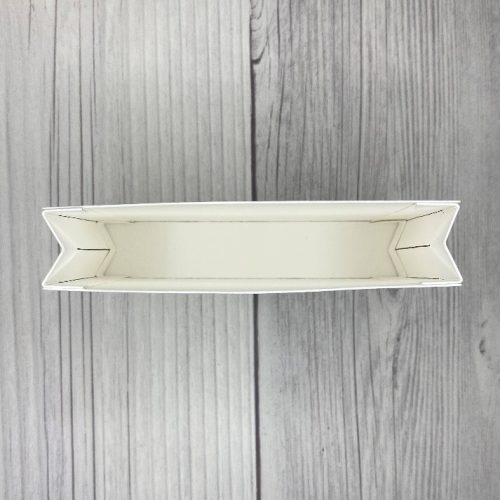
I knew it would be difficult to see score lines on black cardstock. So, for demonstration purposes, I constructed a purse from white cardstock as you’ll see in the following photos. Score lines for the base and side panels have been marked with a black pen.
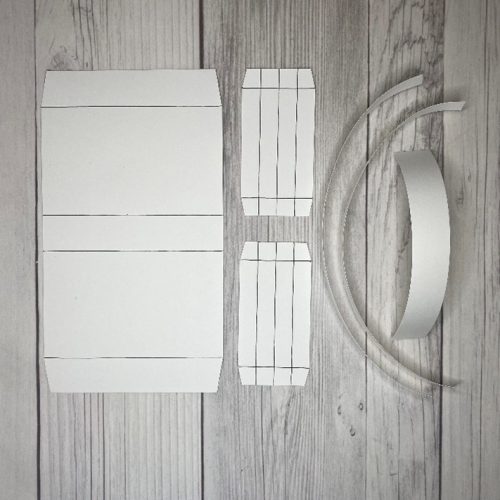
PURSE BASE: Cut one at 5” x 9” and score at 1”, 4”, 5” and 8” with the 9″ edge across the top. Miter the corners of the 1” sections.
SIDE PANELS: Cut two at 2” x 4” and score at 1/2”, 1” and 1-1/2” with the 2″ edge across the top. Rotate 90 degrees and score at 1/2” and 3-1/2” with the 4″ edge across the top. Miter the corners of the 1/2” sections on both ends. Do this for both side panels.
HANDLES: Cut two at 1/2” x 11” and use a bone folder to gently curve them.
CLOSURE: Cut one at 1” x 4” and use a bone folder to gently curve the strip.
Assemble the Base
Firstly, fold on the score lines on the base (all valley folds). Adhere the 1″ flaps to the inside with Crafty Power Tape Polybag 81ft. This will create a U-shape.
Secondly, fold on the score lines on the side panels (valley-mountain-valley) in an accordion fashion. Then adhere the upper and lower flaps to the inside of the side panel with Crafty Power Tape Polybag 81ft. Do this for both side panels.
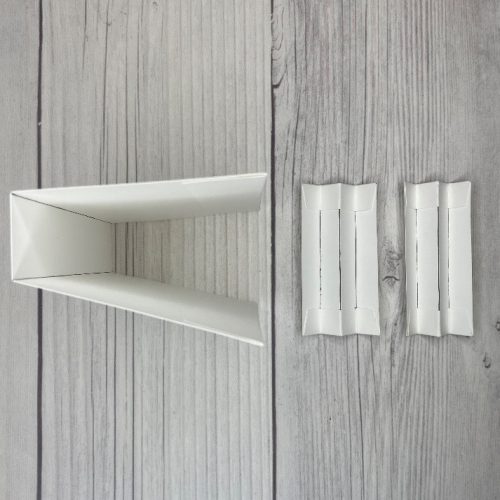
Thirdly, stand the base up with the bottom of the U on your craft surface. Now adhere one side panel to each side of the purse base with Crafty Power Tape Polybag 81ft. Make sure the 1/2″ flaps are on the inside.
Add Patterned Paper
Additionally, add your decorative patterned paper with the E-Z Runner® Grand Permanent Strips Refillable Dispenser:
— 2-7/8” x 4-7/8” panels for the front and back of the purse base
— 3/8” x 10-7/8” strips to the handles (cut two)
— 7/8” x 3-7/8” panel for the closure strip
Adhere Handles & Closure Strip
We’re nearing the end of construction, so adhere both ends of one handle to the front of the base. Use the E-Z Runner® Grand Permanent Strips Refillable Dispenser to do this. Likewise, adhere both ends of the other handle to the back of the base. This will ensure that the handles can be separated to tuck the notelets inside.
Last step is to adhere one end of the closure strip to the back of the purse with the E-Z Runner® Grand Permanent Strips Refillable Dispenser. Attach the other end to the front of the base with Velcro circles or a magnet. Small clear clips are shown in the photo below temporarily holding the Velcro circles in place.
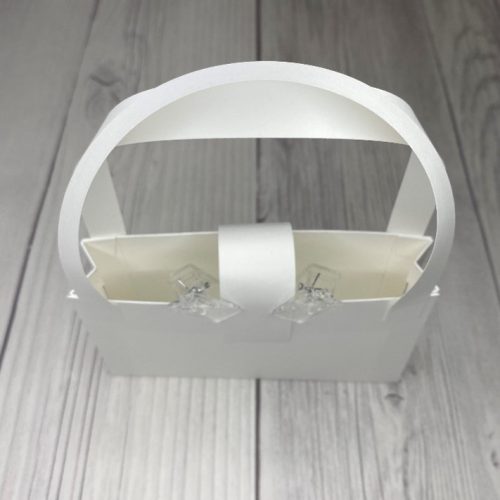
Finished Chandler Purse with Notelets
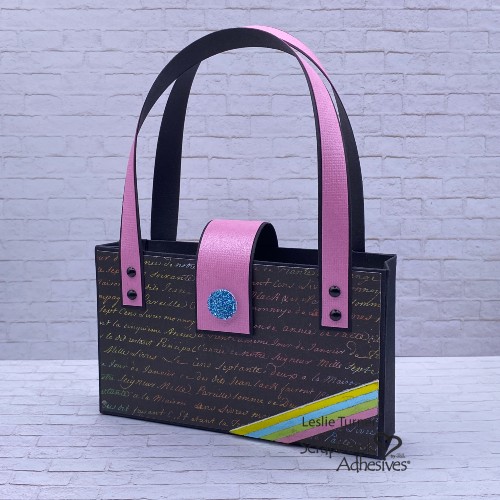
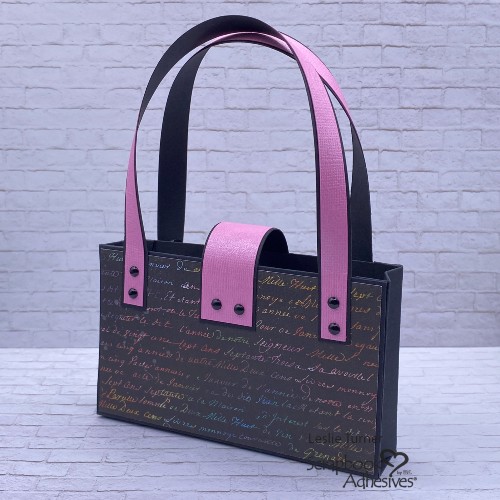
My finished Chandler purse features two embellishments made with the Wear Your Adhesive on the Outside technique. Embellishment #1 is the diagonal one in the lower right corner. It features yellow, blue, green and pink foil from the Metallic Transfer Foil Sheets Pastel Colors and 3D Foam Strips.
Embellishment #2 is the ‘button’ on the closure. Similarly, it uses blue glitter from my stash and 3D Foam Circles White Mix. Such an easy technique! Just remove the liner from the strips and press the foil (color side up) onto the adhesive. Same for the glitter… remove the liner, press the glitter onto the adhesive to secure, and tap off the excess. I also used small black brads on the handles and closure strip.
Let’s Make Some Notelets & Envelopes
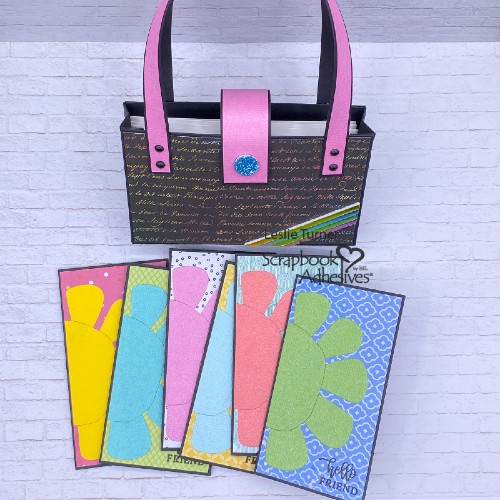
Fashion a set of six 2-1/2″ x 4-1/2″ notelets from black cardstock to tuck inside the purse. Affix colorful patterned paper and a die cut to the front of each one. Stamp a simple sentiment on the front and add a white panel inside each one.
Since the notelets are an odd size, I designed a pocket envelope for them. Great choice for this is 65# copy paper, cut at 5-3/4″ x 6″. Score at 1-3/4″ and 4-1/2″ with the 5-3/4″ edge across the top. Rotate 90 degrees and score again at 5/8″ and 5-3/8″ with the 6″ edge across the top.
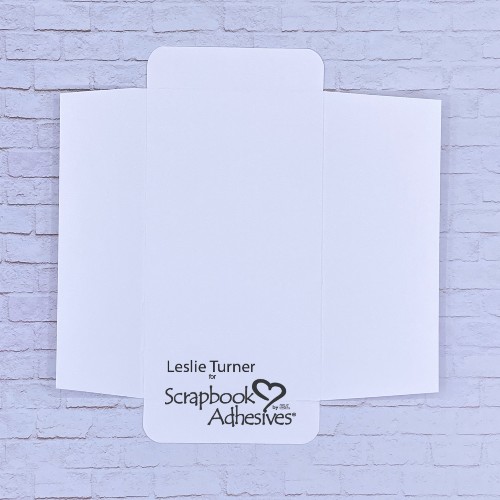
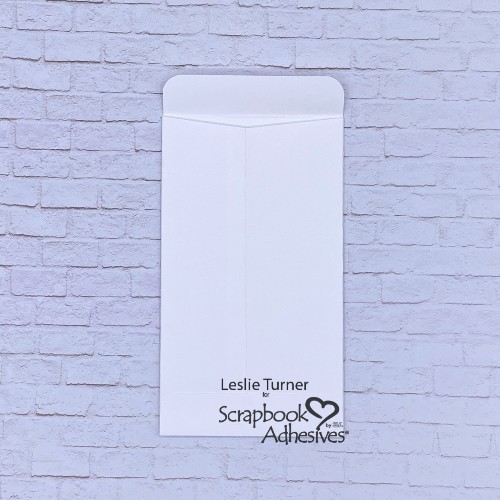
Miter the two wide flaps and fold the (shorter) left one over the right, and glue with Dual Tip Glue Pen. Round the corners of the upper and lower flaps and adhere the bottom flap with Dual Tip Glue Pen. I typically place a strip of Crafty Power Tape Polybag 81ft. on the top flap, leaving the liner in place. This is so the person using the cards can seal the envelopes.
That’s it for me today. Thanks for visiting!
Leslie
Creative Time: 90 mins
Skill Level: Intermediate
Materials Needed:
Scrapbook Adhesives by 3L®
Crafty Power Tape Polybag 81ft.
E-Z Runner® Grand Permanent Strips Refillable Dispenser
Metallic Transfer Foil Sheets Pastel Colors
3D Foam Strips
3D Foam Circles White Mix
HomeHobby™ by 3L
Dual Tip Glue Pen
Other: Paper/Cardstock: CutCardStock Green Curry, Jet Stream Blue, Flamingo, Rubber Ducky, Strawberry Cream, and Surf cardstock; Neenah Classic Crest 80# Solar White cardstock, Vicki Boutin Bold & Bright 6×8 paper pad
Stamps: Hero Arts Here For You stamp set
Ink: Versafine Onyx Black ink
Dies/Punches: Vicki Boutin Floral and Butterfly Dies, Kadomaru Pro Corner Rounder
Accessories: Fiskars 12″ ProCision Rotary Bypass Paper Trimmer, Making Memories blue glitter, Mini MISTI, 5/8″ Velcro circles
Click Preferred Retailers List
Save to Pinterest!